Get Existing Floors Ready for Tile
Learn how to prep concrete slabs, plywood subfloors, and vinyl flooring before installing tile.
Prepping Concrete Floors
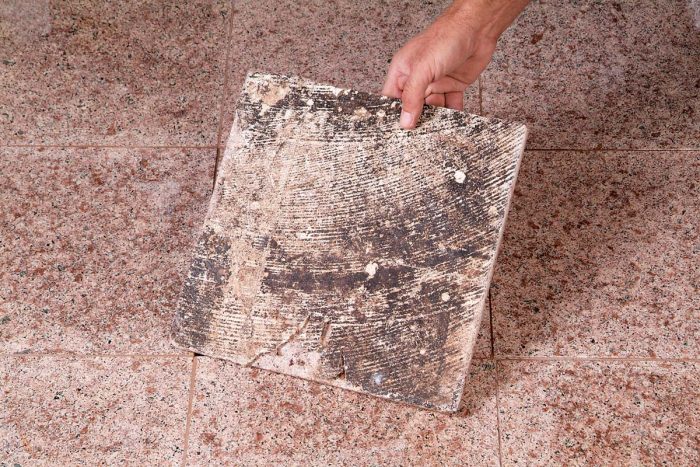
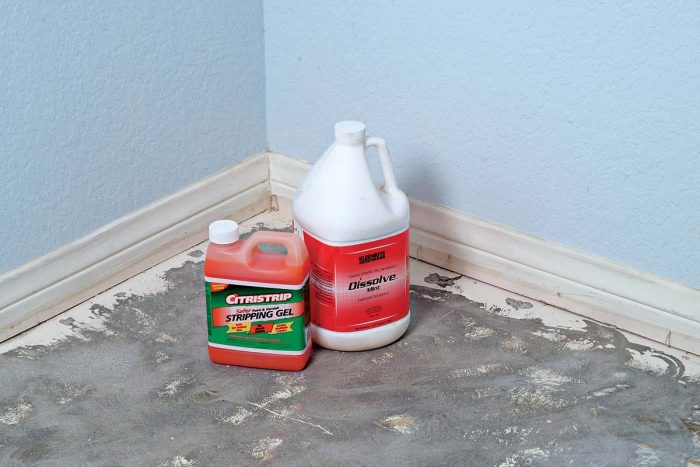
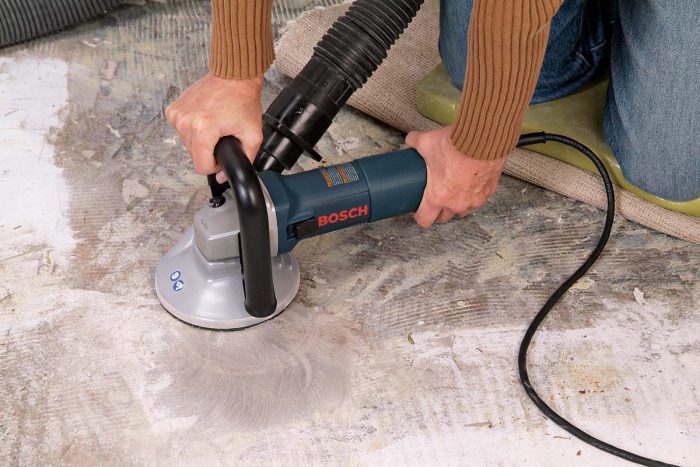
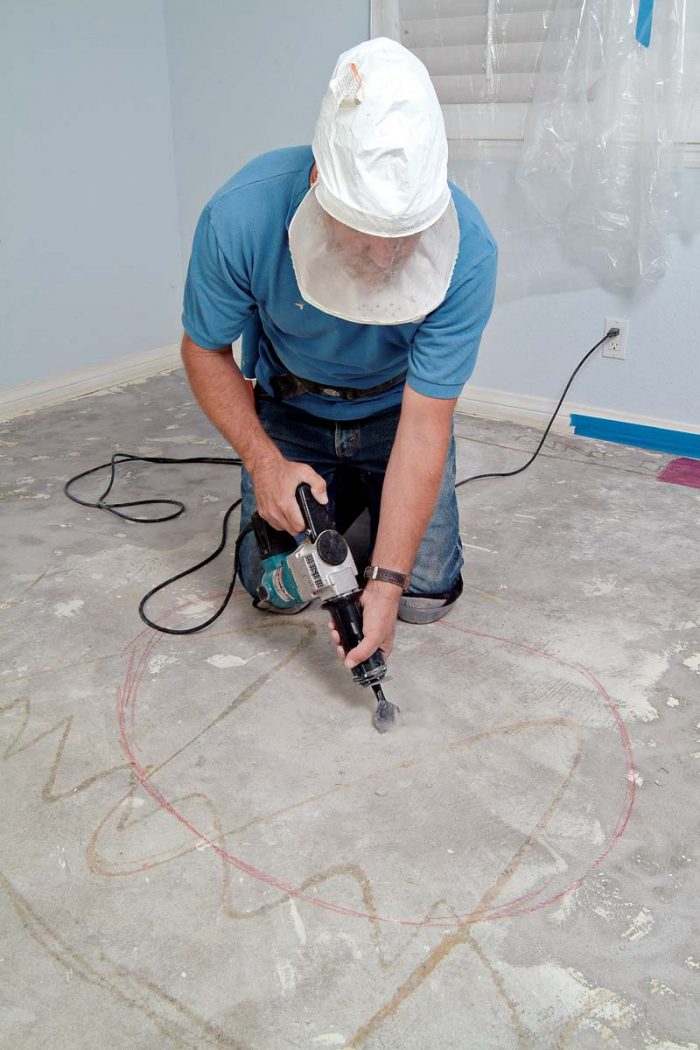
Once a floor has been taken down to bare concrete, it’s essential to remove all paint, glue, and other residue from the slab before installing tile. If the surface isn’t clean, you may end up with loose tiles that require removal and replacement 1. Scrape off old paint with a scraper fitted with a sharp blade. If you have trouble removing glue residue, try using a chemical stripper (preferably one of the newer, less-toxic types with a citric-acid base) 2. After stripping, rinse the floor to eliminate any remaining residue that may interfere with the tile adhesive bonding. Another way to remove old glue, vinyl backing, or other sticky stuff is by grinding it away with a port-able angle grinder fitted with a 4-in. carbide/diamond grinder cup wheel. If the machine has a dust port, connect it to a portable shop vacuum to reduce the dust 3. If you’d rather leave this dirty job to someone else, there are professional companies that will clean the surface for you.
Checking concrete for flatness
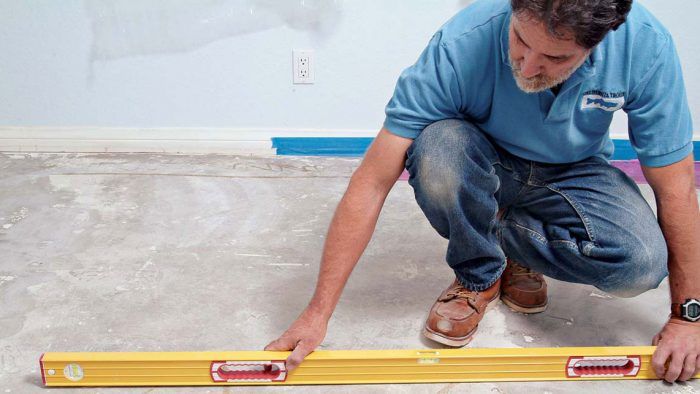
For a good installation, the concrete floor under the tile must be flat. Tiles don’t bend, and big tiles (16 in. sq. and larger) are very difficult to install properly on uneven concrete. Flatness is even more important when setting mosaic tiles and close-fitting large tiles. Small mosaic tiles follow every hill and dale of an uneven floor, creating a sand dune appearance. Large tiles set with narrow grout joints on an uneven floor will create lippage, meaning the tile edges aren’t flush with one another. Lippage not only looks bad, but it also can pose a significant tripping hazard.
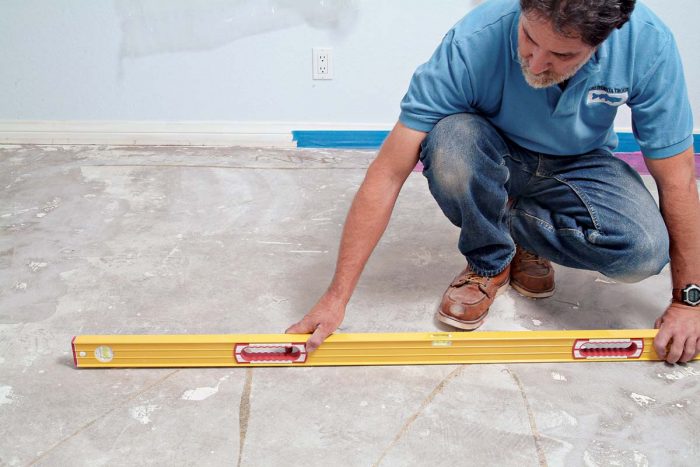
To check the floor for flatness, lay a long level or straightedge across different areas of the floor and mark any humps or valleys 4. Don’t worry if the level’s bubble shows that the floor isn’t perfectly level—flatness is more important. The easiest way to smooth an undulating floor is with a self-leveling compound.
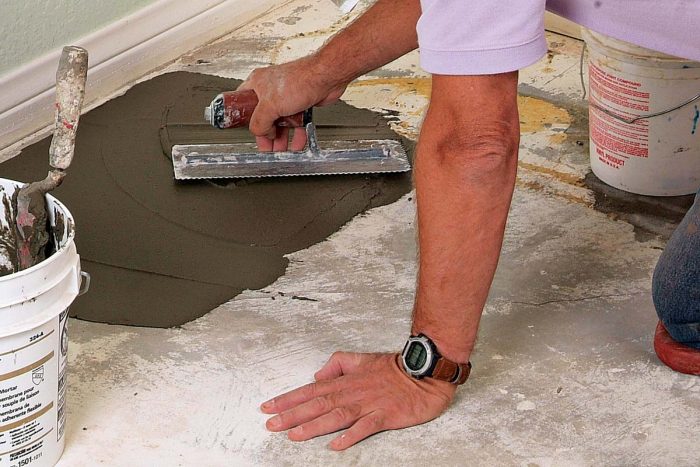
You can reduce small bumps and larger high spots with an angle grinder fitted with a masonry cup wheel or with a chipping hammer fitted with a flat-tipped chisel 5. Fill low spots with regular thinset, spreading and then feathering the material to create a smooth, even surface 6.
Prepping Plywood Subfloors
If the plywood subfloor that was underneath your carpet or finished flooring is still in good condition, you can use it again. But if you see evidence of damage (holes, water stain, rot) that affects the structural integrity of the wood, you need to replace the plywood in those areas. Use a circular saw to cut out a square or rectangle of plywood between two floor joists. Cut a new piece from the same thickness of plywood and nail it down to the floor joists.
If your floor has a few dips or large gouges, it’s a good idea to flatten them out by filling with a latex-modified thinset. Spread it across the defect area, then screed it off with a trowel or straightedge. If your floor is more seriously bumpy and out of level, you can flatten it using a self-leveling compound. Before you do, use caulk to fill any gaps between plywood sheets and to fill nail holes. Follow the manufacturer’s instructions, which may require you to prime the surface with a special primer and to reinforce the seams with thinset and mesh tape. After the self-leveling compound is applied and has cured, the surface is ready for setting tile—no need for backerboard.
Prepping Vinyl Flooring
You can lay tile over a vinyl floor, provided that there’s no asbestos in the flooring and the vinyl is a single thickness and of the rigid type.
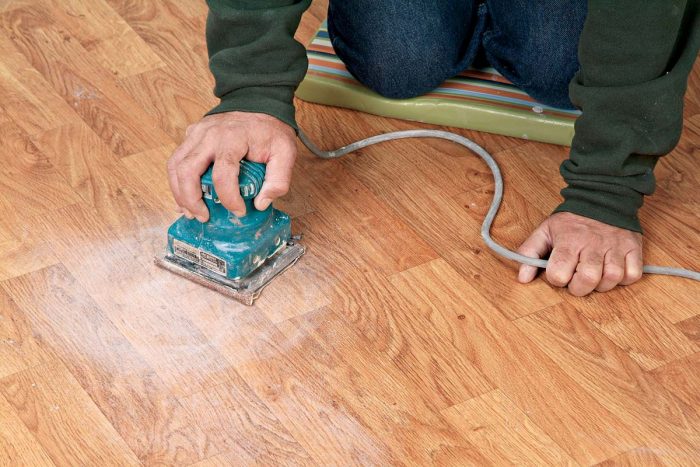
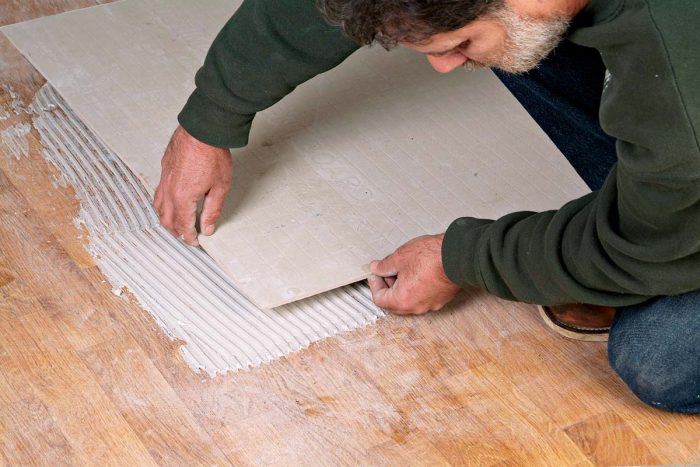
To prepare a vinyl flooring for a layer of backerboard substrate, you’ll need to sand the vinyl floor to rough it up. First, remove any vinyl cove baseboards by cutting the flooring with a razor knife, about 1-1/2 in. from the wall, all the way around the room. Lift the vinyl flooring next to the cove with a prybar, then pull out the wood cove strip that is underneath. Now rough up the entire vinyl floor with an electric orbital sander fitted with 60-grit sandpaper 1. Sanding gives the vinyl “tooth” for the thinset to adhere to. It also helps remove wax or dirt that may interfere with bonding. The surface is now ready for backerboard installation 2.
 |
 |
 Excerpted from Tiling Complete, 2nd Edition by Robin Nicholas and Michael Schweit.
Available in the Taunton Store and at Amazon.com.

