Repairing Grout
For a long-lasting repair, remove as much of the old grout as possible in the damaged areas, then replace and reseal.
Grout that’s cracked, heavily discolored, or missing in small areas is unsightly, even if the surrounding tile is in perfect shape. It’s tempting to touch up these areas by simply adding a little new grout over the problem. But to perform a longer-lasting repair, you should remove as much of the old grout as possible in the affected areas. This is because new grout doesn’t stick well to old grout; it needs to adhere to the substrate that supports both the tile and the grout.
Replacing damaged grout
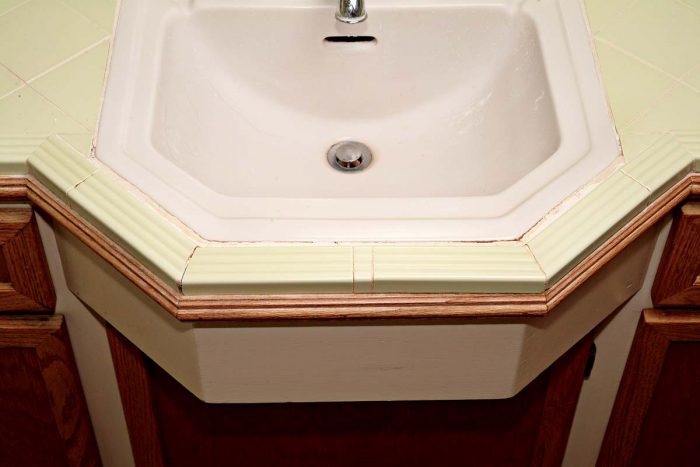
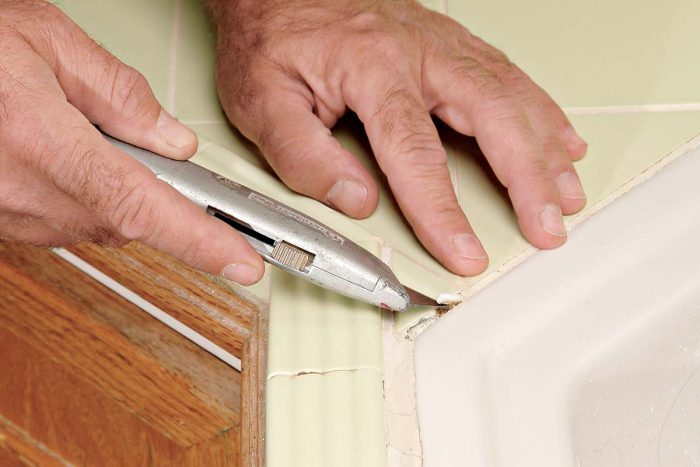
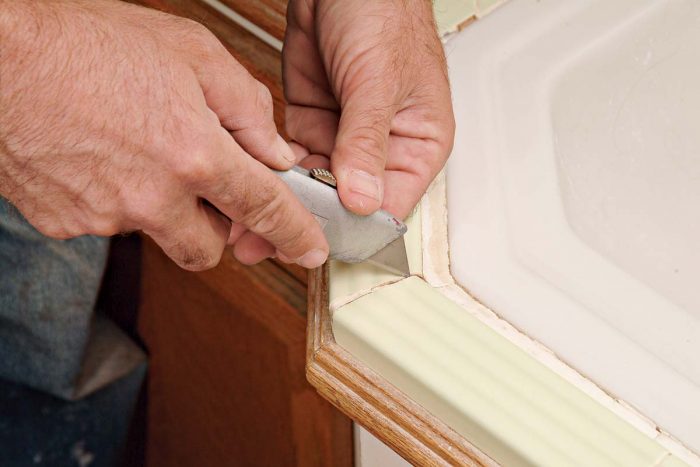
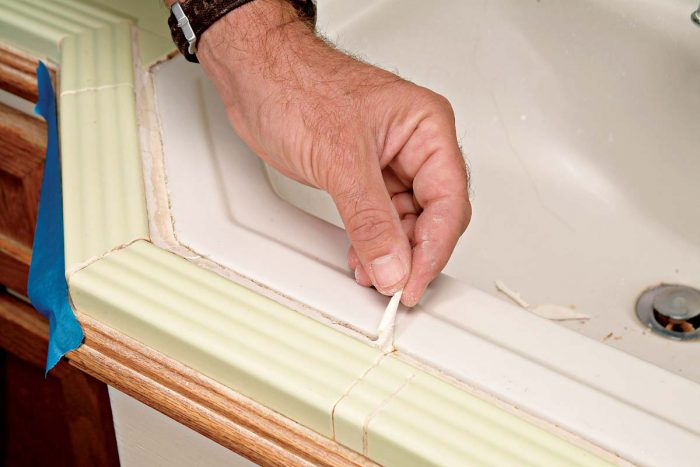
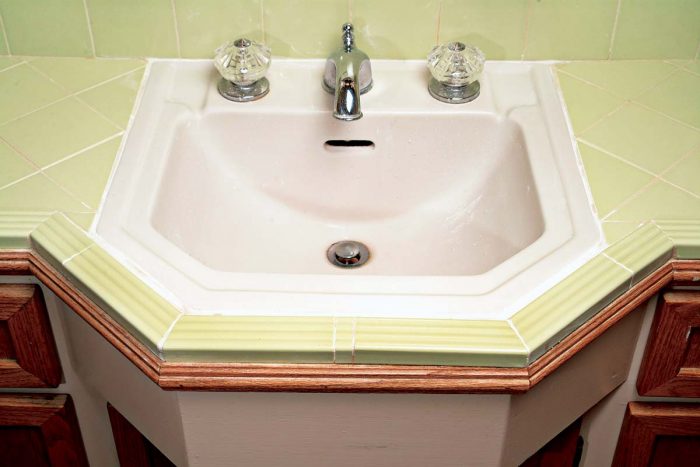
To repair small grout problems on a tiled area, such as this bathroom sink 1, start by lifting any of the old grout using a fresh blade in a utility knife 2. Remove only what comes out easily, as digging too hard might chip adjacent tiles. In joints where most of the grout is already missing, use a utility knife to carefully clean dirt and debris from the gap 3. Cut away any old caulk you find around the sink 4 and sweep the area clean to remove any remaining debris. Mix a small amount of new grout and let it slake.
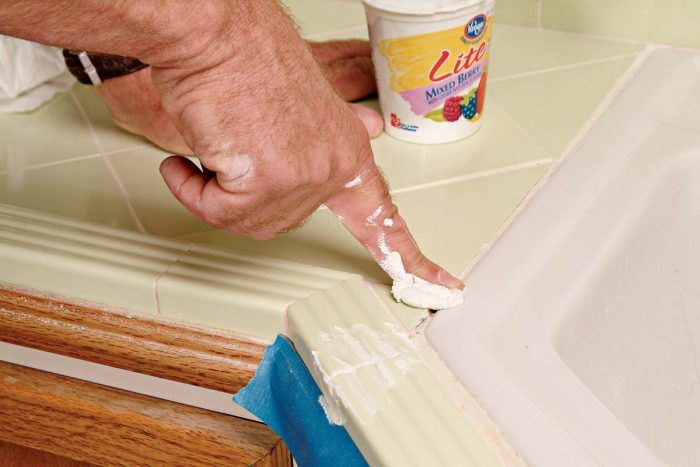
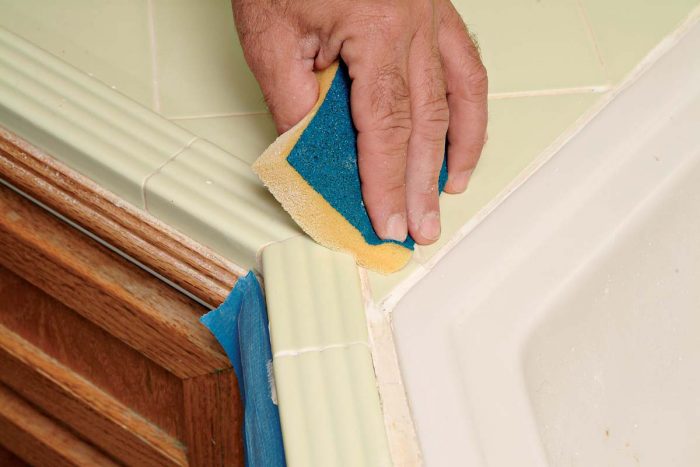
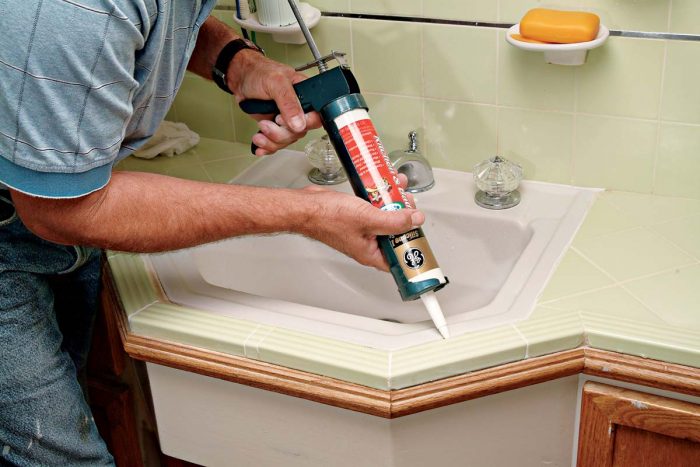
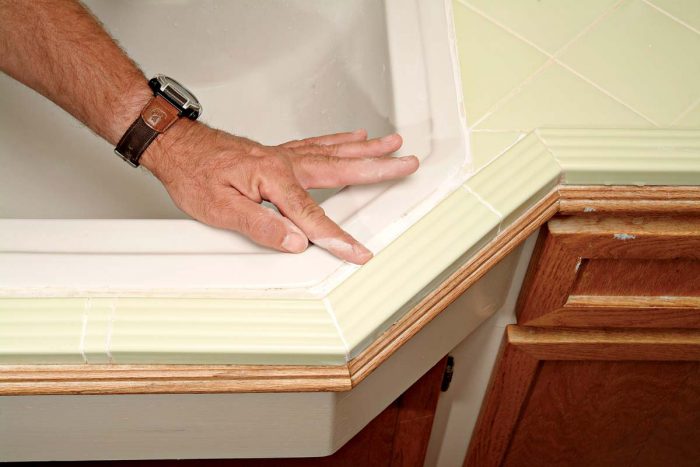
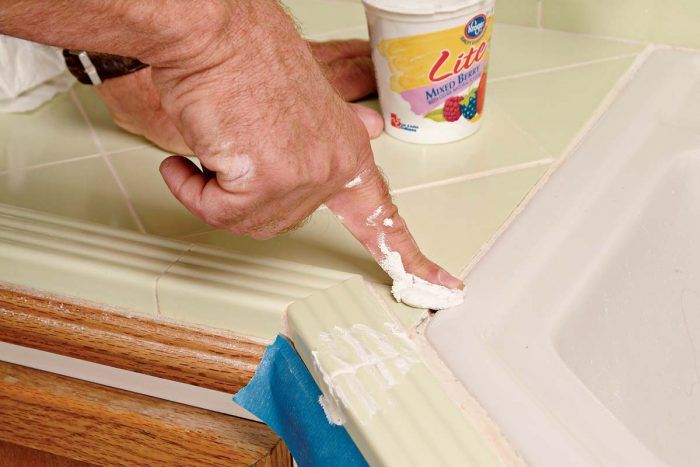
Push the grout into the cleaned-out joints with your fingers 5. Allow the grout to set up for 5 minutes or 10 minutes, then shape and wipe the repaired areas with a sponge, working carefully to blend the new grout in with the old wherever they meet 6. Let the newly grouted areas dry, then do the final polishing and cleaning on those areas. Now you’re ready to apply a new bead of caulk around the sink. In many cases, it’s better to apply new caulk over old grout than to take the risk of digging it out. After applying the caulk 7, smooth the bead with your finger 8. Although the new grout and caulk may not match exactly, you’ll end up with a tiled surface that’s free of cracks and gaps 9.
Replacing Old Grout with Caulk
It’s not uncommon to find missing or cracked grout in areas like the junction between sink and tile, counters and backsplashes, edges between tiled walls, and where a tiled surface meets another material (a wood floor) 1. Grout problems in these areas are due to naturally occurring movement between surfaces, which will always cause the grout to crack. You can repair these areas by simply replacing the grout with flexible caulk. Carefully remove as much of the damaged grout as possible.
Clean out the joint, then run a bead of caulk 2. This will stay flexible and eliminate any future cracking.
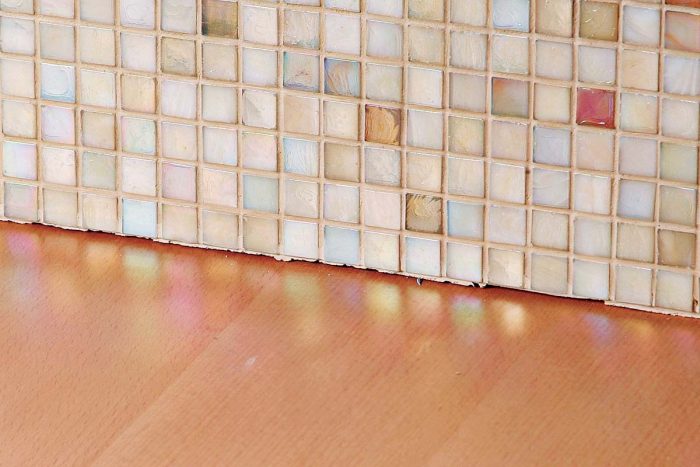 |
1. A tile splash should always be caulked at the wood and tile juncture. |
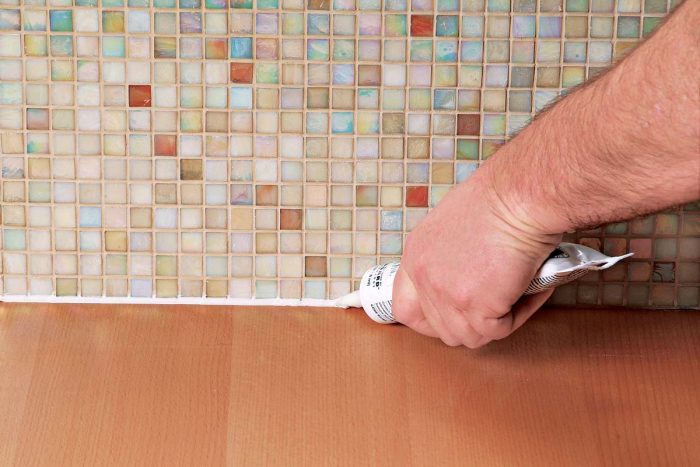 |
2. A small bead of caulk, color matched to the grout, will keep that joint flexible. |
Resealing grout
If you’ve sealed your grout with a penetrating sealer, it can last up to 20 years, depending on usage. In a kitchen or other high-use area, you might need a stronger defense against stains and dirt. For this purpose, there are products on the market that reseal as you clean. These are great time-savers and provide additional protection.
You can easily check the integrity of the sealer on any job by putting a few drops of water on the grout 1. If it beads up right away, your grout is still adequately sealed. If the water is absorbed quickly, it’s time to reseal the grout. Before you reapply sealer to the old grout, you’ll want to clean the entire area thoroughly and let it dry 2. Apply the sealer just as you would to a new tile installation 3.
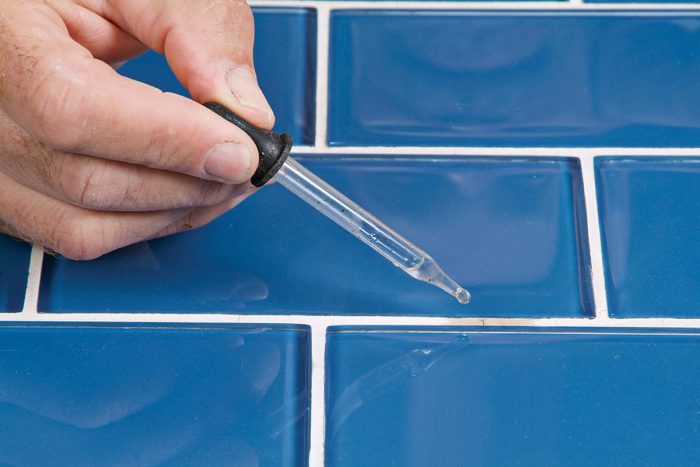 |
1. Drops of water will bead up on the grout if it’s still sealed. |
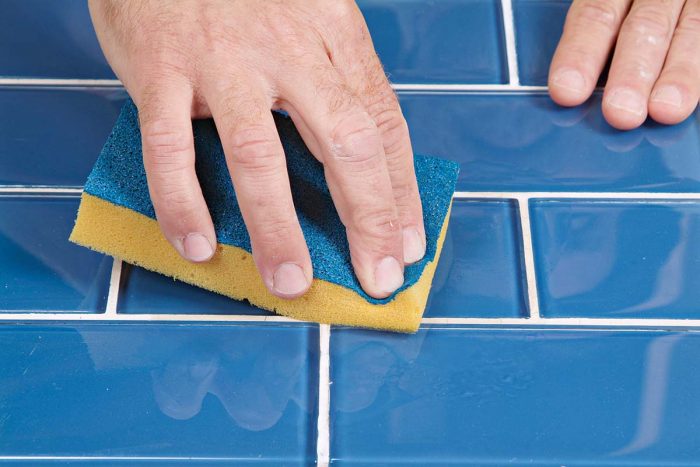 |
2. Clean area thoroughly before resealing. |
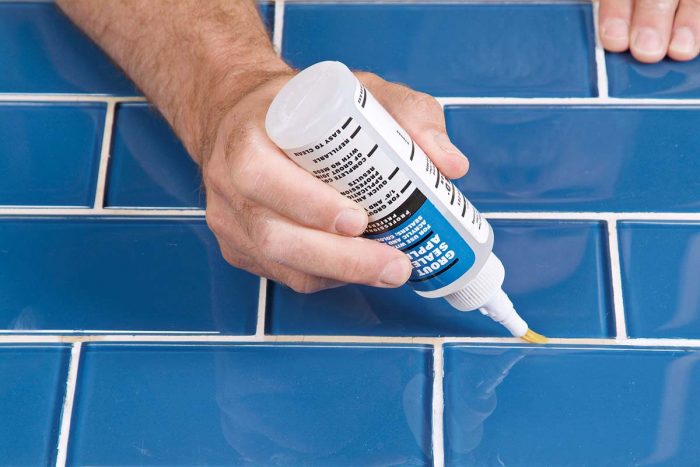 |
3. Reapply sealer. |
 Excerpted from Tiling Complete, 2nd Edition by Robin Nicholas and Michael Schweit.
Available in the Taunton Store and at Amazon.com.

