Replacing a Broken Tile
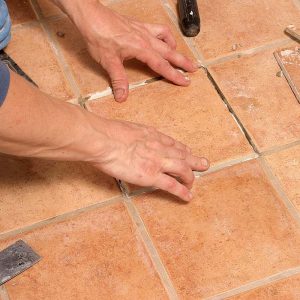
With a little care and the right tools, it's easy to remove a cracked floor tile and install a new one.
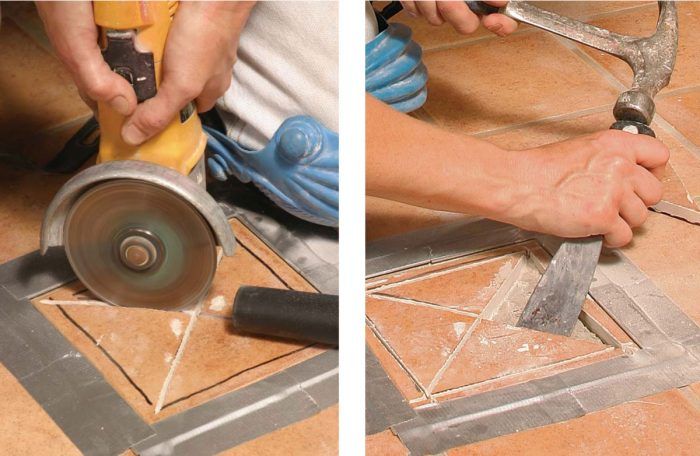
Synopsis: Learn a foolproof process for replacing a single tile in this article. Step-by-step photos detail the use of an angle grinder to remove a cracked tile, and a few common tools to prepare the area for its replacement. Replacing a tile is the easy part, assuming you’ve got an extra tile that matches.
It was bound to happen. The new floors have been finished for less than a week, and someone already has dropped a hammer on the kitchen’s tile floor. Unless the tile guy is still on the job, you’re either going to wait a long time or fix it yourself.
Luckily, it’s a fairly easy fix, as long as you use the right technique. Although you can use a hammer and an old chisel to break out the damaged tile, this technique can be risky. Within grout joints tighter than 3 ⁄16 in., hammer blows can chip or crack adjacent tiles. Hammering also can pulverize the substrate beneath the damaged tile.
Occasionally, I use a hole saw to cut out the center portion of a cracked tile. This technique is good for removing soft-bodied tile. It’s usually a slow process, but I’m left with a hole in the tile that makes it easy to pry with the tip of a chisel or a screwdriver.
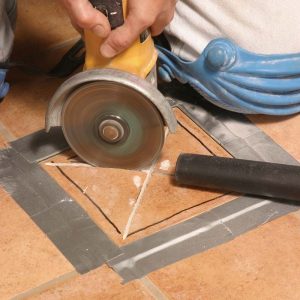
My preferred technique, however, is to use an angle grinder outfitted with a 4-in. diamond blade made by Pearl Abrasive and a shop vacuum. This technique is good for thick, soft bodied tiles such as saltillo, but it works on others as well. The tile must be larger than 4 in., or there won’t be room for a 4-in. grinder blade.
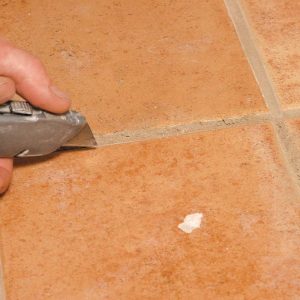
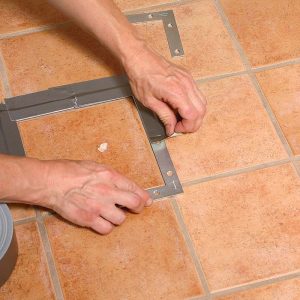
Basically, the trick is first to isolate the tile from neighboring tiles by removing the surrounding grout line, then carefully break the tile into pieces and remove it. Using a grinder can be messy unless you keep a vacuum nozzle trained on the dust stream. I mask off any surrounding cabinet faces or furniture, and also protect neighboring tiles with sheet metal or plywood in case I overcut. I mask off myself as well, donning safety glasses, a dust mask, and hearing protection.
I start by making diagonal cuts, then make separate cuts that run parallel to the edges. The parallel cuts along the tile edges make it possible to position a chisel from the edge of a tile facing in so that the neighboring tile is not damaged. This technique is good for removing tiles with tight joints, like marble. There’s also a cordless 33/8-in. saw made by Makita with a slightly smaller diamond blade that comes in handy; I also use a Dremel tool fitted with a small #7134 diamond-point bit in the corners where the grinder can’t reach.
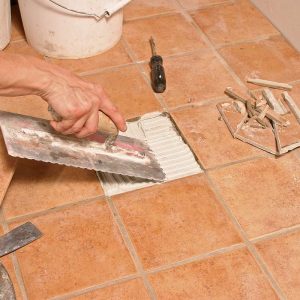
Once the tile is removed, I scrape out any remaining thinset and vacuum the substrate. With fresh thinset and a new tile, the job is finished, except for the grouting work.
Replacing a broken tile
From Fine Homebuilding #168
For more photos and information on repairing broken tiles, click the View PDF button below.

