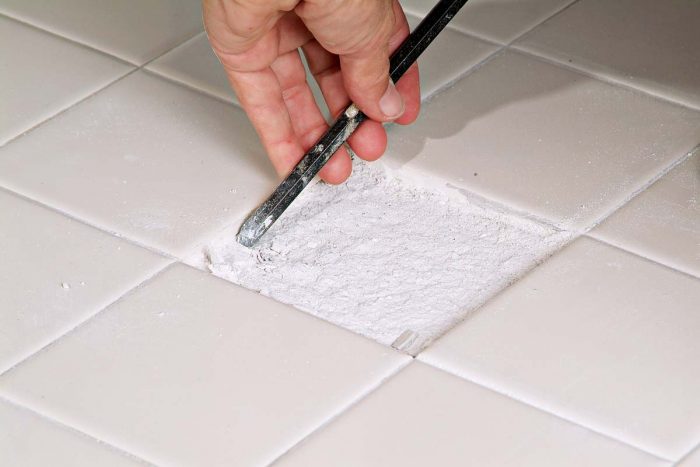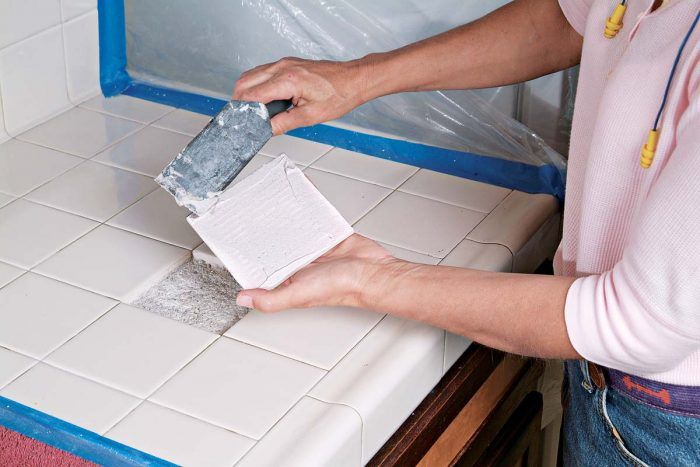
Once your old, damaged tile has been removed, you must remove the layer of thinset or other tile-adhesive material under it, so that the new tile will fit flush with the remaining tiles in the repair area 1. Use a carbide-tipped chisel to carefully remove all the adhesive material until the substrate is clean. If your tile is set on a concrete or mortar bed, a wallpaper scraper with a 4-in. blade is very handy for scraping the adhesive off (if room allows). If your substrate is a soft material, like drywall or plaster, scrape or chisel very carefully so you won’t damage it. Too much damage, and you’ll need to replace the backing, which is a real hassle.
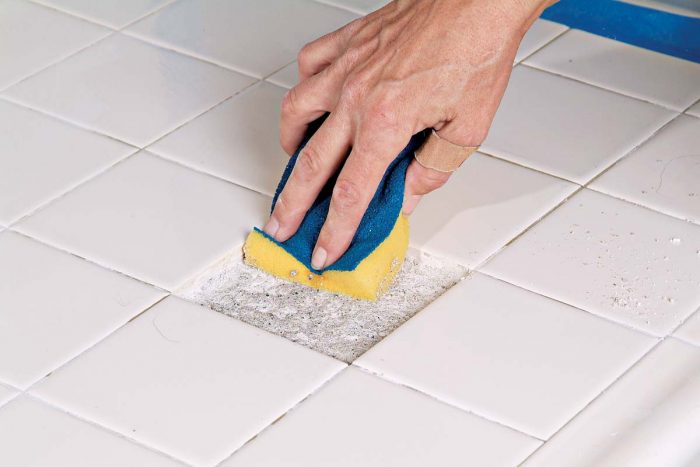
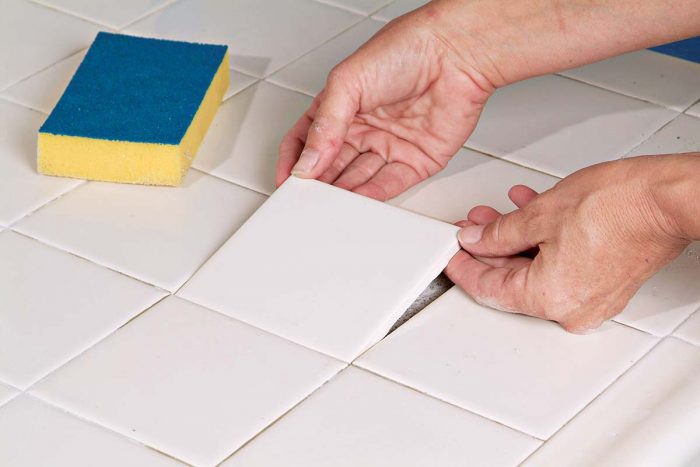
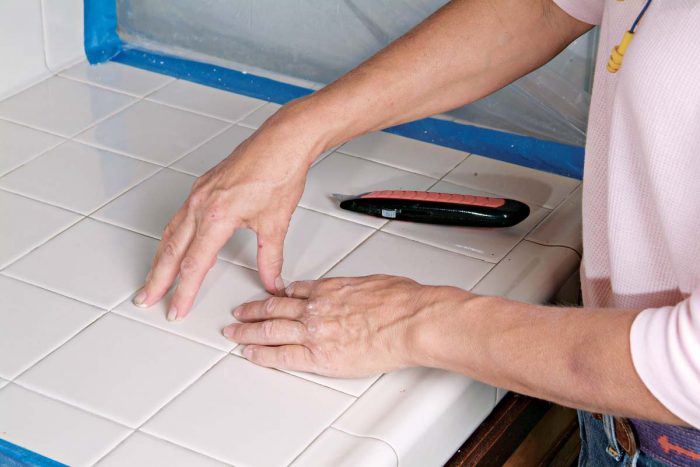
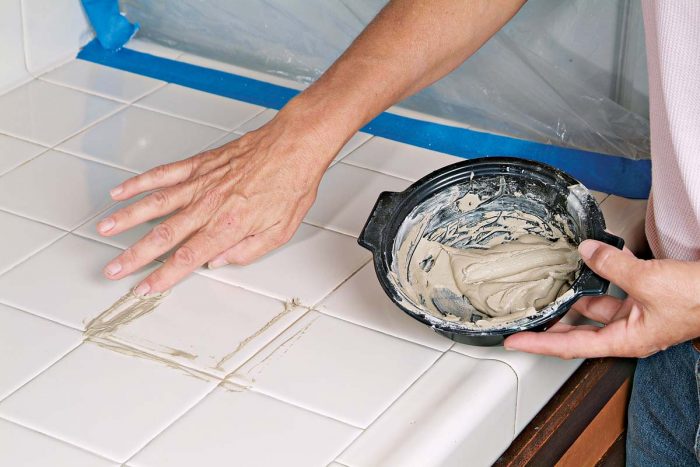
Once the substrate is clean, vacuum or sponge down the entire repair area to remove any remaining dust and debris 2. Now dry-fit your new tile: It should sit slightly below the surrounding tiles to leave room for thinset 3. If the replacement tile sits too high, remove any grout or thinset that is interfering. Mix up a little thinset (whichever kind is appropriate for your type of tile).
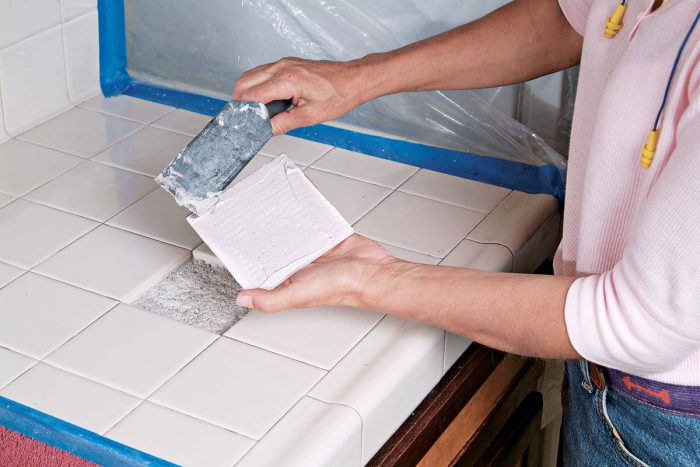
Back-butter the tile 4 and slip it place, pressing it in with your fingers 5. On vertical surfaces, use wedges or spacers to hold the tile in place until dry. Grout around the new tile 6, and you’re done.
 Excerpted from Tiling Complete, 2nd Edition by Robin Nicholas and Michael Schweit.
Available in the Taunton Store and at Amazon.com.

