Trowels, Grouting, and Caulking Tools
You'll need these tools to set the tiles and to finish the installation.
Trowels
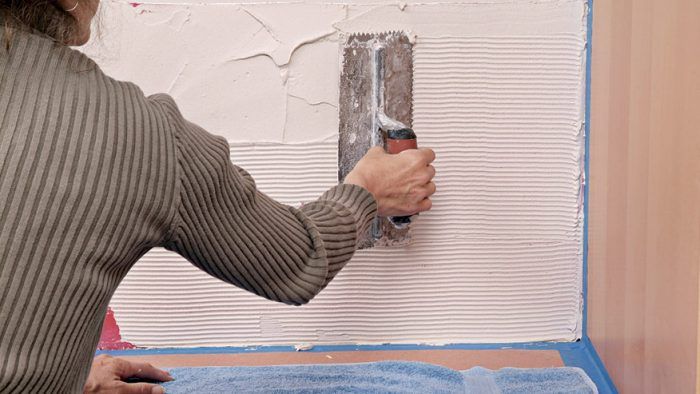
Trowels are used to spread thinset, mastic, and grout. Picking the right trowel for the job is essential to getting good results.
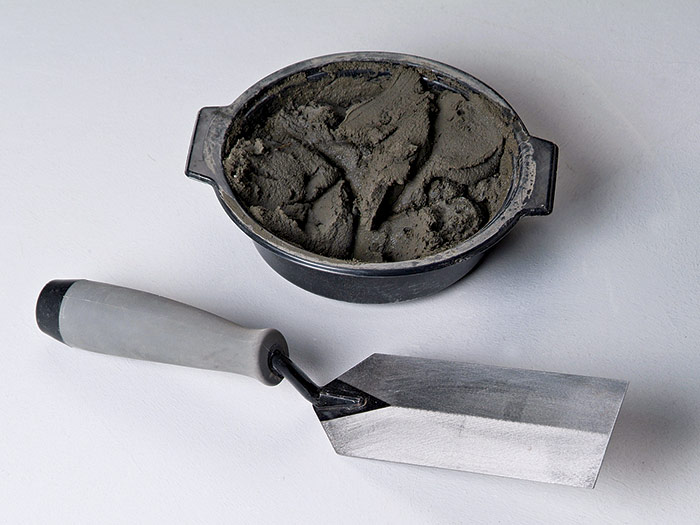
Margin trowel
Margin trowels are the preferred tool for back-buttering tiles, stirring small quantities of thinset and grout, lifting tiles from thinset, and even removing tiles during demolition. Margin trowels come in many sizes for masonry work, but one with a 2-in. by 6-in or 8-in. blade is just the right size for mixing and scooping thinset and grout for tile work.
Notched trowel
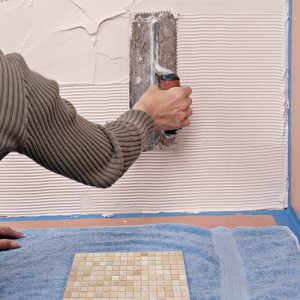
Notched trowels are the main tools used to apply thinset during the preparation process, and again when tiling. When applying thinset, hold the trowel at a 45° angle with the teeth in contact with the substrate. This keeps the thinset bed even in pattern and thickness.
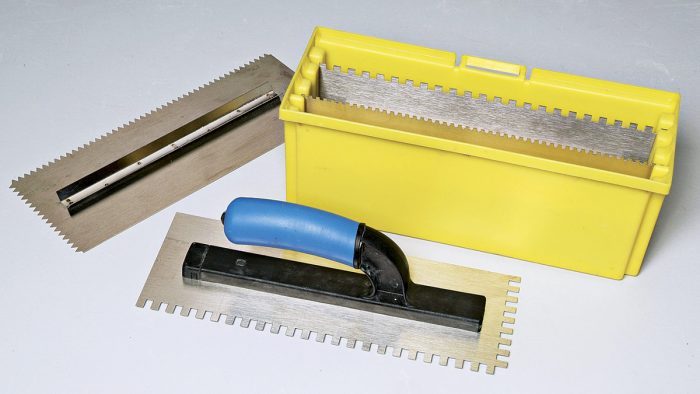
The trowel’s long unnotched side is used for spreading the thinset on the substrate. The two notched sides, a long and a short one, are used for combing the thinset, to leave just the right amount of material for a good bond with the tile.
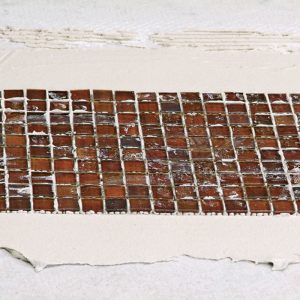
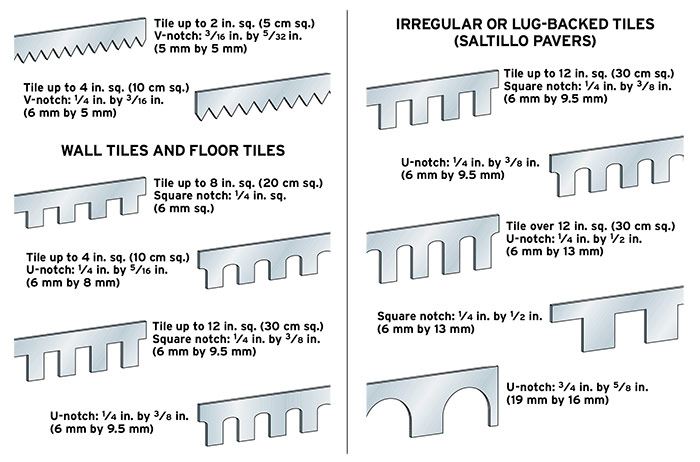
Notched trowels are available with notches of different sizes and shapes, such as 1/16-in. vees and 1/2-in. half-moons. The bigger the notch, the more thinset you apply.
While we give you advice throughout this guide on which size notch to choose for a particular job, the best choice for any installation is dictated by the size of the tile and its underside pattern. Smaller, flat-bottomed tiles require less thinset and hence a smaller notch size.
Nonflat tiles, such as terra-cotta pavers and tiles with raised buttons or waffle patterns require more thinset to fill the hollow spaces under them, so you need a larger notch size. Using a trowel with notches that are too small may not leave enough thinset, which could lead to tile breakage. On the other hand, a trowel with too large a notch pattern leaves excess thinset that squeezes out between the tiles—a nightmare when you have to remove the excess from between each tile to leave room for grout (especially difficult with small mosaic tiles).
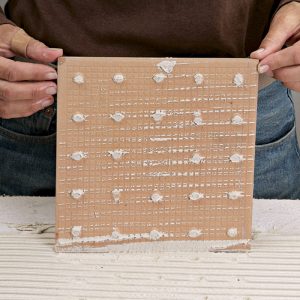
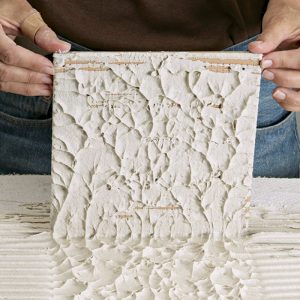
To set tiles with raised patterns on the back, use a large-notched trowel, such as 1/2-in. by 1/2-in. or half-moon notch. To ensure that the tiles are bonding correctly, lift an occasional tile with your margin trowel. The back should be thoroughly covered with thinset. If it isn’t, switch to a trowel with larger notches, if available, or back-butter individual tiles with additional thinset.
Trowel Notch Sizes
Grouting and Caulking Tools
The tools introduced here are used to complete your tile installation. In addition to the tools described, you’ll need a margin trowel, needle-nose pliers (to pull out tile spacers and wedges), buckets, scrubbers and sponges, cheesecloth (to buff off grout haze), and a sealer applicator.
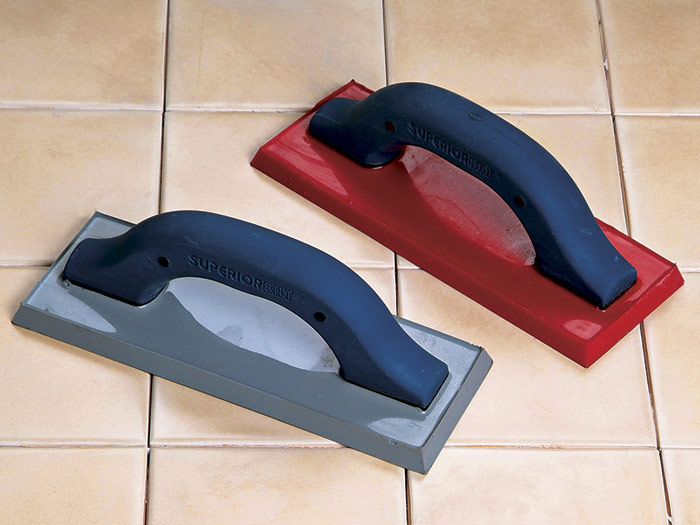
Grout float
Grout floats are for spreading and packing grout. Such floats have a rubber surface that ranges from soft to hard. For nonsanded grout, a soft rubber float spreads and sweeps off excess grout with little effort. When working with sanded grout, a hard rubber float allows you to force the heavy mixture into the joints and remove the excess.
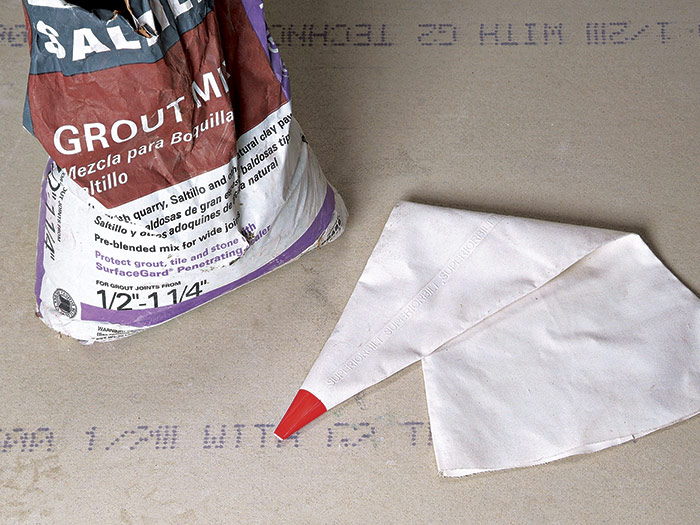
Grout bag
Basically a large, heavy-duty pastry bag, a grout bag is used to squeeze out a large quantity of grout to fill deep joints typically used for terra-cotta floors.
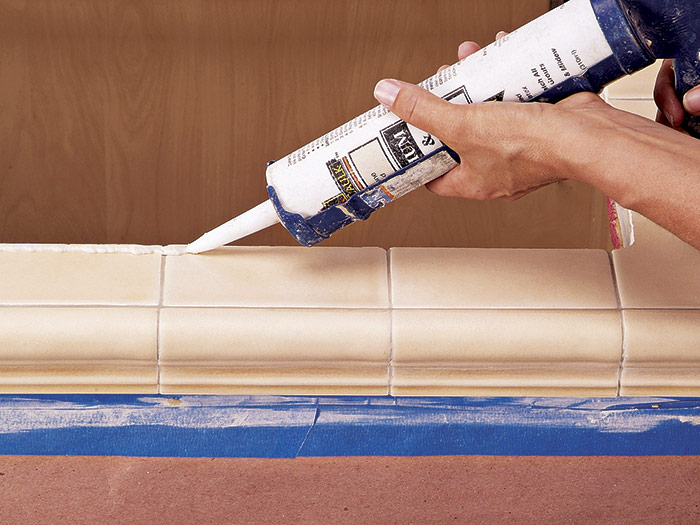
Caulking gun
A caulking gun applies a steady bead of caulk, creating a flexible joint where tile meets walls, floors, and other surfaces. The thumb-operated plunger release on the gun lets you relieve pressure to the caulk cartridge to stop the flow of material when you’re finished.
 Excerpted from Tiling Complete, 2nd Edition by Robin Nicholas and Michael Schweit.
Available at Amazon.com.

