A Fast, Foolproof Method for Fitting Doors
With plywood strips and hot-melt glue, you can make a template that guarantees a perfect fit.
Synopsis: Cutting a door to fit an existing jamb can be a tricky job. Carpenter Chris Green has developed a foolproof way to get a perfect fit: He uses plywood strips, clamps, and hot-melt glue to build a template that allows a cut leaving a precise 1/8-in. gap between door and jamb. The template allows you to forgo the tedious width, height, and angle measurements usually associated with fitting a door.
Cutting a door to fit an existing jamb can be challenging for a professional and downright intimidating for a novice. A door requires a glovelike fit to provide years of trouble-free operation and to keep out noise and cold air while keeping in heat. The gap between the edge of the door and the jamb can’t be too small or too large; it should be a precise 1⁄8 in.
When I started out as a carpenter, I learned to transfer measurements from the door opening to the door using a framing square, a long level, and a measuring tape. Although this technique works, it has limitations. If the door jamb on the hinge side is bowed or if the opening is out of square, you can end up making several trips from the door opening to the sawhorses, carrying the door, re-marking, and recutting. If you measure, mark, and cut correctly each time, you’ll eventually get the door to fit.
A better way is to make a template that provides an exact pattern in which to cut the door so that you get the ideal fit the first time. This technique isn’t limited to full-size doors, either. You can use it on cabinet doors, countertops, closet shelving, and even oddly shaped stair treads.
A Fast, Foolproof Method For Fitting Doors
1. Make A Template In The Door Opening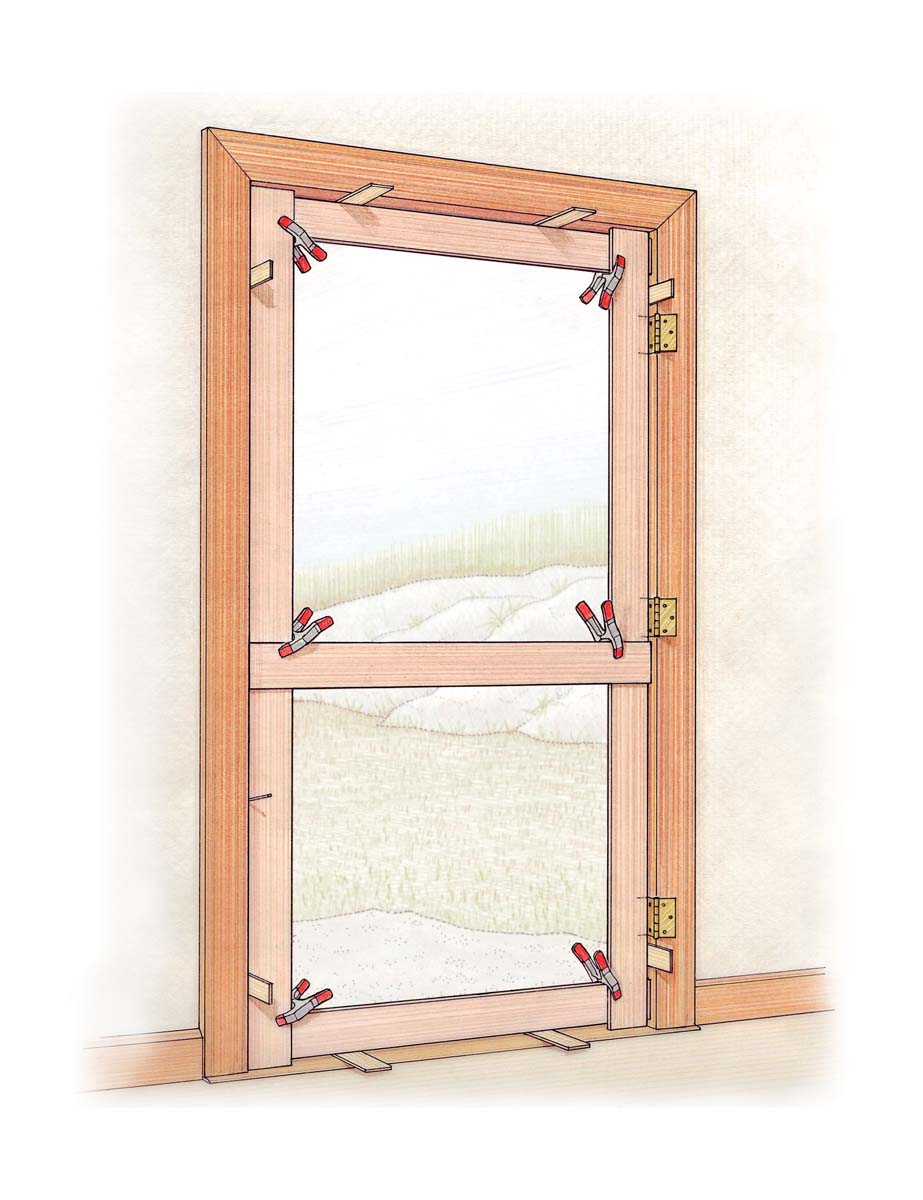

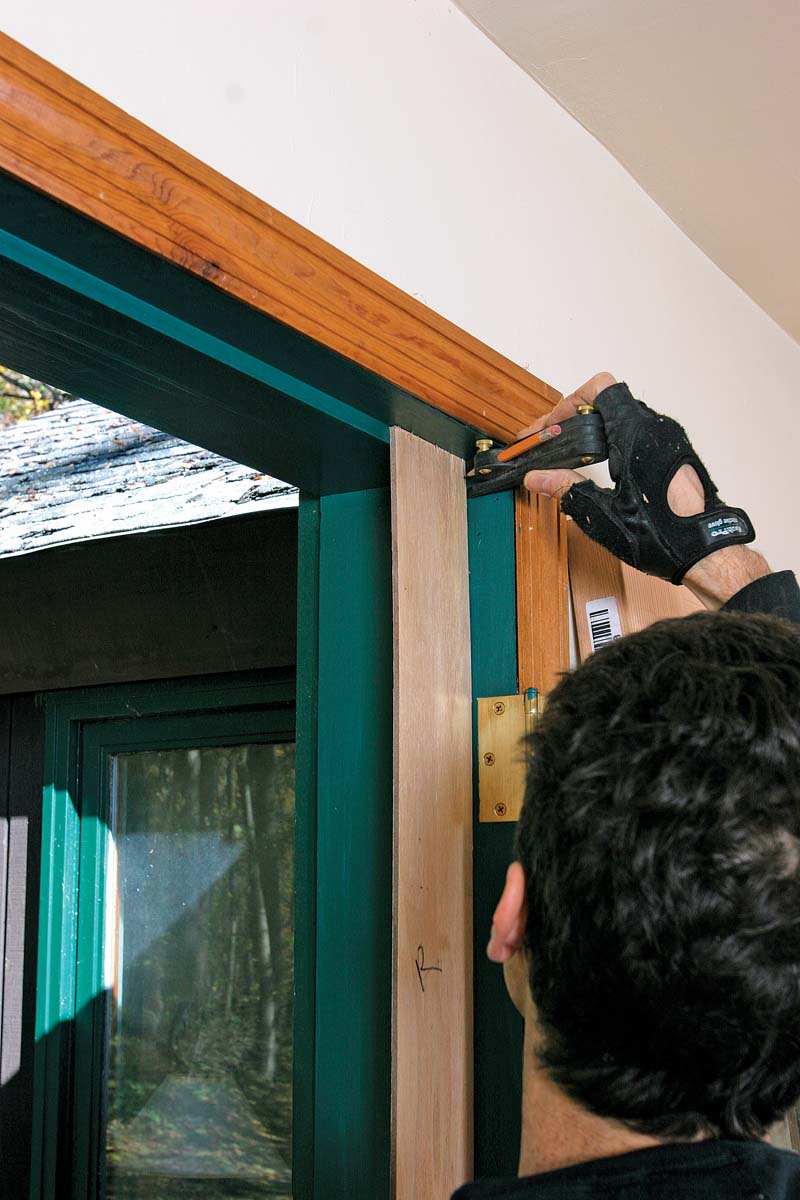
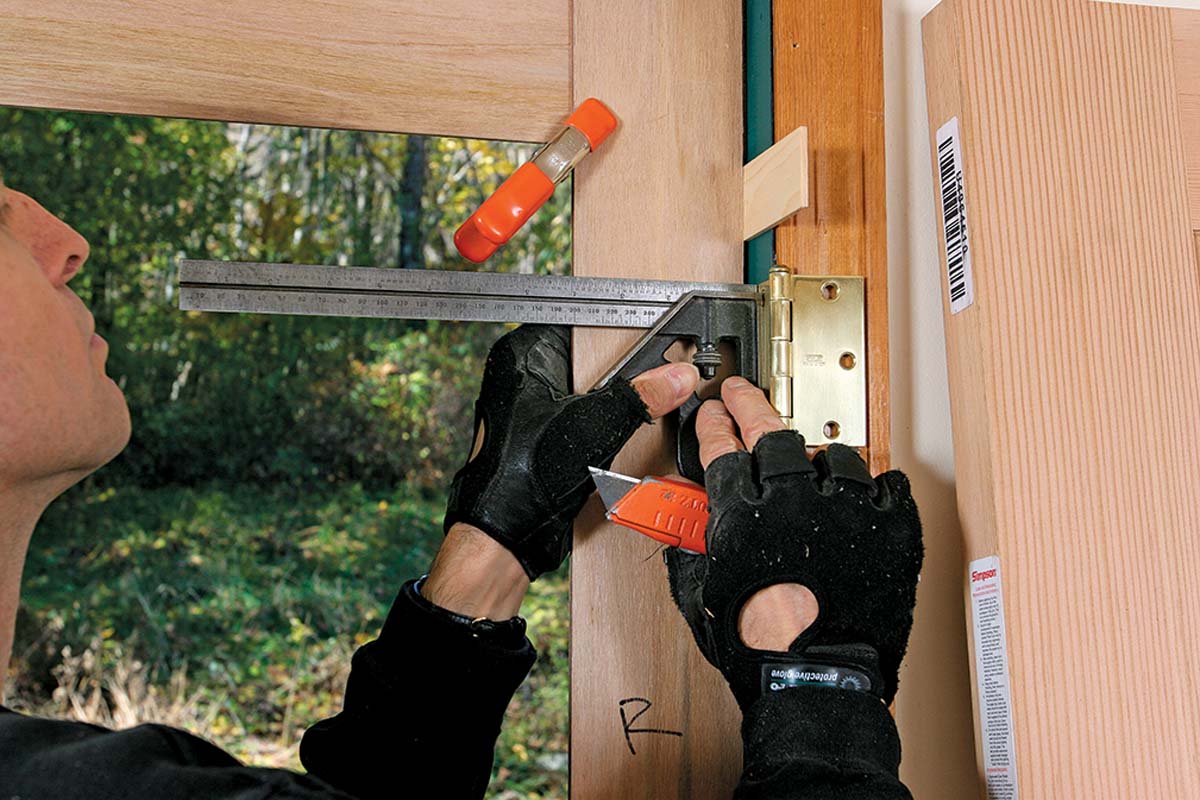
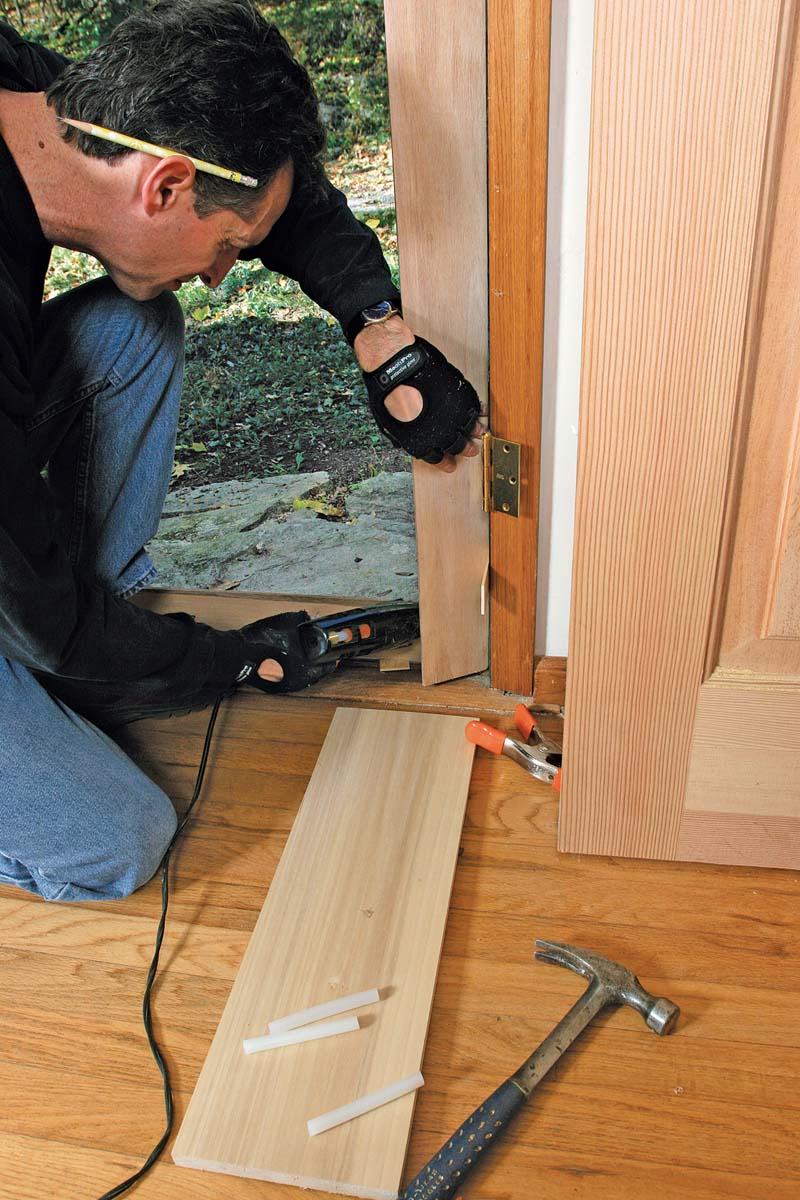
To fit a new door in an existing jamb, create an exact pattern using narrow strips of 1⁄4-in. plywood assembled with hot-melt glue. This approach eliminates tedious width, height, and angle measurements, especially with door openings that are neither plumb nor square.
2. Trace The Template, And Cut The Door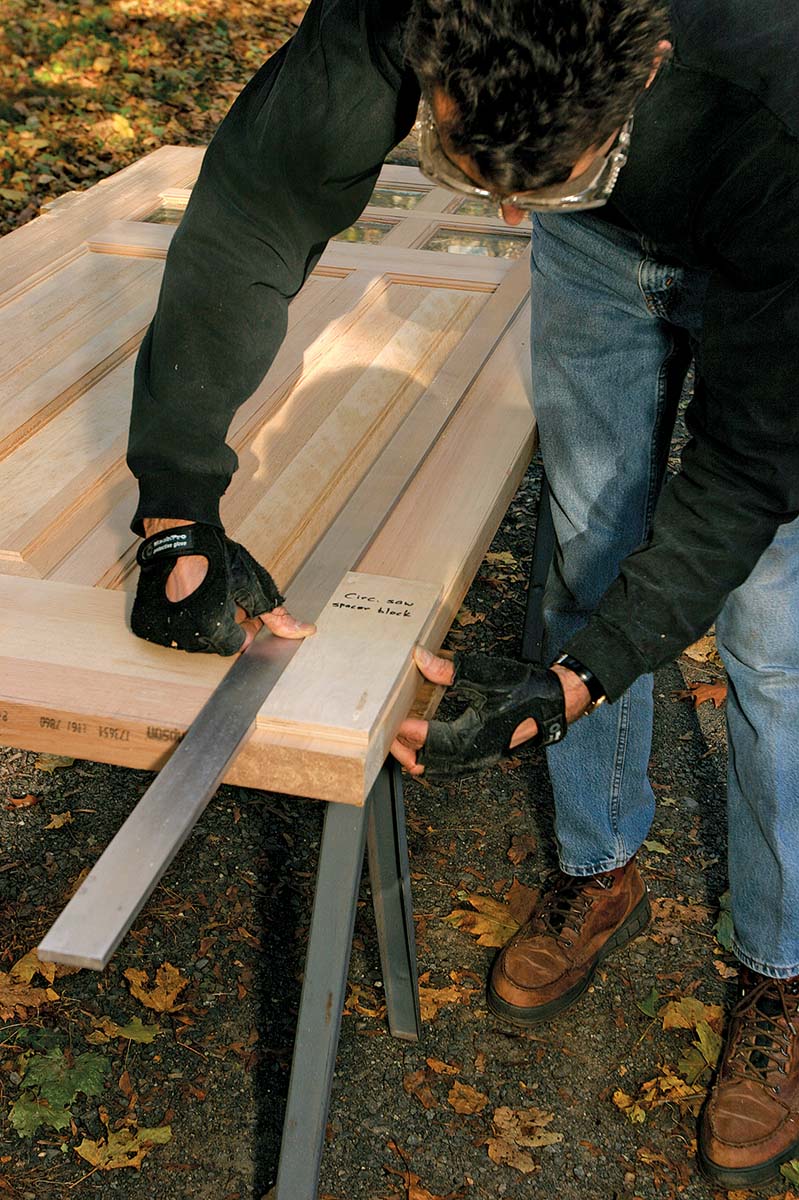

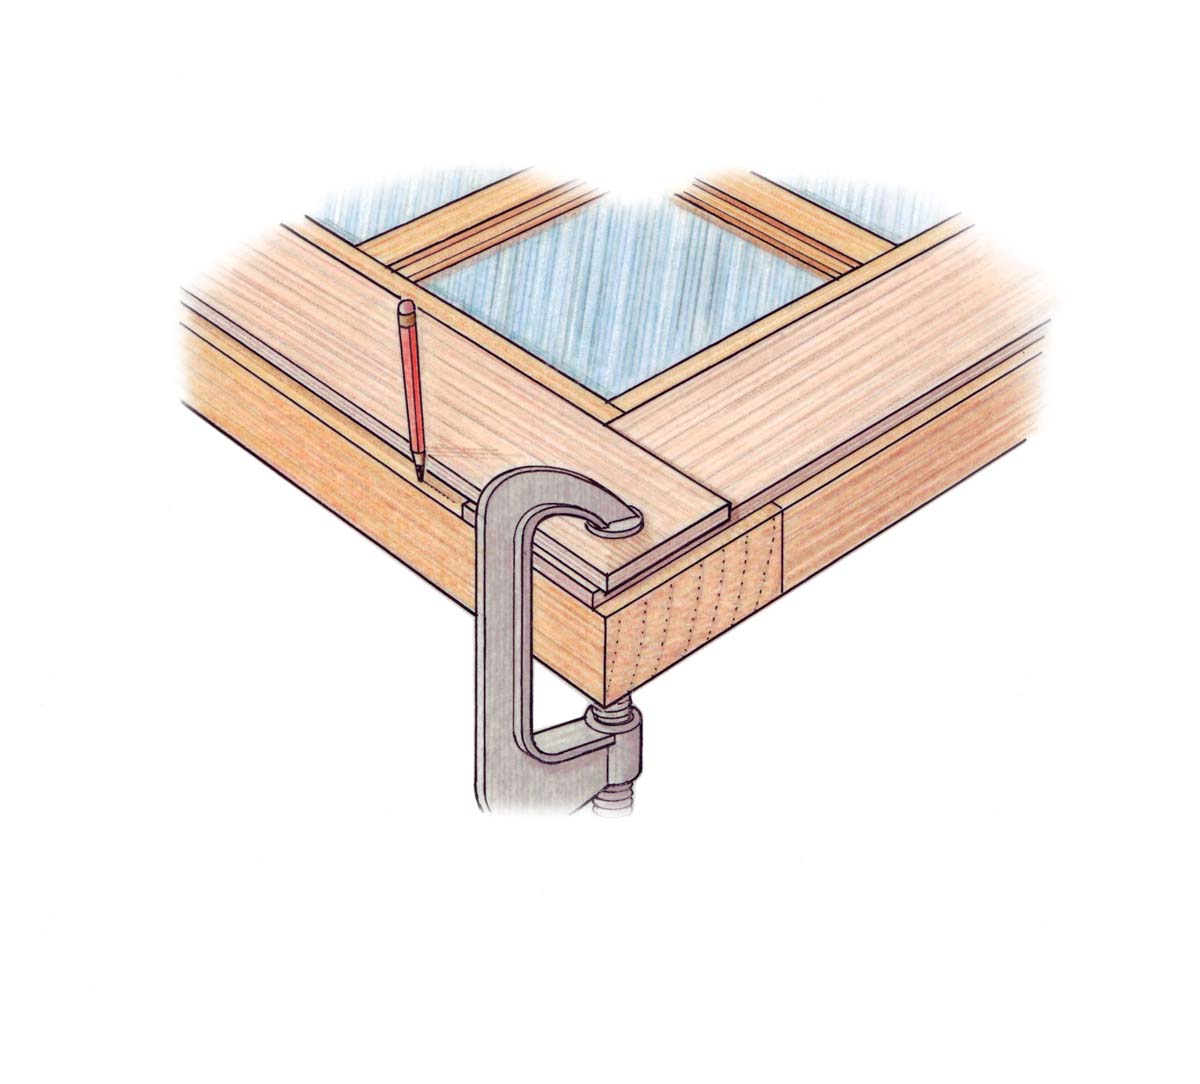
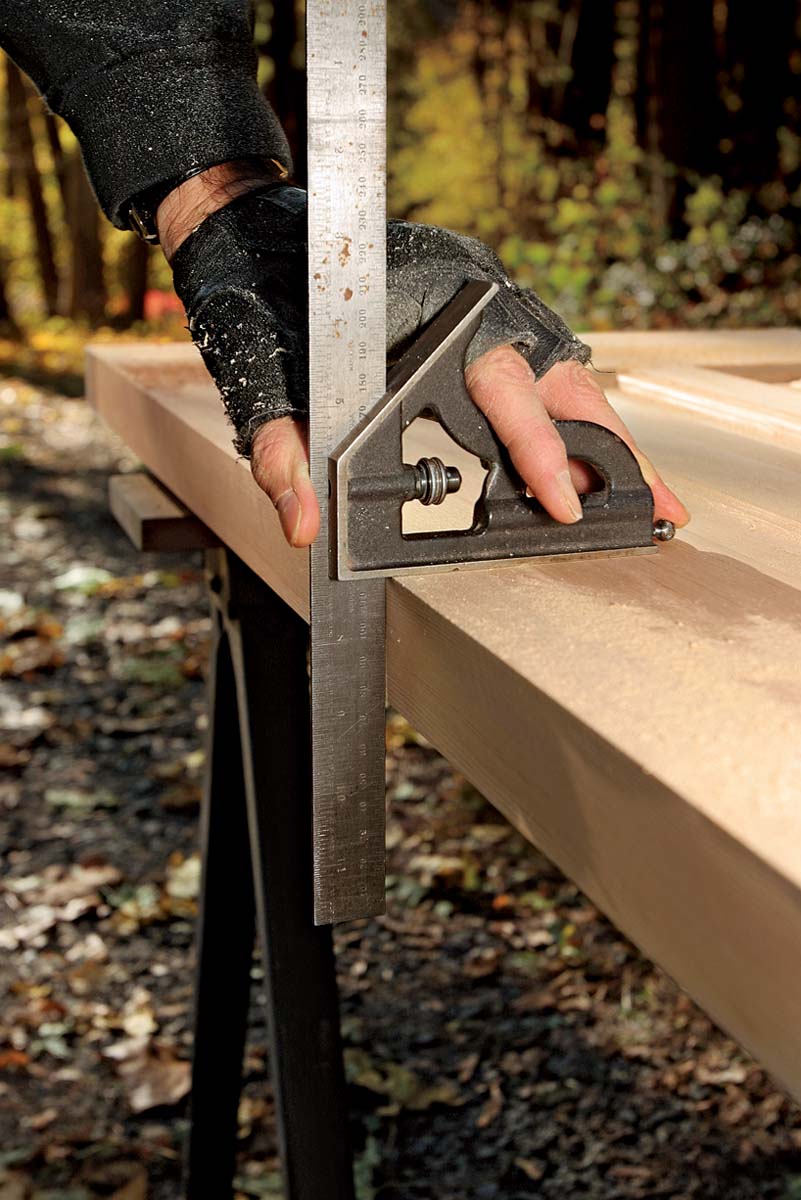
Center the template on the back of the door, making sure its interior side is face up. Clamp the template down securely, and trace its outline. When preparing to cut the door, I use a gauge block, made especially for my saw, to position a straightedge the correct distance from the traced line. Clamped to the door, the straightedge guides my saw for a precise cut. Be sure to cut a 2° bevel on the door’s latch side, and clean up the edges with a block plane or a sanding block.
 |
 |
 |
3. Hang The Door On The First Try

Set the bottom of the door on a stack of tapered shims. You can adjust the door’s height by pushing the shims together or by pulling them apart until the hinge leaves are aligned.
For more photos, drawings, and details, click the View PDF button below:

