Fit New Sashes in Old Jambs
A restoration carpenter gives a primer on fitting plumb rails into crooked jambs.
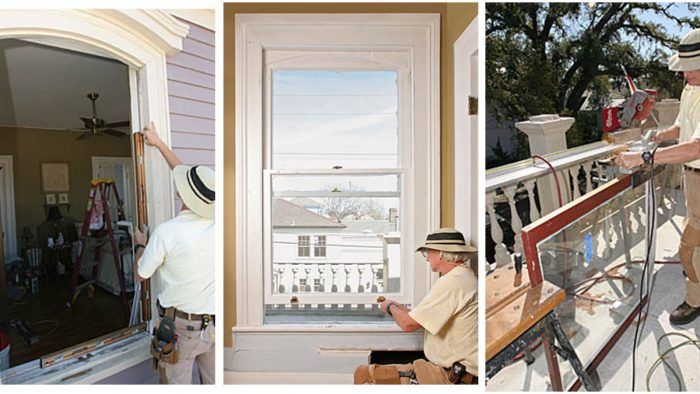
When a sash is beyond salvage (which is rare), I have a new one custom-made from Spanish cedar. All-heart redwood or cedar are also equally good species for this application if Spanish cedar is unavailable. The wood needs to be stable and rot resistant, which rules out most species commonly available today. The first-growth red cypress that was universally used until the mid-20th century in New Orleans, where I work, is hard to beat, compared even with today’s finest woods.
For the retrofit project I’m working on now, I ordered new custom-made sashes by G&W Millworks Inc. (504 833-5146). The Spanish cedar was straight-grained and dense, providing a stable platform on which to work. It tools easily, holds paint well, and is as rot resistant as any wood short of genuine mahogany, which is more expensive. Spanish-cedar dust is pungent and can cause reactions for some people, so I always wear a mask when working with it to prevent headaches. On the whole, though, it is a lovely wood to work with.
If the new sash tips the scales more slightly than the replaced unit, this common problem can be addressed by adding small slip-on cylinders, such as those from Blaine Window Hardware Inc. to the existing weights.
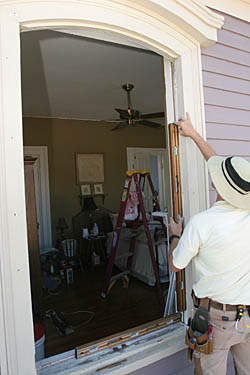
Check the opening for level and plumb
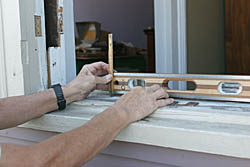
Order the sashes a little larger than the opening so that they can be trimmed to fit. Before I make any cuts on the sash stiles, I check each side of the jamb for plumb. Likewise, I check the top and bottom of the opening for level as well. In this case, the jambs were plumb, but the sill was out of level by about 1/2 in. over 2 ft. Next to rebuilding the window opening completely, tapering the bottom rail of the bottom sash is the only option.
 |
 |
Line up the sashes and measure
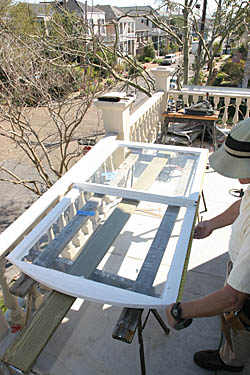
I double-check the overall length of the sashes by placing them on a bench with the meeting rails aligned. I measure from the long point of the bottom rail (the side of the rail that will touch the lowest point of the sill). I then check the opening again to make sure the sashes will fit.
Trim the stiles with a planer
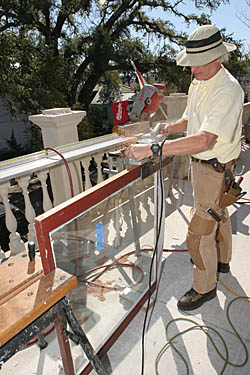
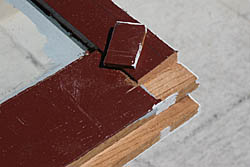
After determining the width of the opening, I trim back the stiles using a hand planer. Take the same amount off each side, and don’t forget to factor in the clearances you’ll need for the leaf seals you’ll be using. And to prevent tearout, cut the through-tenon first with a chisel. Once the sashes have been trimmed to the correct width, use a dovetail saw to cut back the meeting rails to make way for the parting bead. Scribe the rails with the parting bead fully installed for a better fit.
 |
 |
Test-fit the sashes
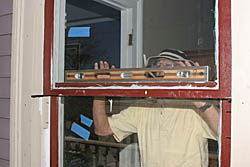
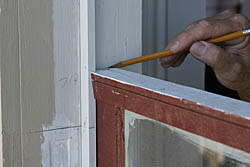
Here, I’m trying to determine where the meeting rails will meet. It will be necessary to trim both the upper and lower sashes to make this happen. After trimming the top rail of the top sash slightly so that it will sit level in the opening, I temporarily install it using cleats and shims. Next, I shim the lower sash in place until it’s level. I mark the location of both meeting rails on the side jambs, then pull down the sashes.
 |
 |
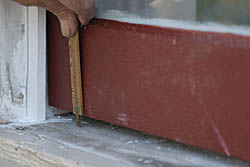
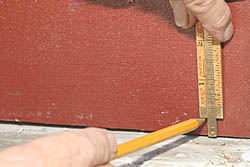
Scribe the bottom sash to the sillWith the bottom sash temporarily in place so that it’s level, I measure the gap and transfer the measurement to the side of the sash that’s touching the sill. This tells me how much I have to trim the bottom rail to make it sit level and tight to the sill.
 |
 |
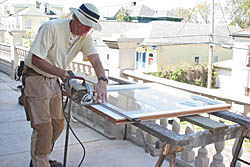
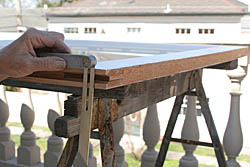
Trim the rails with a circular saw and a straightedgeI cut the bottom rail after determining how much to take off so that the meeting rails will meet. I use the mark from the previous step as a reference point when marking the rail for the cut, and I also factor in the necessary clearance for the tube seal I’m using. Finally, use a bevel square to transfer the slope of the sill to the sash and to set the baseplate on the saw.
 |
 |
To learn how Davis restores old windows without compromising their historical authenticity, read New Life for Old Double-Hung Windows from Fine Homebuilding Issue #192 (Dec 2007/Jan 2008), pp.76-79.
Photos by: Chris Ermides


