Hang a Split-Jamb Door
With casing already installed, split-jamb doors offer a little wiggle room in old houses where wall thickness can vary.

Split-jamb doors are a lot like conventional prehung doors, but they have a two-piece jamb joined with a tongue and groove. The joint, which is hidden by the stop, allows both sides of the jamb to be cased at the millwork shop. The jamb can be separated when it’s time to install the door.
This designs means you won’t have to install casing in the field, and you also get some wiggle room with regard to wall thickness. This quality makes split jambs great for old houses, which often have wavy plaster and odd-size studs. In addition, the millwork shop generally installs the casings and prepares the jambs for less than what I’d pay a competent finish carpenter to do the same work.
I’ve heard old-school carpenters deride split-jamb doors, claiming they can’t be shimmed, but that’s simply not the case. You just have to change your methods. I’ve never had a problem with any of the several hundred split-jamb doors I’ve installed over the years.
1. Check for level
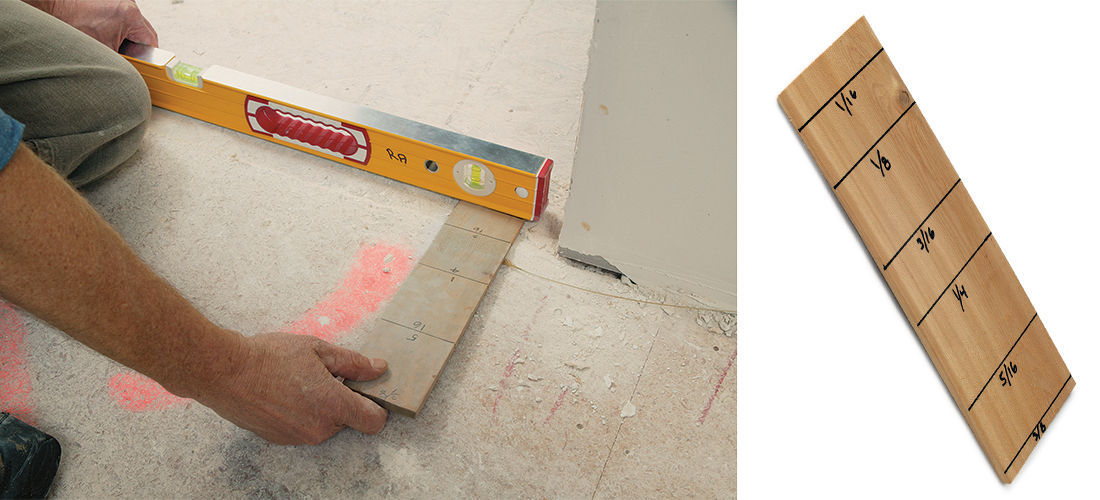
The first step is to check the floor under the jambs for level. A 32-in. spirit level and a graduated shim make it easy to see how much the floor is off.
2. Trim the jambs
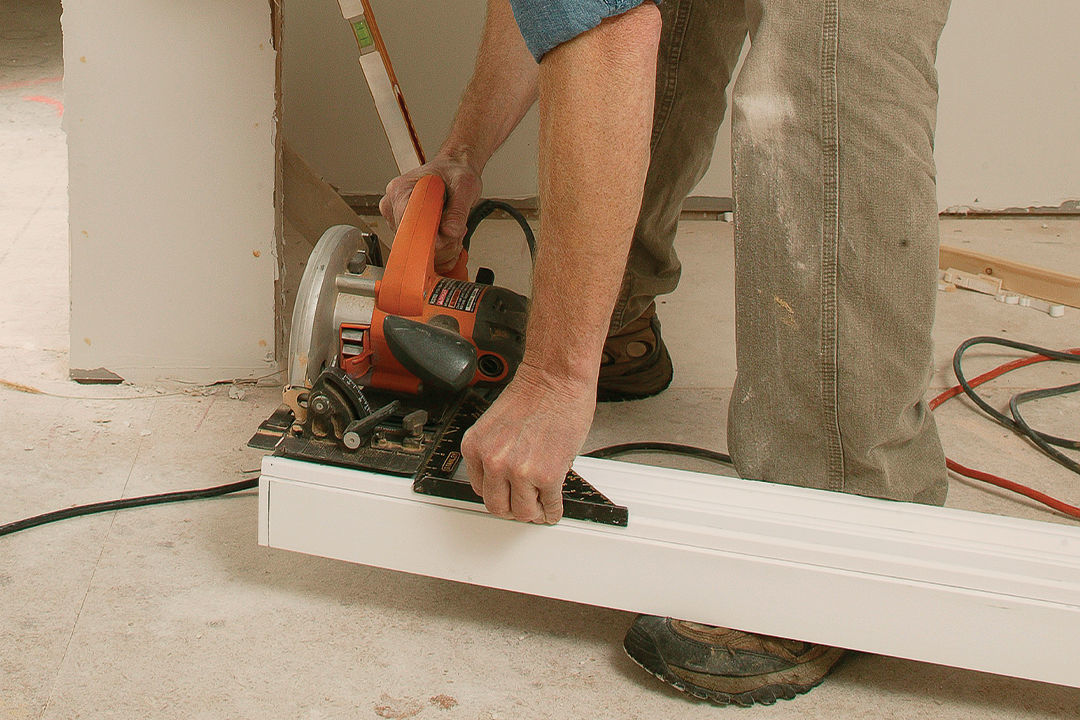
If the floor is out of level, cut one of the jambs a corresponding amount shorter than the other jamb. If a tile or hardwood floor will be installed later, raise the jambs with scraps to match the floor’s final height.
3. Try the fit
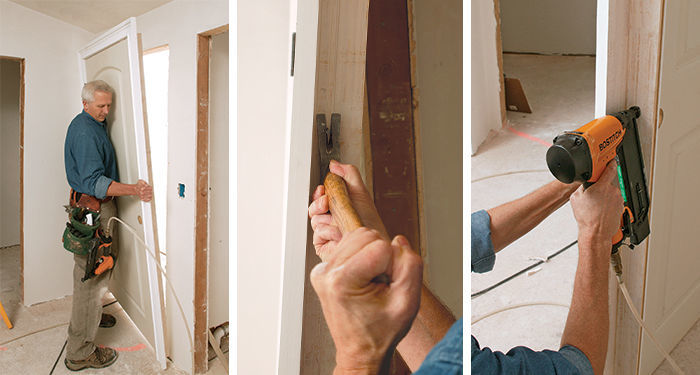
Confirm that the hinge-side jamb can be made plumb in the opening. Then remove the door, and pull out the duplex nail or hardware holding the door to the jambs. Replace it with a single finish nail.
4. Casing holds the door plumb
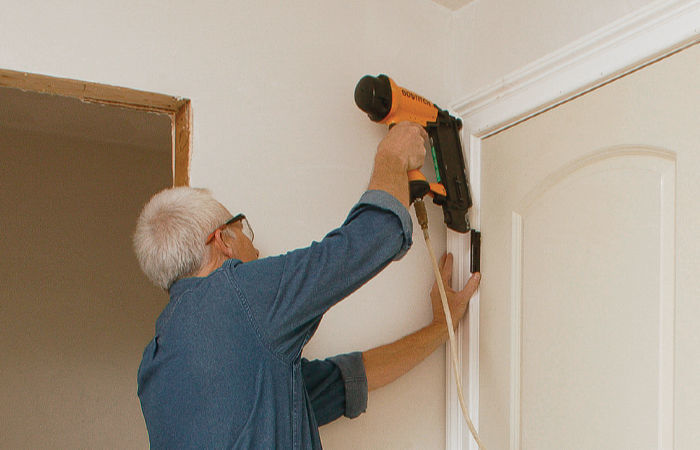
Plumb the door with a level held along the casing leg, and drive 2-1⁄2-in. finish nails through the casing into the jack studs and header.
5. Free the door
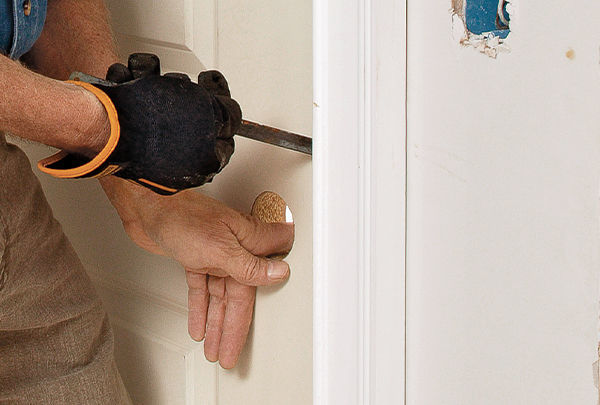
Use a fine-tooth hacksaw blade held in a gloved hand to cut through the finish nail that holds the door closed. Go slowly so that you don’t damage the jamb or stop.
6. Shims steady the jamb
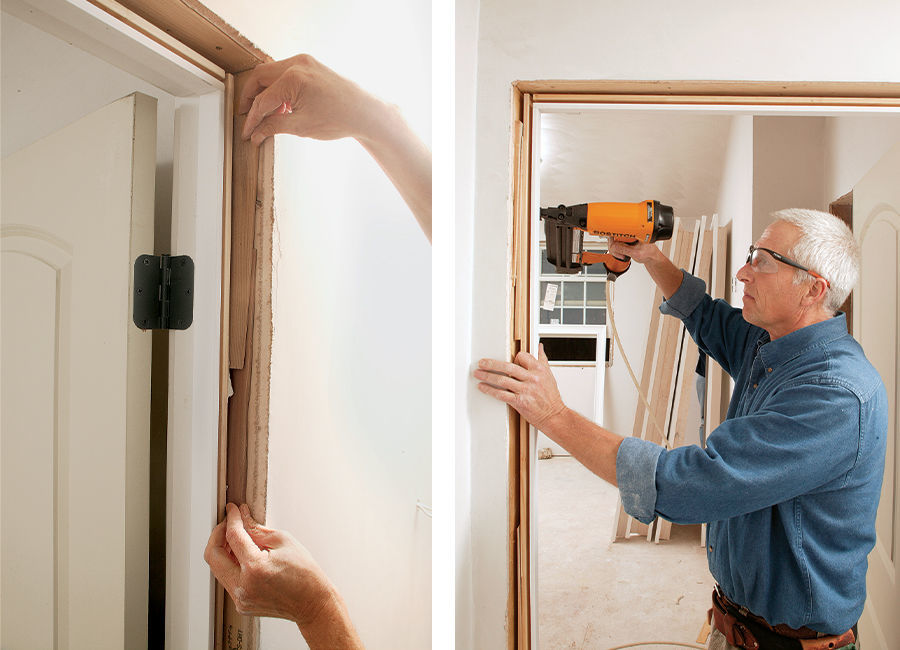
Use 3-in.-wide shims (held vertically) to take up the space between the jamb and the rough opening. Tack the shims in place, but keep the nails away from the groove so that you can install the tongue side of the jamb later.
7. Join the jamb

Starting at the top, slip the remaining half of the split jamb onto the half already in place, and secure it by nailing through the stop and casing.
8. Screw through the hinges
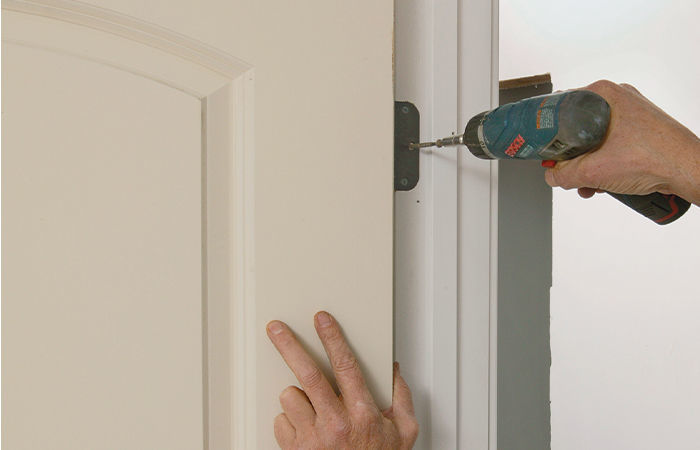
It’s a good idea to swap one of the short screws in each hinge with one that goes into the framing. Plan ahead for this because 2-1⁄2-in. #9 wood screws in the correct finish are tough to find.
A Door Hanger’s Tool Kit
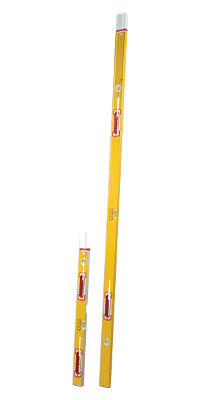
Two-level Jamber Set with hand holes, Stabila 37532, $190.
The most important tools in the door hanger’s kit are a pair of high-quality spirit levels to ensure a plumb door that doesn’t open or close on its own.
Stabila 37532
Two-level Jamber Set with hand holes
The 32-in. model is for head jambs; the 78-in. version is for side jambs. Buying the two levels together costs 20% less than buying them separately.
$244 online.
Photos: Charles Bickford
More on hanging doors:
Double Doors Are Twice as Tricky — Prehung doors demand galvanized nails, a good eye for gaps, and as little moving around as possible.
Cutting a Prehung Exterior Door — It’s probably easier to order a shorter-than-normal door through the lumberyard, but cutting down a door yourself also is an option. Here’s how.
Plumb Perfect Prehung Doors — Believe it or not, you need the level only once, and that’s before you ever touch the door.
How to Lay Out a Lockset on a Door — Replacing an old door slab with a new one may require laying out the lockset so it will line up with the strike plate on the existing jamb.


