How to Install a Prehung Exterior Door
Set the door on a level sill and use shims for a consistent gap between the door and the jamb.

Entry doors are one of the more expensive single purchases we make for our homes. It’s important to choose an entry door wisely, so that you get a door that performs well in terms of durability, energy efficiency, and basic function. Our entry doors also have a lot of impact on the character of our homes. Choosing the right style, material, and color for an entry door is important, too. Finally, it is important that you install you door well. Here we’ll show you how to install an entry prehung exterior door for proper function. Make sure that you finish the job with proper air sealing, the same way you would air-seal a window.
First, check the rough sill for level
Installing a prehung exterior door is straightforward. Assuming the wall is plumb and that the rough sill and opening are flashed, the first step is to check the rough sill for level. If it isn’t level, set the door unit in place, and shim the low side until it is level. Add shims about every 6 in. for solid support. Remove the door unit without disturbing the shims, then bed the shims in window and door sealant.
Before placing the door in the opening permanently, squeeze several thick beads of sealant across the top of the sill flashing to keep out wind and rain.
Place the door from the outside
Most prehung doors are held closed for handling with some sort of bracket that fastens from the inside. If there’s another way into the house, I leave this bracket in place for convenience. If this is the only easy way into the house, then I remove the bracket before proceeding so that I can get in the house through the new door.
Working from the outside, guide the unit into the opening, leading with the sill. When you feel the bottom of the door trim hit the side of the house, let the unit slide down until its sill rests on the rough sill. Push the top in until the trim is tight to the house.
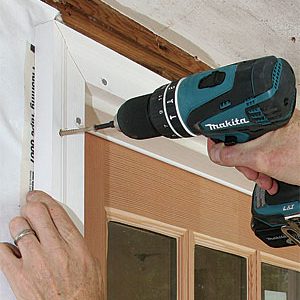
Drive one 2-1⁄2-in. deck screw through the door trim near the top hinge. This holds the door and allows adjustments while you continue working from the inside.
Shim the door plumb
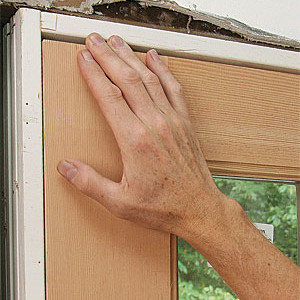
You already shimmed the door sill level, so you can pretty much put away your level. Now it’s a matter of shimming and fastening the unit so that the gaps between the door and the frame are uniform. Assuming the door is square, the unit will automatically be plumb when it’s properly shimmed. Look first at the top of the door on the latch side. If the gap here is narrow, shimming the near bottom of the door frame at the latch side should open it up. If the gap is wide, shimming behind the lower hinge should close it.
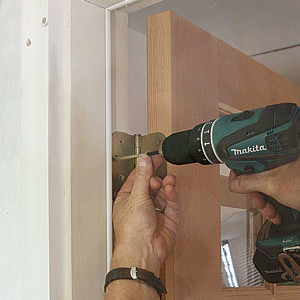
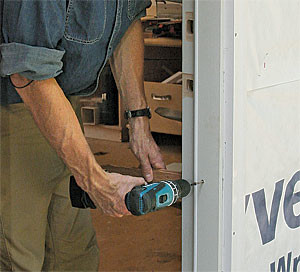
Once you’re happy with the gaps, shim behind each hinge, and replace the two innermost screws at each hinge with a 2-1⁄2-in. screw driven into the stud. Moving to the latch side, shim behind the latch and about 12 in. above and below the latch to even out the gaps. Each set of shims should get two screws, one through the inner side and one through the outer side of the jamb.
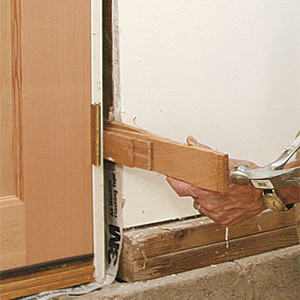
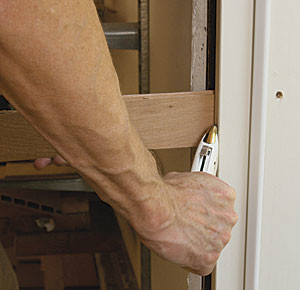
After you’ve shimmed and screwed the frame, check the door’s function. It should open and close without hitting the frame. If it hits the frame, back out the screws, adjust the shims, and rescrew. Once the door functions well, score the shims with a knife, and snap them off. Finally, go outside and use 2-1⁄2-in. deck screws spaced about every 12 in. to screw the door trim to the house.
Step By Step
Shimming
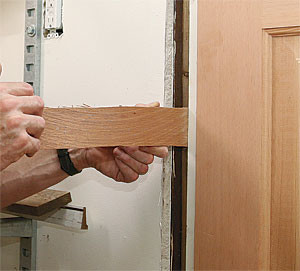
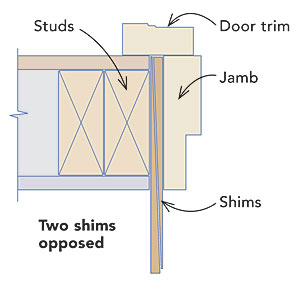
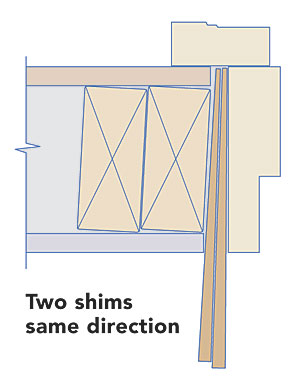
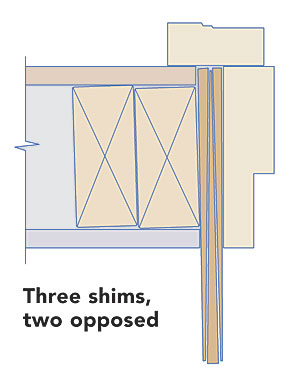
Start with two shims made from cedar shingles. Insert one thick end first, then insert the second so that the tapers oppose each other. Sometimes there’s room for only one shim. At other times, the studs will have warped, and you’ll need to insert shims with their tapers running in the same direction. Cut the shims as needed so that the fat end is the right thickness.
Photos: Patrick McCombe; Drawings: Dan Thornton
RELATED STORIES


