
New Sliders in a Day
Replace those clunky old 'draggers' or French doors with a smooth and quiet space saver.
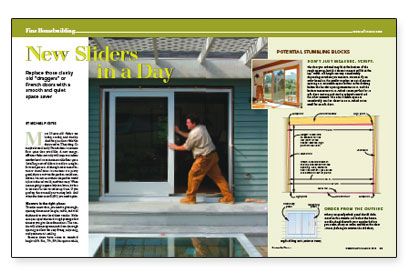
Synopsis: This article walks readers, step by step, through the process of replacing an old slider or French door with a new set of sliding doors. You learn how to measure and fine-tune the rough opening, and most importantly how to flash the sill. You also learn how to assemble and install the jamb to guarantee trouble-free operation.
Most 20-year-old sliders are leaky, creaky, and clunky. And they just don’t slide like they used to. They drag. Or maybe those cloudy French doors use more floor space than you’d like. A new energy-efficient slider not only will improve indoor comfort but also can increase usable floor space. Installing a set of sliders is really a straight-forward process. Although most manufacturers’ installation instructions are pretty good, they’re written for perfect-world conditions. I’m not sure where the perfect world is, but in the real world, conditions vary. When you are going to open a hole in a house, it’s best to account for the variables up front. If you goof up, there’s usually no turning back. And when the door costs $1,600, you need a plan.
Measure In The Right Places
To order a new door, you need to give rough-opening dimensions (height, width, and wall thickness) to your local door vendor. Make sure you repeat the words rough opening a few times as you give these dimensions. The vendor will subtract up to an inch from the rough opening to allow for easy fitting, adjusting, and perimeter air-sealing.
Because doors have come in standard heights (6 ft. 8 in., 7 ft., 8 ft.) for quite a while, new doors often slip right in to old openings, but it’s good to make sure the rough opening will accommodate a new slider before you actually open a hole in the house.
Measure the width at the header between the jack studs, but also measure at the floor. If the opening is out of square, it may make sense to order a smaller unit than the header implies.
Consider The Options
You can use two-, three-, and four-panel configurations to fill most any width opening. For the 8-ft. project that is featured here, I used two 4-ft. panels (one sliding and one stationary), but I also could have used three 2-ft.-8-in. panels (two stationary and one sliding). When you order the doors, specify the sliding panel as left or right as viewed from the outside of the house. Repeat this information as well as the rough opening a few times to your door vendor. You want this information to be clear.
Interior and exterior finishes typical of windows are available for sliders as well. The Andersen unit shown here has a vinyl-clad exterior and a wood interior. Other options include aluminum or fiberglass cladding, and units made with vinyl, fiberglass, or aluminum extrusions.
A Level Sill Is Critical
While you’re analyzing the rough opening, check the floor with a level and a straightedge. If it’s not level, the side jambs, when plumbed, will force the frame out of square, causing the glass panels to fit poorly. Unaware of the real problem, you will try to make up the difference with the wheel adjustments. Sometimes this works, and sometimes it doesn’t. If it doesn’t, you’re in for a long day. It’s safer to start with a level subsill.
For a subsill that’s more than 1⁄2 in. out of level, cut two continuous wedges (one placed toward the inside and the other placed toward the outside) running the length of the opening. If the subsill is less than 1⁄2 in. out of level, use opposing wedge-shaped shims, bedded in polyurethane caulk, every 10 in. to 12 in. to provide continuous support for the sill.
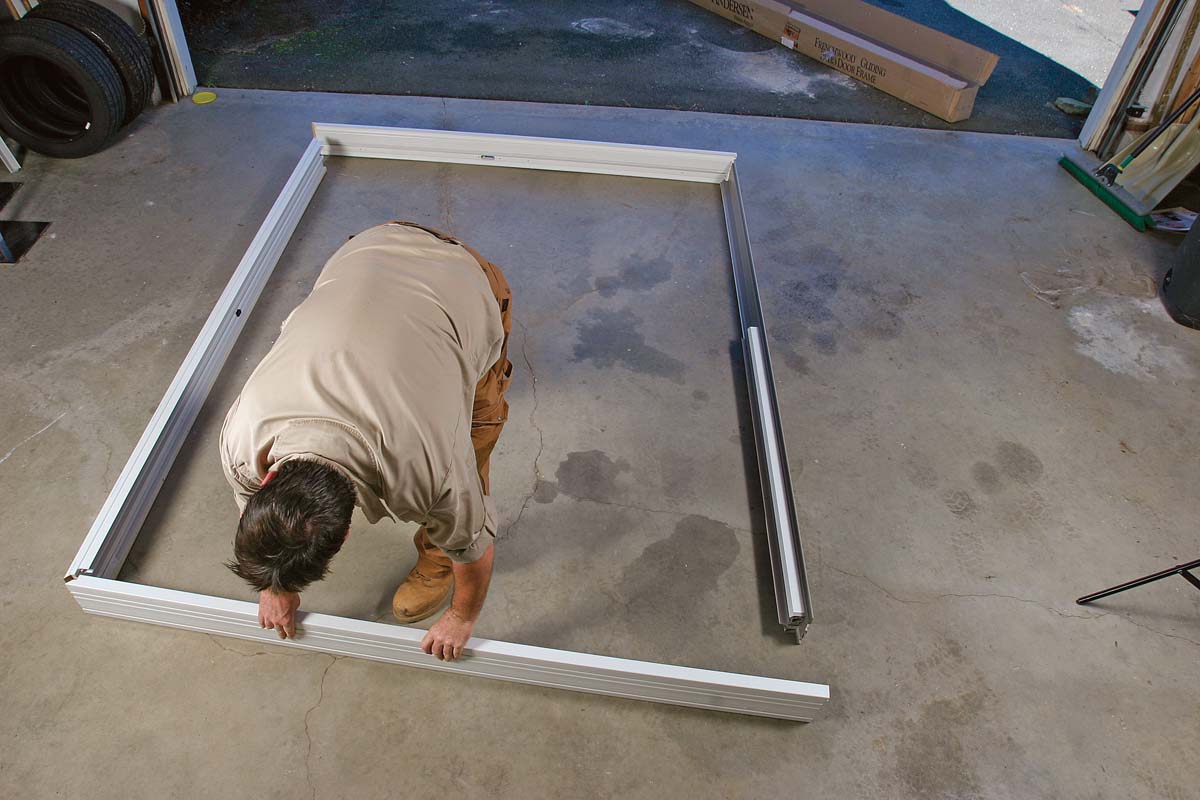
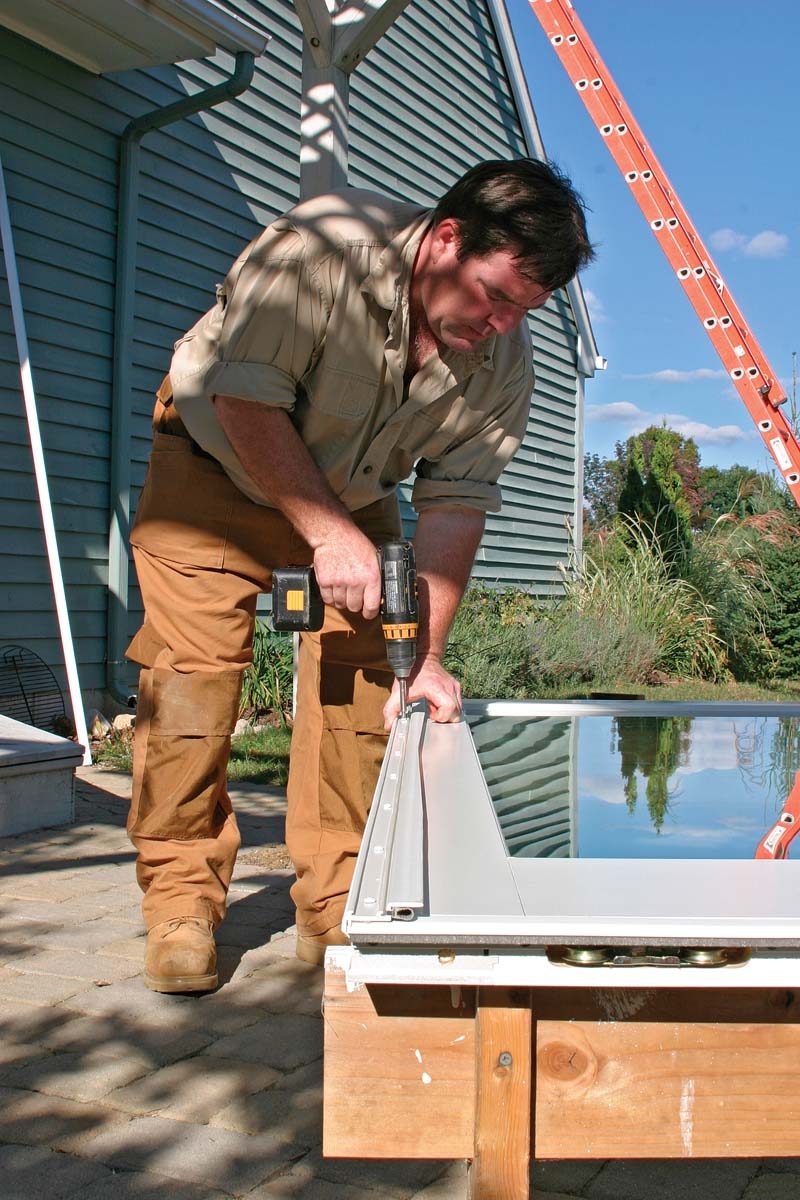
Assemble The Frame On The Floor
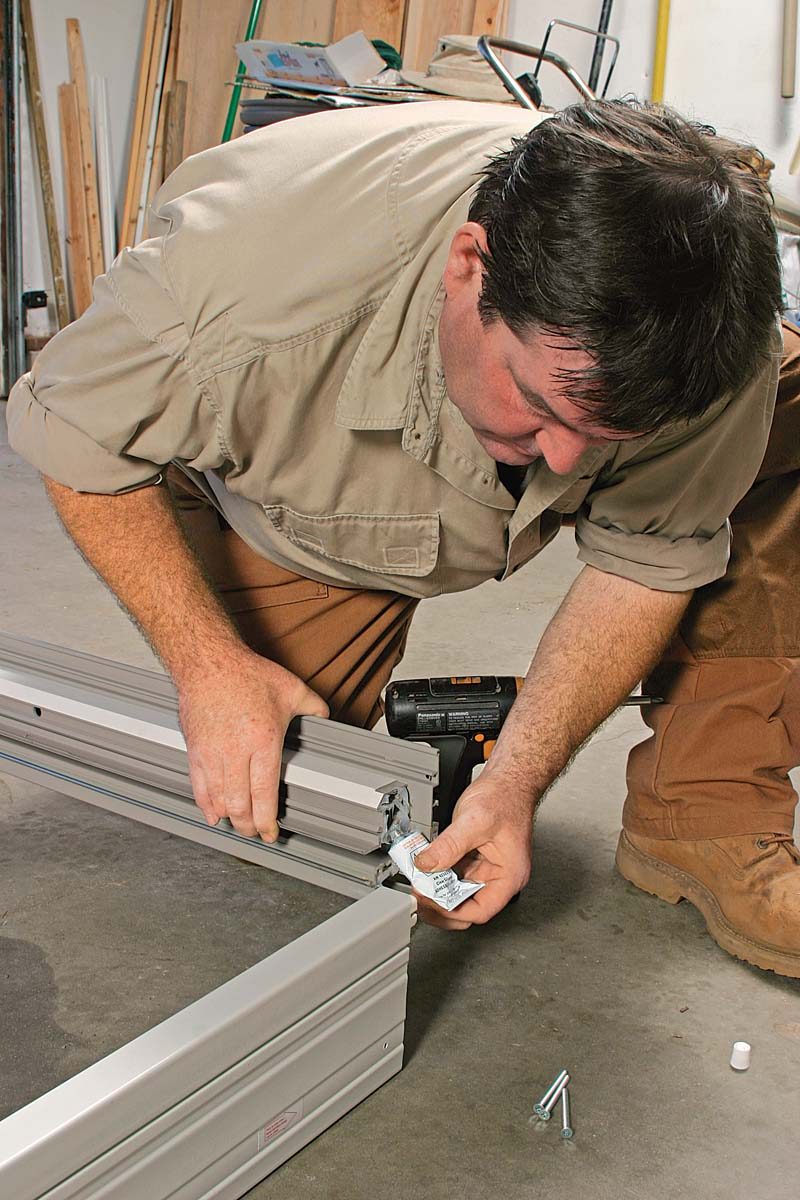
Because the sill can lie on the floor only exterior side up, that’s how you need to assemble the frame: outside up. Test-fit the parts with one screw per joint to ensure the proper alignment before continuing. If everything looks good, assemble the parts for real with a small amount of silicone at all the joints.
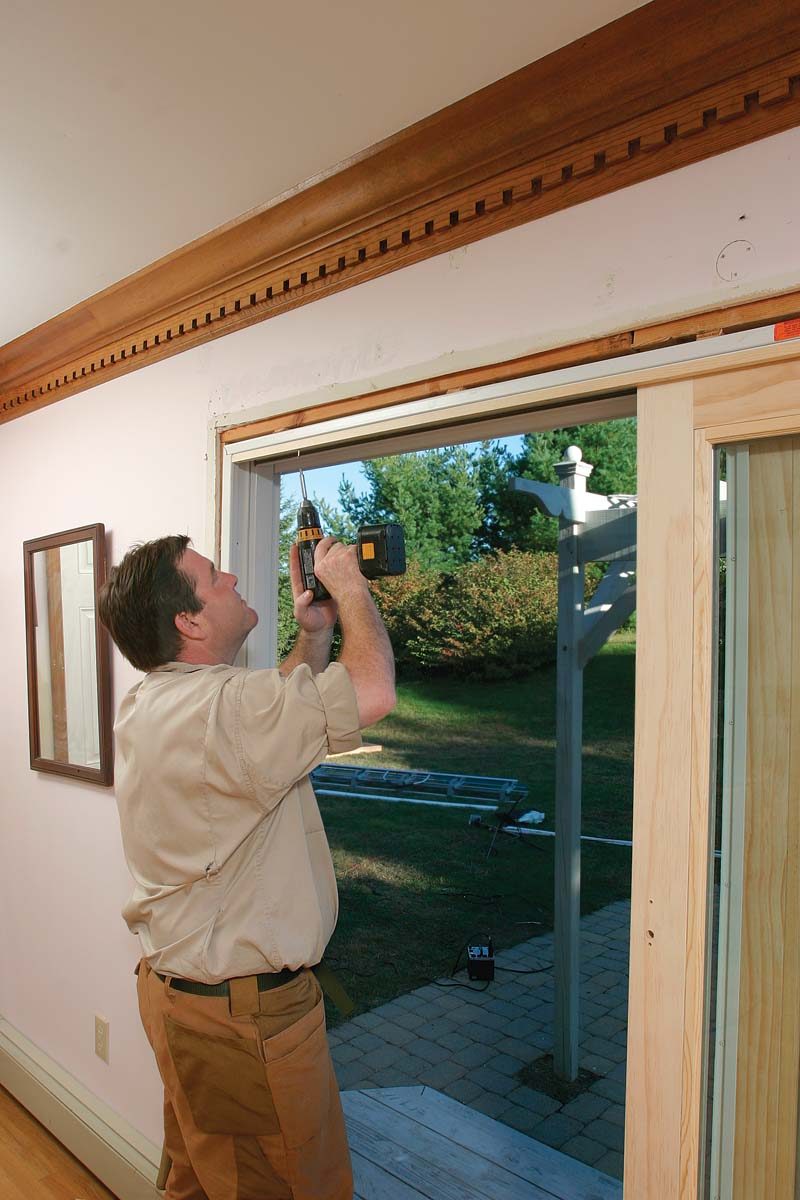
Most sliding doors include jamb and head flanges that attach to the frame. These flanges are not flashing. They act as a primary air barrier when they are caulked and sealed to the building paper. The flanges should be used in new construction. In some replacement situations, however, the jamb and head flanges are not practical because wall thicknesses vary, and the groove for the flanges doesn’t always jibe with the exterior surface of the wall. I install the frame flush with the inside-wall covering so that interior casings will bridge the joint cleanly.
Prevent Rot With Pan Flashing
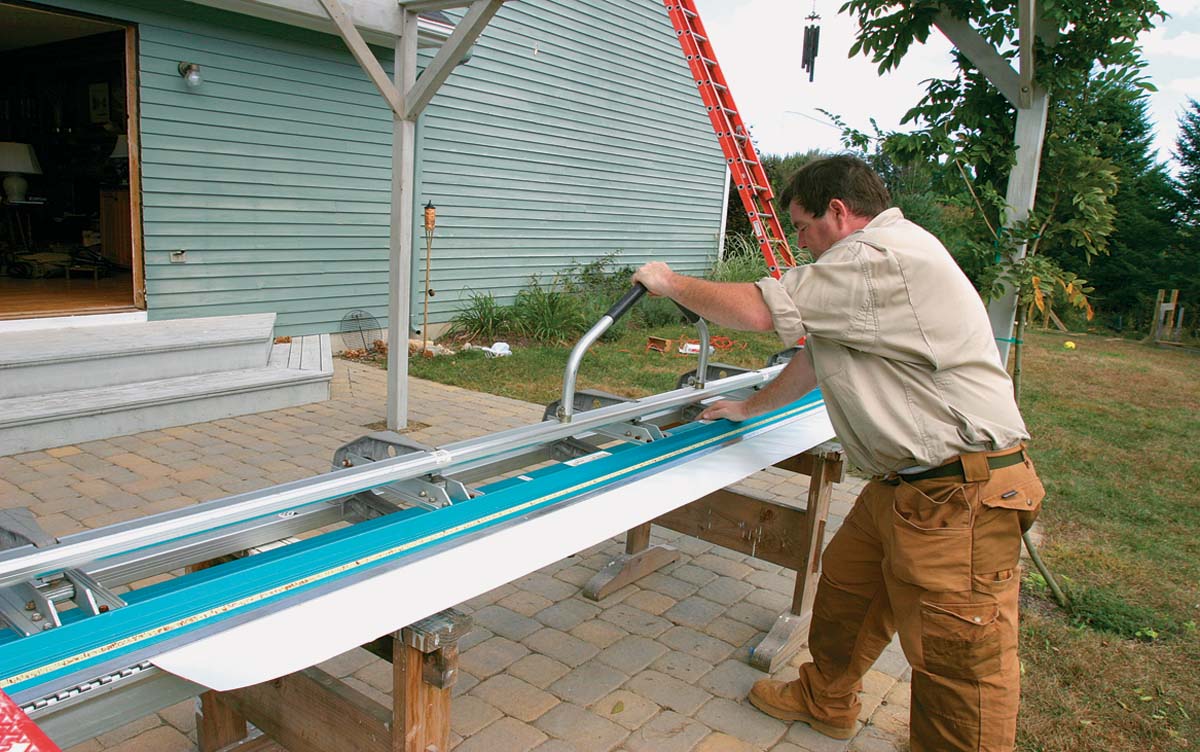
Before placing the jamb, I install a pan flashing that I make with painted aluminum or copper (sidebar p. 55). But pan flashings also are available commercially. Pan flashing protects the subfloor from rot by directing errant water from leaks out and away from the building. Most door companies don’t specify pan flashing, but for cheap insurance against rot, I use it.
I bed the pan flashing in several beads of polyurethane caulk for an air barrier. Don’t make any nail or screw penetrations through the pan, or you’ll defeat its purpose.
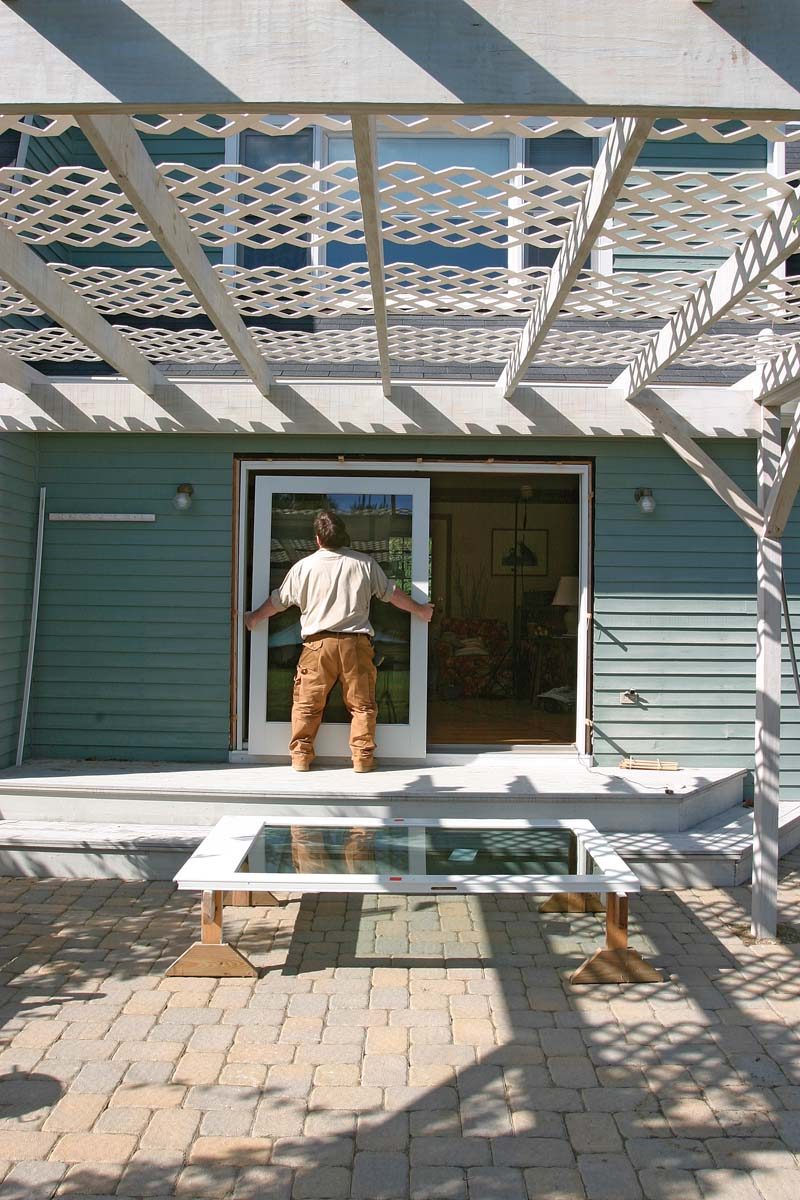
Get A Buddy, And Set The Frame
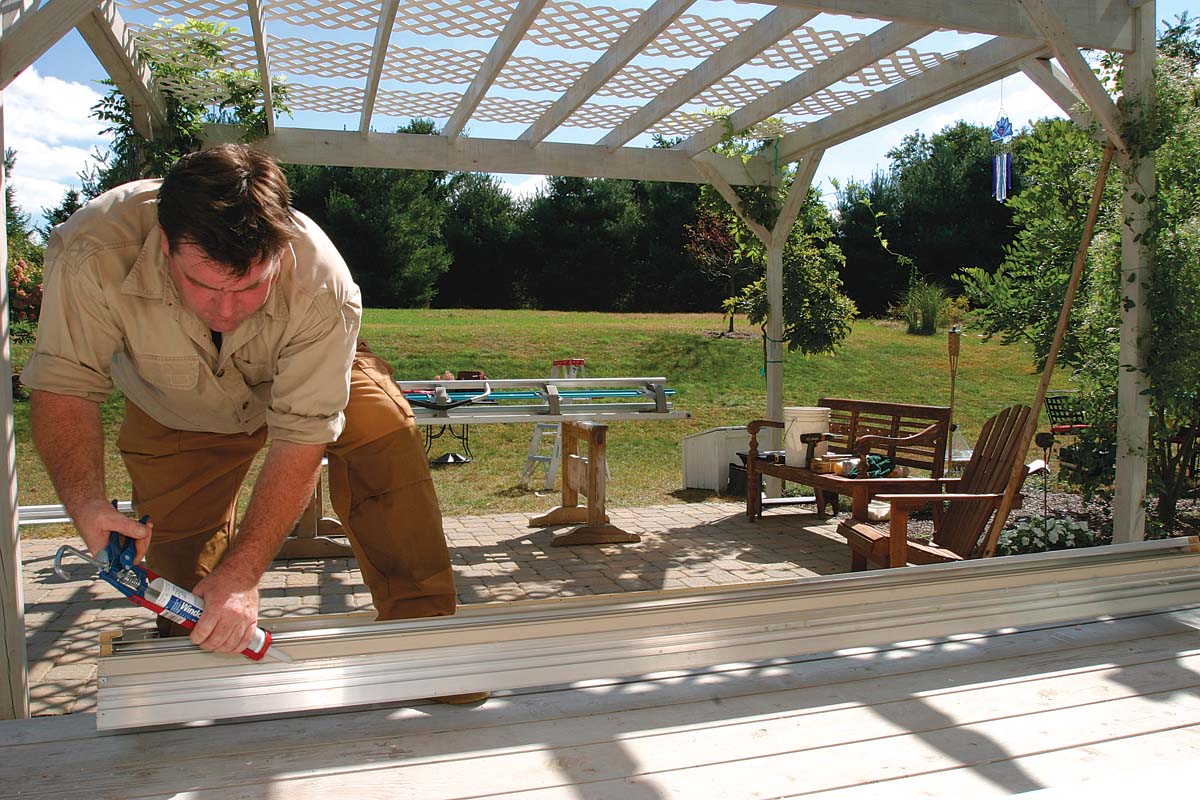
Apply a continuous bead of silicone to the underside of the sill. Be careful not to smear this bead when you set the door frame in place. Gently set some shims on each side of the frame at the bottom to keep the sill from moving on the slippery silicone while you square the door’s frame.
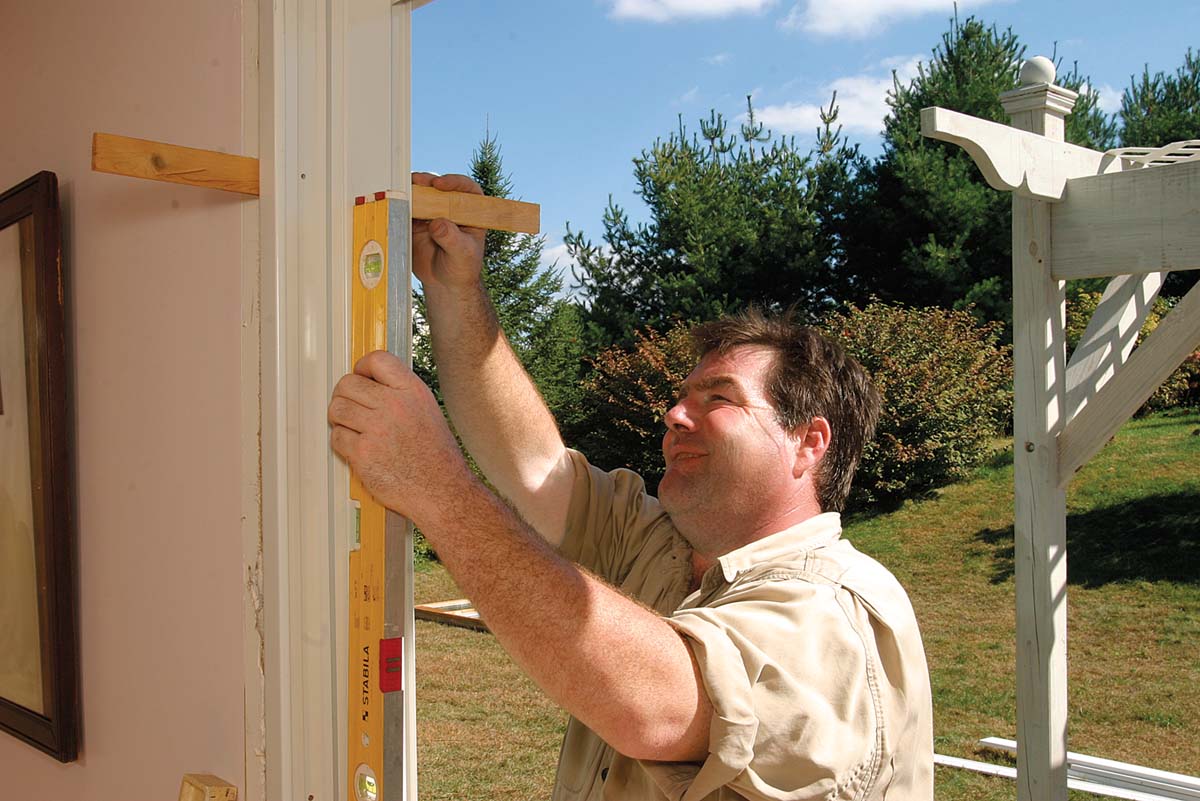
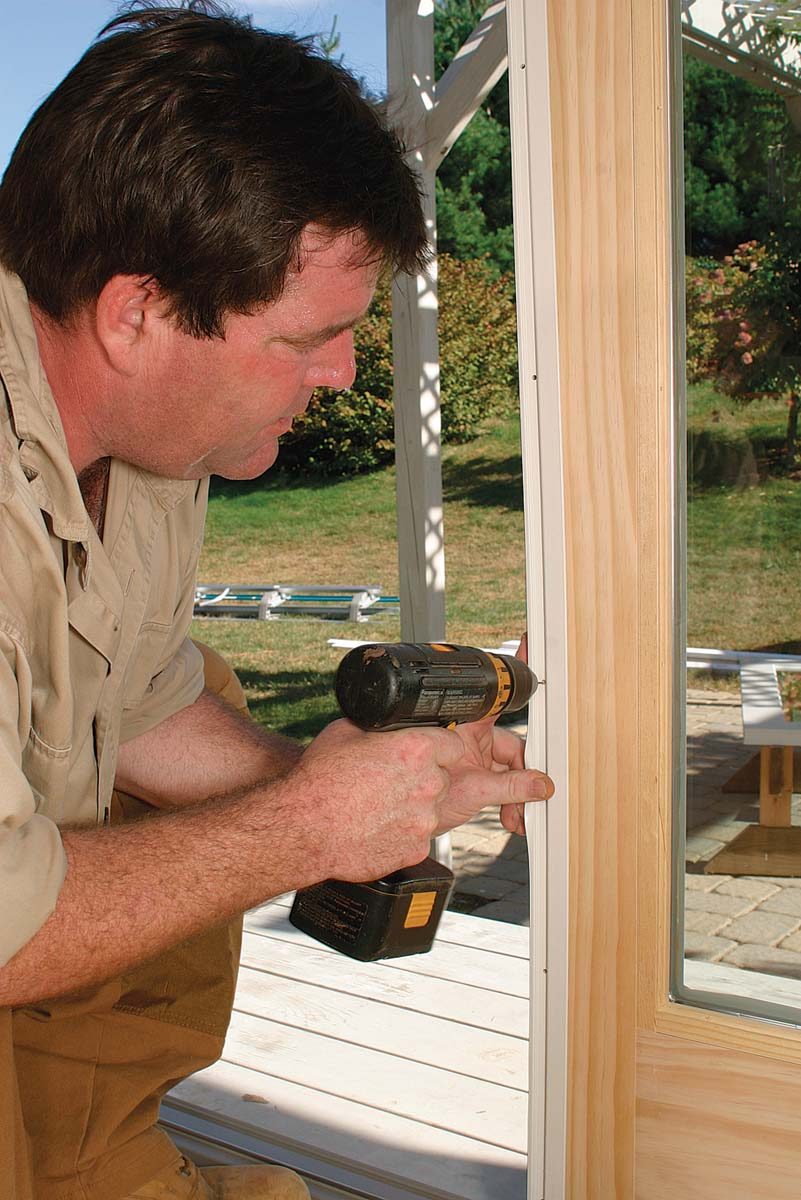
Because the sill is level, you can use shims and a level confidently to set the side jambs plumb, resulting in a square frame. Fasten with screws through predrilled holes at the shim locations, keeping the inside surface of the jambs flush with the drywall.
Big Panels And Little Strips Make A Weathertight Wall
The fixed panel tilts in top first from the outside, and the sliding panel is just the opposite: bottom first from the inside.
Interlocking weatherstripping goes where the two panels overlap. Be sure to dry-fit everything before screwing it up. I mean this quite literally because once the screws are installed in the sliding panel, you’re committed to that orientation.
The hardware kit for the door will include a handle and a lock. Now is the time to install it. Follow the manufacturer’s instructions.
Finish With Flashing, Casing, And Caulk
Before installing the exterior casing, install head flashing above the door unit. Be sure to tuck the top flange behind the building paper, and tape or caulk the two together.
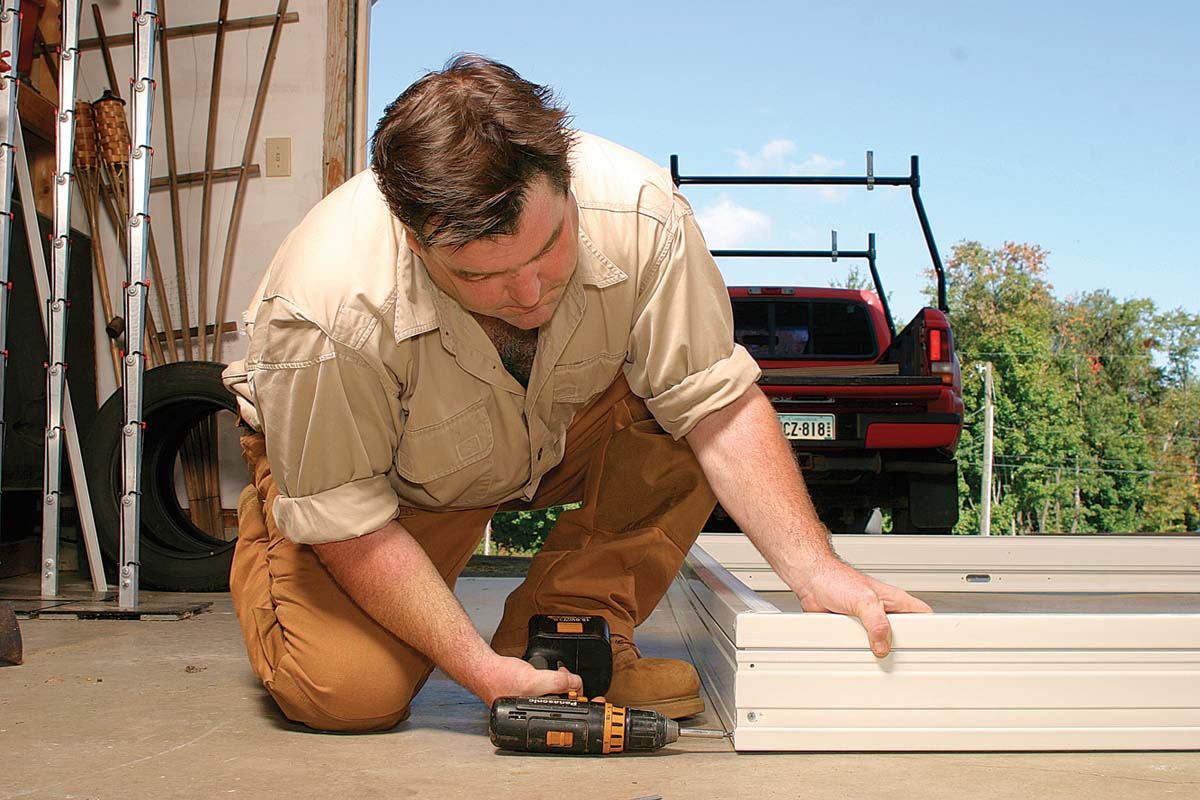
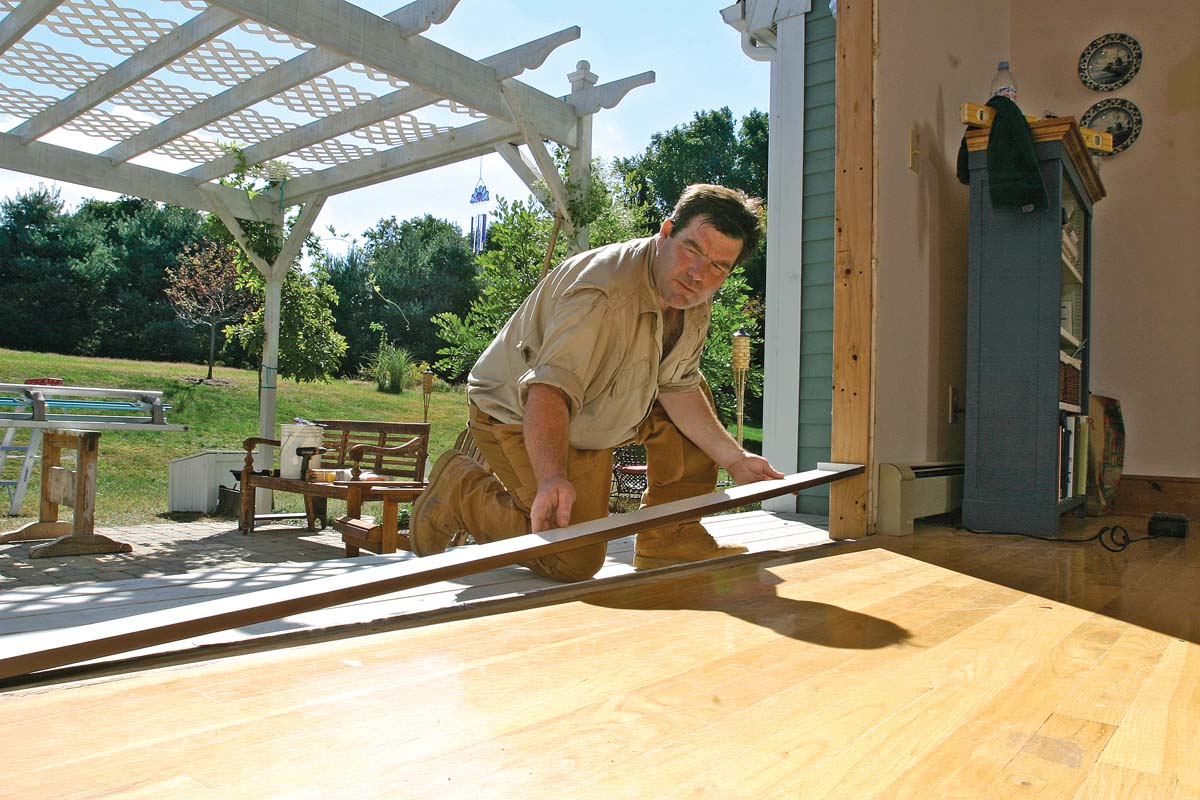
You either can rip the side casings to fit the gap between the siding and the jamb, or you can cut the siding back to accommodate whatever width trim that you need. To make a straight cut in the siding, tack a straightedge against the jamb to guide the saw, and use a batterypowered, low-rpm saw to minimize any tearout. Caulk all of the edges with high-quality polyurethane sealant.
Fill the inside-perimeter gap with low-expanding foam, not with scraps of fiberglass insulation. The foam stops air and also acts as an insulator and continuous shim. Fiberglass strips won’t stop air leaks. Inject the low-expansion foam with a light touch. You can add foam later, but it’s a pain to dig out excess foam or fix the warp in an overfoamed frame.
Final Touches
The screen lifts into place like the fixed panel, but install it last to avoid construction damage. If your door unit has sill locks (deadbolts that secure to the sill from the bottom of the door), I recommend waiting a month or so before installation. This time allows the door to settle. The sill lock requires a hole in the sill; the hole allows the bolt to slide home. Any door movement will disturb the alignment between the bolt and the hole you drill.
The Frame Goes Together With Silicone And Screws
 |
 |
| Assemble the frame on a flat floor with the exterior facing up. Before squeezing out any silicone, recheck that the sliding panel has the correct orientation and that the frame will fit the rough opening. | Silicone seals the frame joints, and screws lock them together. Alternate sides as you install the screws to draw the joint together evenly. |
Install The Frame Level And Square
 |
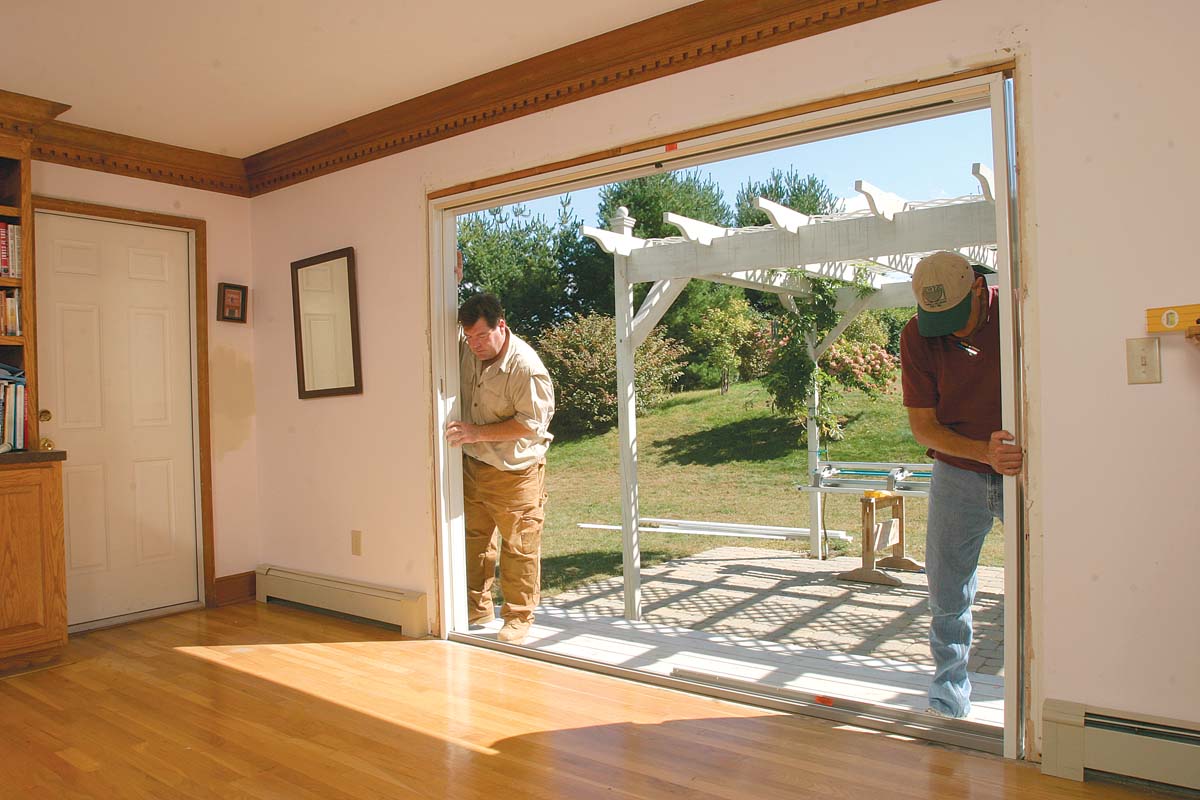 |
| A strategically placed bead of silicone stops air infiltration while allowing water to drain out over the pan flashing. Placing the bead toward the inside of the frame won’t trap water that infiltrates from the outside. Be careful not to smudge the silicone when you set the frame. Lift the frame into position, center it in the opening, and set it straight down onto the pan flashing. Then lock the frame in place by inserting the shims at the bottoms of the side jambs. |
 |
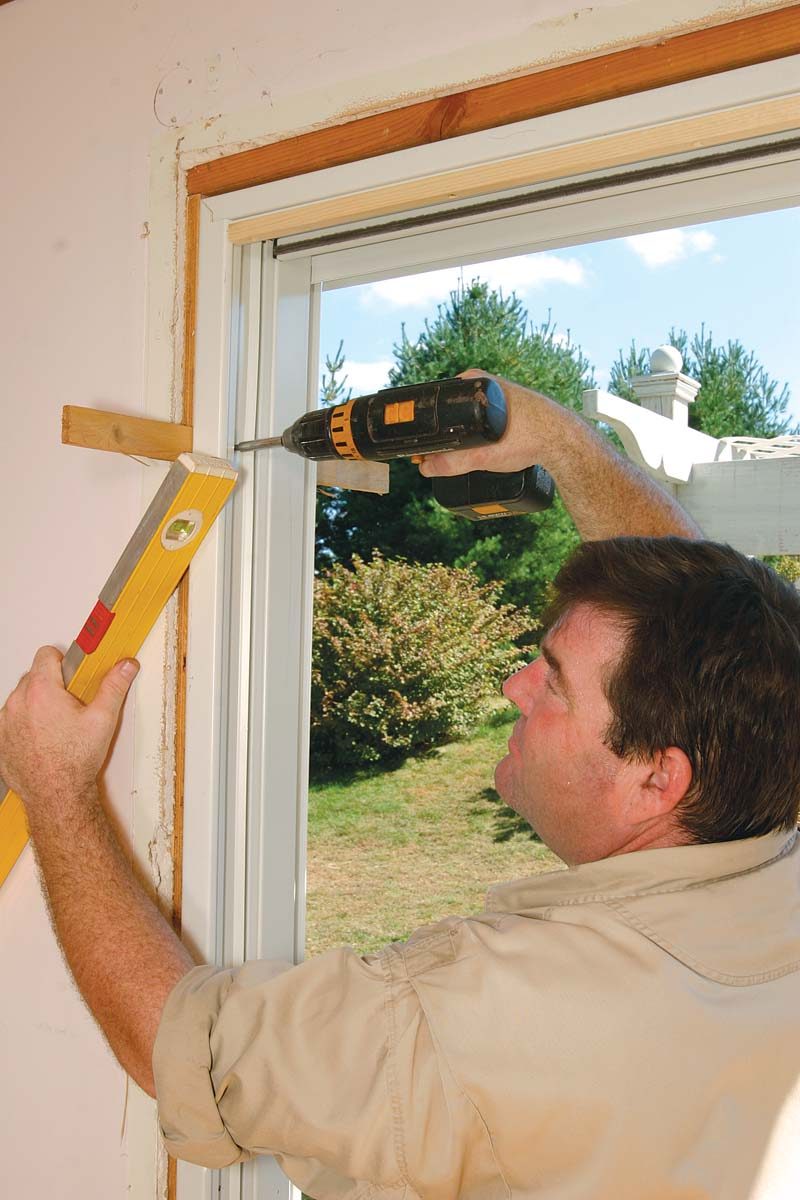 |
| Plumb the side jamb with opposing shims at the top, center, and bottom of the side jamb. Keep the jamb’s interior flush with the interior-wall surface. Drive screws into factory-drilled holes and through shims. |
Tilt The Fixed Panel In From The Outside
 |
The fixed panel slips up, in, and down. After lifting it into place, push it firmly into final position against the side jamb. |
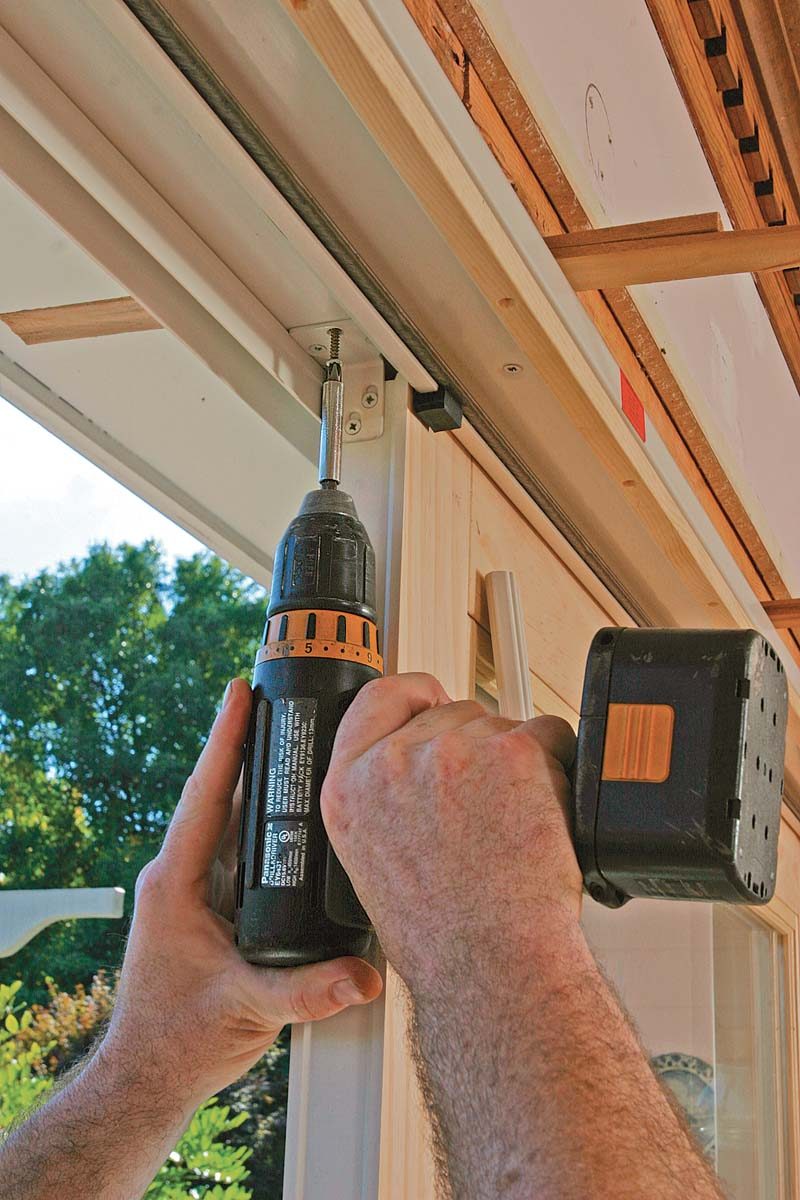 |
 |
| Gravity and metal brackets hold the fixed panel in place. The shims above the jamb are temporary. They allow the author to snug up the bracket. The top jamb shouldn’t be shimmed permanently to allow the house to move without disturbing the glass doors. | Weatherstripping goes where the two doors meet. Install the fixed-panel strip after this panel is in place. Make sure to orient the weatherstripping so that it will interlock correctly with its mate on the sliding panel. |
And The Slider Goes In From The Inside
 |
 |
| Install this weatherstripping before inserting the sliding panel. Doubleand triple-check that the door and weatherstripping are oriented correctly because once you pierce the cladding, there’s no turning back. | Remove the wooden keeper strip that is temporarily installed on the head jamb. |
 |
Set the sliding panel on its roller track and tilt it in. Reattach the wooden keeper strip to the head jamb to hold the panel in place. |
Potential Stumbling Blocks
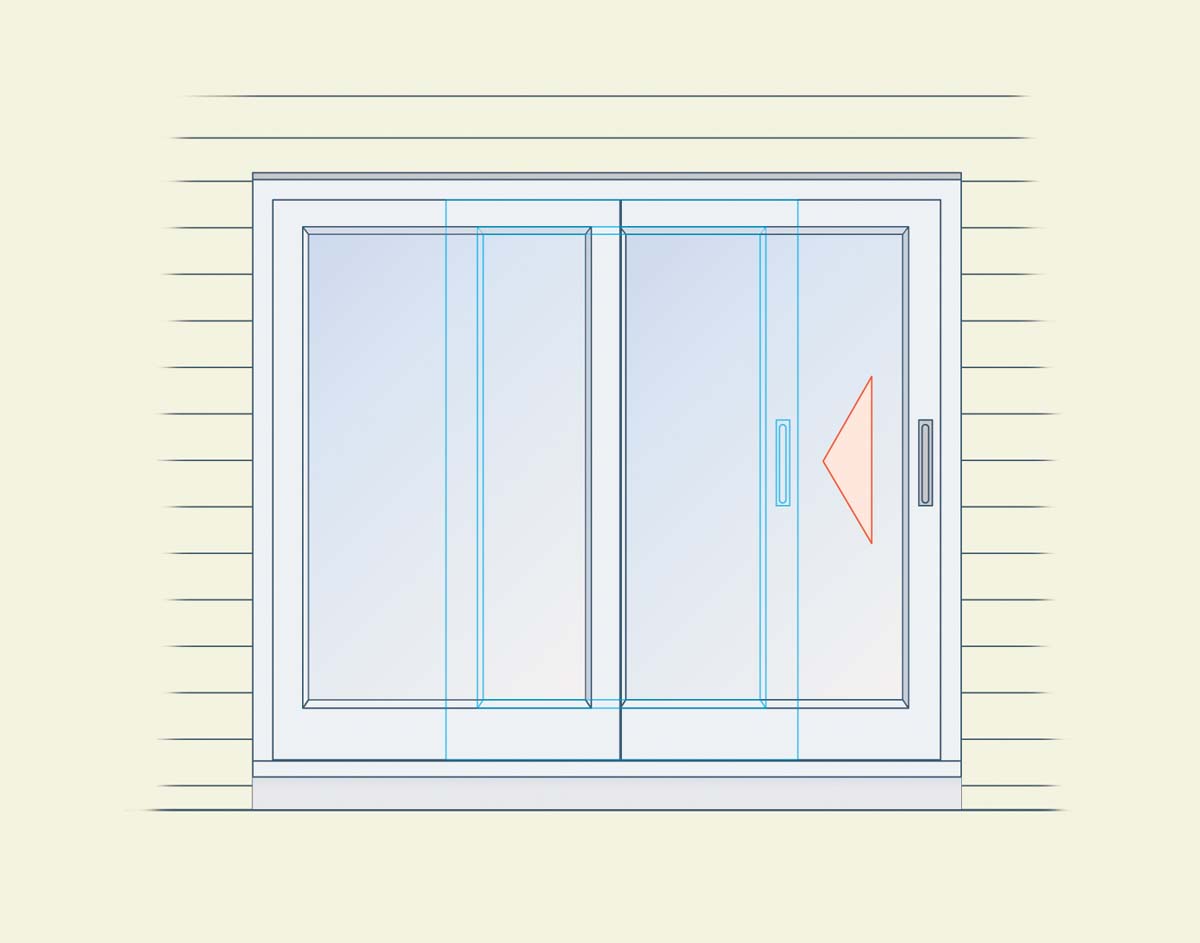
Don’t Just Measure. Verify.

The door you ordered may fit at the bottom of the rough opening, but that doesn’t mean it will fit at the top. Width and height can vary considerably depending on where you measure. But even if you order based on the smaller number, an out-of-square opening can cut usable space further. In the drawing below, the header opening measures 98 in. and the bottom measures 971⁄2 in., which seems perfect for an 8-ft. door. But one jack stud is splayed inward and the other outward. The actual usable space is considerably smaller: closer to 96 in., which is too small for an 8-ft. door.
Order From The Outside
When you specify which panel should slide, stand on the outside and look at the house. Double-check this with your supplier before you order, after you order, and when the door arrives (before you remove the old door).
Stop Rot With Pan Flashing
Before placing the jamb, I make a pan flashing with copper or valley-grade aluminum coil stock. I solder the copper corners. When using aluminum, I rivet the corners, then dab the rivets with silicone. The pan flashing protects the subsill and plywood edge from rot by directing water out and away from the house. If you’re installing a single door and don’t own a bending brake, the price of a commercially available pan flashing may be less than brake rental and metal.
 |
 |
For more photos, drawings, and details, click the View PDF button below:
