No-Trim Door Jambs
For a clean, contemporary look, create a door jamb, stop, and casing from one piece of wood.
Synopsis: A finish carpenter offers an alternative method for building door jambs that don’t require casing, but are instead milled from 2x6s with integral door stops and dadoes for drywall.
Anyone who has ever done finish carpentry knows the frustration of trying to make perfect miters in the far-from-perfect world of new-home construction. The aggravation only increases when the molding is large and complex. When I was asked to do the trim work on a custom home recently, these concerns merged with the architects’ desire for a feeling of simple elegance. The result was a door jamb that had an integral casing.
The Cart Comes Before The Horse
I made these jambs of finish-grade 2×6 whose inside face I double-rabbeted to create a minimal 1⁄4-in. stop. The backsides of the jambs have two dadoes that house the plasterboard seamlessly and eliminate the need for casing.
The nature of the plaster pockets and the fact that the jambs would be preassembled meant that they had to be installed before the wallboard was hung. In other words, I’d be installing finish work right after the rough framing and before the wallboard and finish flooring materials went in.
To complicate matters, the builder didn’t want the doors on site that early in the schedule for fear that they would be damaged. So I had to build and install the door jambs using geometry only, with no doors to check the swing and stop. The whole concept was a little scary, but the image of a clean, simple, seamless jamb line gently rising off the wall plane was enough to fire my ambition.
Raw But Refined Materials
For a job of this size and scale (I had to make more than 20 door jambs in two different heights for doors of two different thicknesses), I’d normally get bids from mill houses to supply the jamb stock. However, in this case, dovetailing the schedules was of paramount importance. So I milled the door-jamb stock on site.
Besides the logistics, the biggest plus to milling the jambs on site was that I’d be able to handle all the stock up close and personal. I could select, match and label each stick for its best location.
The first thing I needed was good stock: a large quantity of clear, vertical-grain Douglas-fir 2×6. It’s generally better to be lucky than smart, and that rule came into full play when I called my supplier and found that he coincidentally had a truckload of 20-footers coming in shortly. I jumped at the chance and was able to make each complete jamb from a single board. I grain-matched the jamb pieces at each corner, giving each jamb a monolithic appearance as it wrapped its doorway.
Milling The Stock
After sorting and labelling the stock, I cut it to the rough head and leg lengths needed for each jamb. Milling the stock was basic. I received the stock S4S (surfaced four sides), and it needed no further dimensioning.
First, I cut double rabbets on the front sides to form the stops, making two passes through the tablesaw for each rabbet. I dadoed the plasterboard pockets on the tablesaw, using stacked dado blades set at 11⁄16 in. This slightly oversize dado comfortably accommodates the 5⁄8-in. plasterboard. I kept the slight factory roundover on the dado side of the boards, and I sanded the inside edges to match.
When the milling was finished, I sanded and sanded and sanded, slowly and deliberately. And when that was done, I sanded all the boards a little bit more. The biggest problem was the tendency of Douglas fir to rip out in long splinters at the worst possible places. All that I could do to remedy this situation was to monitor the feed rates carefully when I was dadoing and to assume that there would be some loss. Once the stock was milled, the builder had it all finished with water-based lacquer.
Assembling The Jambs
Next came hinge-mortising and jamb assembly. The basic routine was the same for each doorway. First, I mitered the jamb legs, leaving them a little long to allow remitering for grain-matching to the head jamb.
Then I mitered the head jambs, again adjusting for grain match. When I was satisfied with the grain match at both corners, I cut legs to their finish lengths.
The next step was mortising for the hinges. I made a pair of shop-built hinge jigs (one for each door height: 6 ft. 6 in. and 6 ft. even) for this job. Making hinge-mortise jigs is a topic worthy of its own article, but I prefer my shopmade medium-density fiberboard jigs to commercially available jigs because I can customize them to the specifics of the job and because my jigs are more rigid.
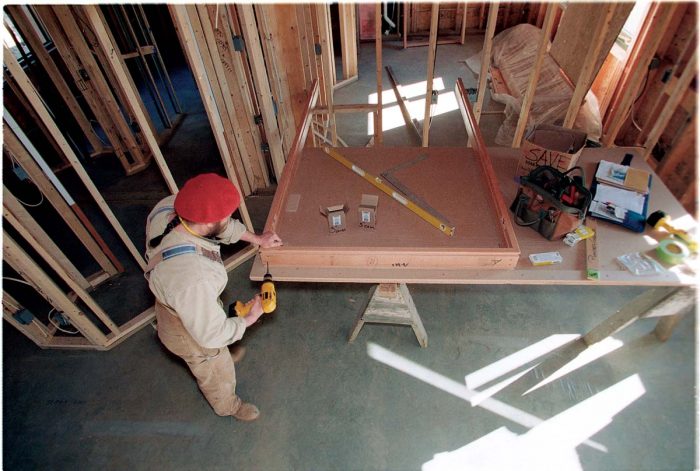
After mortising for the hinges, I carefully assembled the jamb set for each door on top of a simple squaring table (photo below). I joined each corner with carpenter’s glue and five or six 21⁄2-in. #8 self-tapping wood screws.
Extra Attention To Framing Simplifies Installation
Arguably the most important step in the process was careful preparation of the rough door frame. I worked with the builder to bring the rough openings closer to the actual unit dimensions (only 1⁄4 in. of shim space on each side) and to correct the king and jack studs for plumb, both of which were well worth the time spent.
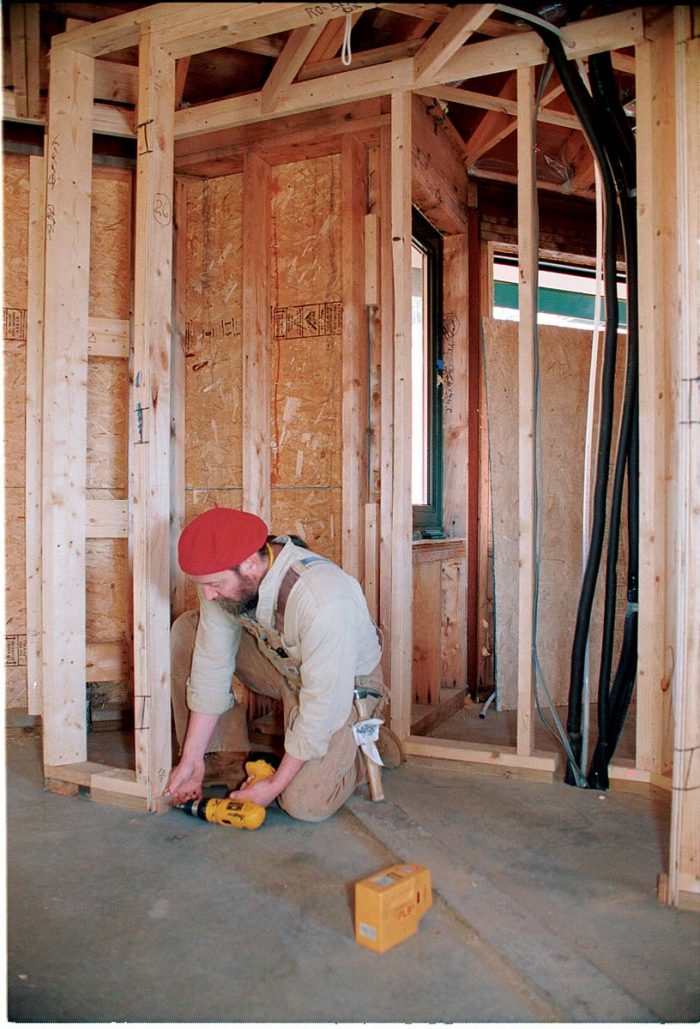
I also used a laser level to establish the finish-floor heights in each room and marked the heights on the jack studs (top photo). I screwed plywood blocks to the rough framing for the jambs to sit on, which ensured a level installation if the jamb legs were of equal length.
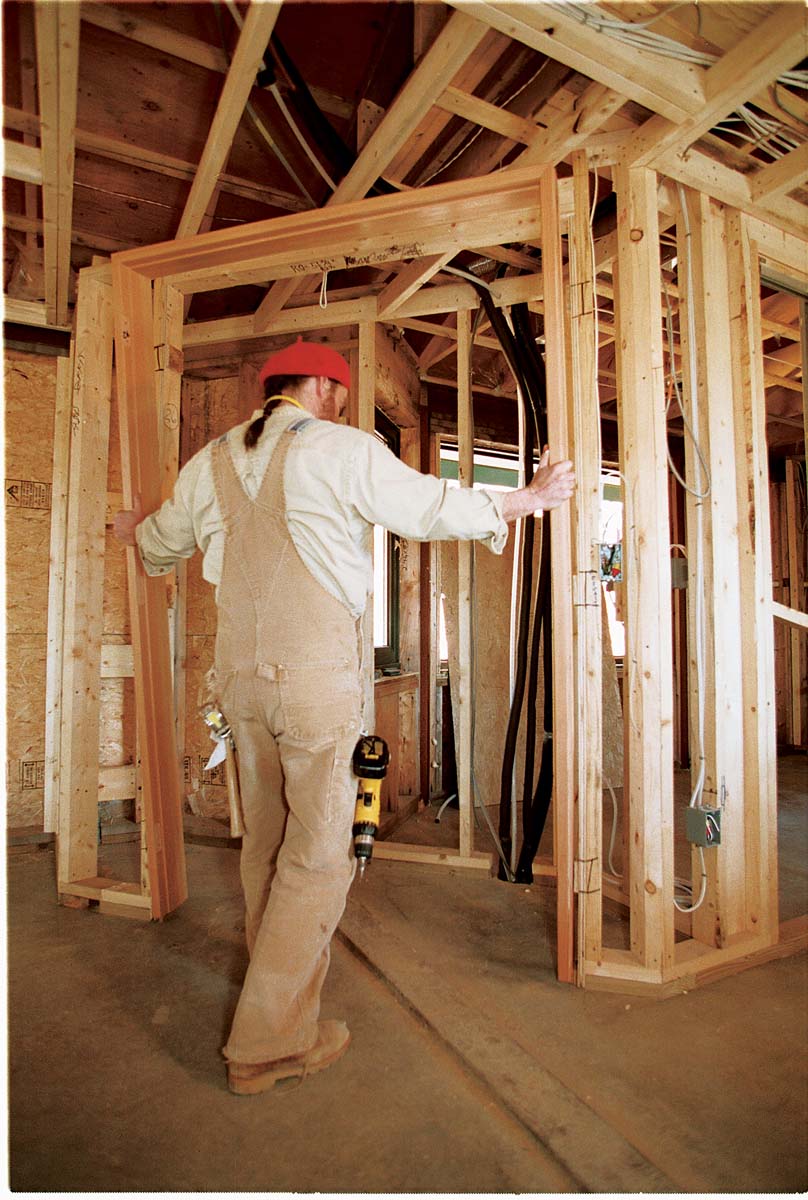
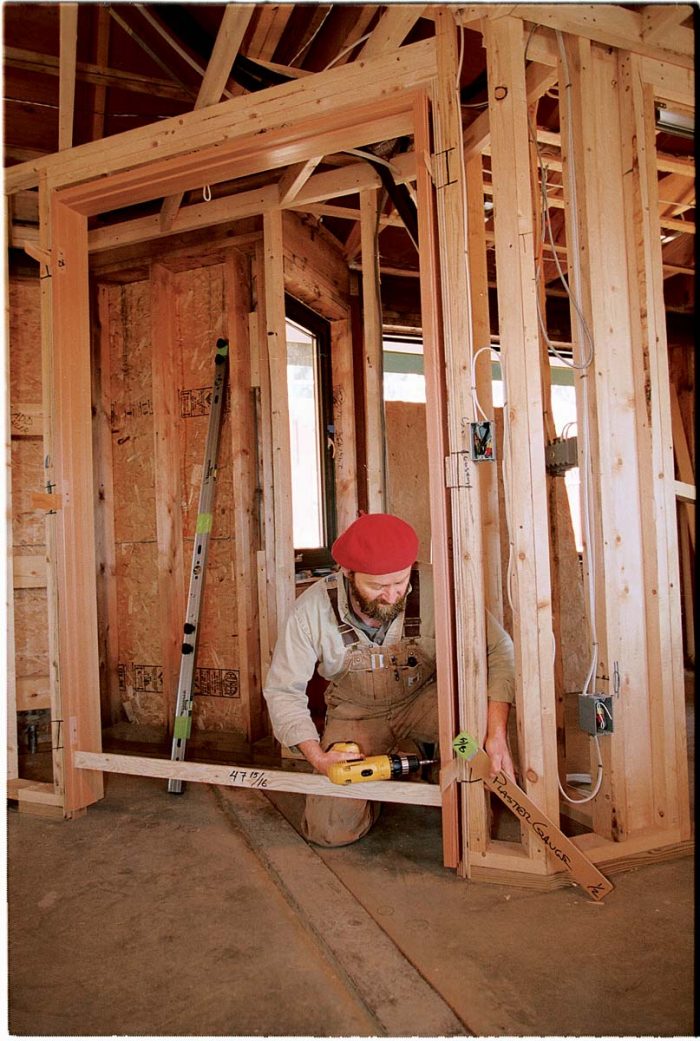
When the opening was ready, I began jamb installation by marking and attaching shims perfectly plumb with each other at each hinge location (bottom photos). Next, I set the assembled frame (making sure it was labeled for that opening) onto the plywood blocks. I set the width of the jamb at the bottom using a spreader stick (photos facing page).
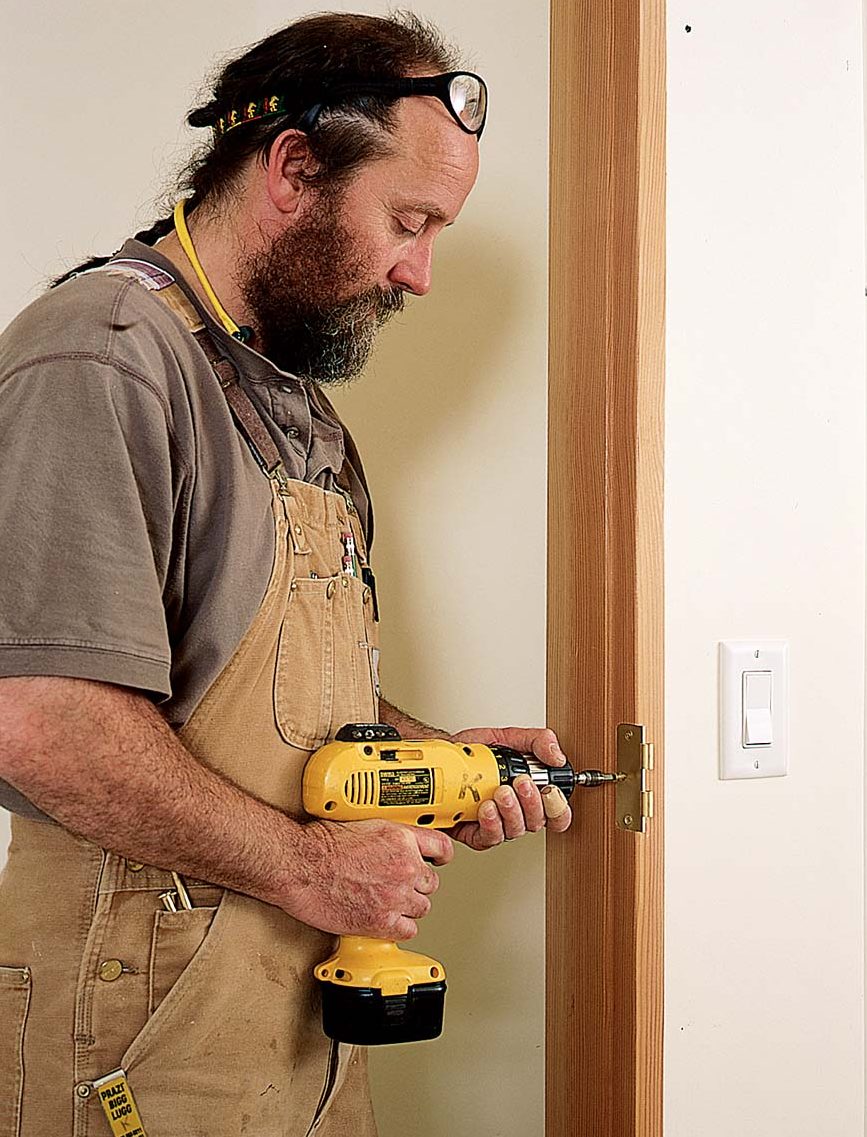
To set the jamb relative to the framed wall, I used a piece of wood the same thickness as the plasterboard as a gauge. I gave the jamb a final check of plumb, level and square, cheating and tweaking as needed. I predrilled and then drove 3-in. #10 screws at each hinge location to attach the first jamb leg. Then I shimmed and attached the second leg.
I drove fasteners through the hinge mortises whenever possible to minimize the number of visible fasteners. On double doors, I was able to screw both legs to the jamb. On single doors, I screwed through the latch plate and drove a couple of 10d finish nails to finish attaching the jamb.
Doors: The Final Frontier
Protecting the finished jambs through board hanging and plastering was no small feat. The builder came up with an ingenious solution: vinyl J-channel that fit snugly over the jambs’ exposed-trim area. The rest was taped heavily.
The plastering went fairly smoothly, although I regret not giving the board hangers a quick overall lesson before they started. They broke one jamb and twisted a couple more; however, a polite-but-firm powwow eliminated any further damage.
The doors’ installation was the real time of reckoning. With the jambs plastered in, little or no adjustment was possible. The first step was to measure the door and the jamb opening carefully for any irregularities.
The doors were the heavy, solid-core flush variety, so minimal handling was a goal. I considered two trips to the bench to be perfect. On the first trip, I cut and beveled the door to 1⁄16 in. less than the finished opening rather than the standard 3⁄16 in. to make sure I had plenty of door left for fitting.
Next, I mortised for hinges, installed the door and tested the fit. In most cases, substantial planing was needed, so I scribed the door, returned it to the bench, planed it to my marks, then reinstalled it. On a couple of doors, I did minor work on the jambs to make the door hit the stop evenly. A couple of doors needed only minor planing after the initial fit, which I was able to do in place, making them one-trip doors. My back loved me for that.
For more photos, drawings, and details, click the View PDF button below:


