Part 1: Prepare a Rough Opening for a Nail-Fin Window over a Fluid-Applied WRB
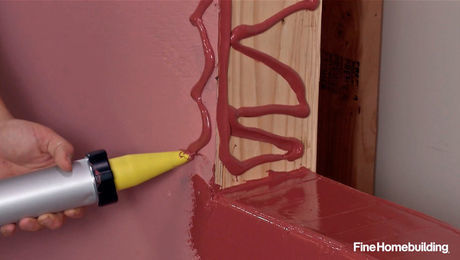
Use the liquid WRB and a piece of bevel siding to build a sloped sill before liquid-flashing the entire surface.
If a wall is coated with a fluid-applied water-resistive barrier (WRB), prepping the rough opening for a window is fairly straightforward. Here, builder Jake Bruton starts by creating a sloped sill to help encourage any water that gets behind the window to drain to the exterior. (Another option here would be to cut the studs at a 5° bevel).
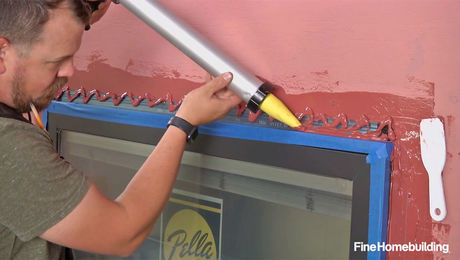
With the sill sloped, Jake uses a joint-and-seam product from the same manufacturer, in this case Prosoco, and applies it across the sill as well as an extra bead in the seam between the bevel siding and the rough sill to make sure the connection between the WRB and the windowsill is perfect. The helpful thing about liquid flashing is that if the sealant coverage is too thin, you can simply apply more and tool it into place to fill those gaps—problem solved. The same method is used for all other sides of the window.
Videos in the Series
-
Part 1: Prepare a Rough Opening for a Nail-Fin Window over a Fluid-Applied WRB
-
Part 2: Install a Nail-Fin Window Over a Fluid-Applied WRB
-
Part 3: Flash a Nail-Fin Window over a Fluid-Applied WRB
-
Part 4: Air-Seal and Insulate a Nail-Fin Window over a Fluid-Applied WRB
-
Have a different type of wall? Check out the full video series


