Part 1: Prepare a Rough Opening for a Nail-Fin Window over Housewrap
After installing the water-resistive barrier, cut the window opening and then use bevel siding and tape to create a positive-slope sill.
Preparing the rough opening for a window when using housewrap—here builder Jake Bruton uses Benjamin Obdyke HydroGap—as the water-resistive barrier (WRB) starts with cutting the opening. Methods vary from manufacturer to manufacturer, but here Jake uses the I-cut method, in which he cuts horizontally across the top, horizontally across the bottom, and then vertically down the middle from top to bottom. Done properly, the housewrap should extend slightly into the rough opening, but not all the way to the inside edge. This way, when the window is installed, it is being installed to the rough opening rather than the housewrap to ensure one continuous barrier.
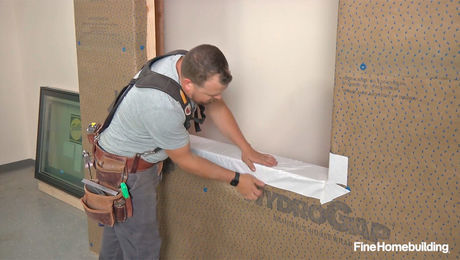
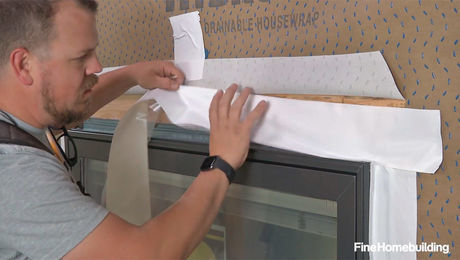
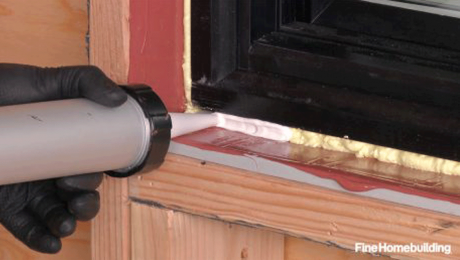
Although flexible flashing tape is growing in popularity for preparing the rough-opening sill, straight tape is still the most commonly used material with housewrap. Flashing corners can be the most difficult task when using tape because the straight tape leaves a small pinhole gap in the corner where the tape cannot reach. In order to solve this problem, Jake cuts a piece of tape into a bowtie shape by making two triangle cuts on opposite sides of the tape and pressing the center of the tape into that corner, sealing the area securely. The rest of the Jake’s procedure involves another layer of tape over sloped cedar siding to create a positive slope to direct water away from the house, as well as two more pieces of cedar siding for the window to sit on.


