Part 1: Prepare a Rough Opening for a Nail-Fin Window Over Peel-and-Stick Housewrap
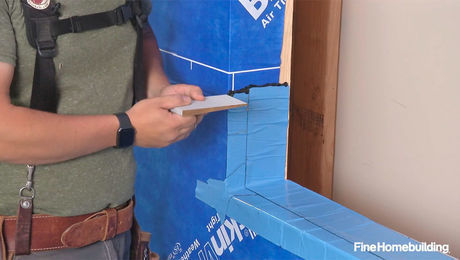
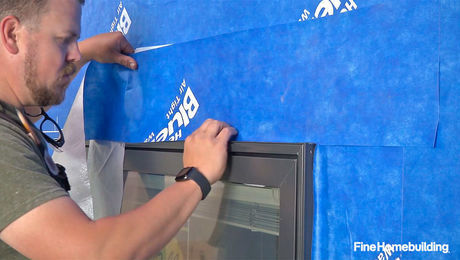
After installing a fully adhered membrane, cut the window opening, fold in the sides, and use bevel siding and tape to create a positive-slope sill.
When using a fully adhered membrane—in this case, Henry Blueskin VP100—as the wall’s water-resistive barrier (WRB), the window rough-opening preparations start with cutting the membrane flush to the top and bottom, but with a bit of extra at the sides so that these pieces can be wrapped across the face of the jack studs. To encourage drainage at the sill, should water ever penetrate that far, builder Jake Bruton also nails a piece of cedar siding to the sill, then covers the bevel siding with butyl flashing tape, paying careful attention to the corners where straight tape is most prone to pinhole leaks.
Videos in the Series
-
Part 1: Prepare a Rough Opening for a Nail-Fin Window Over Peel-and-Stick Housewrap
-
Part 2: Install a Nail-Fin Window over Peel-and-Stick Housewrap
-
Part 3: Flash a Nail-Fin Window over Peel-and-Stick Housewrap
-
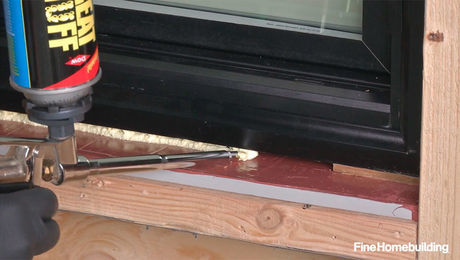
Part 4: Air-Seal and Insulate a Nail-Fin Window over Peel-and-Stick Housewrap
-
Have a different type of wall? Check out the full video series


