Part 2: Installing a Nail-Fin Window in a Wall with Exterior Rigid-Foam Insulation
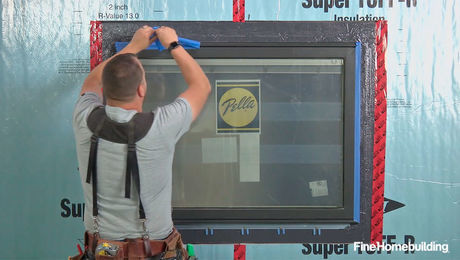
Use a manufacturer-approved type of sealant to bond the window to the preliminary flashing before setting, squaring, and fastening the window to the framing.
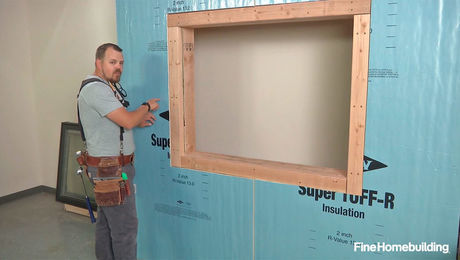
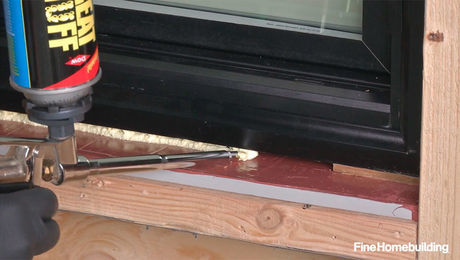
When installing a nail-fin window in a wall with exterior rigid-foam insulation, the process starts with shims under the window—in this case, cutoffs of bevel cedar siding. Besides creating a level surface, these shims support the jambs to prevent deflection, and also create a gap under the window, which aids in the drainage process, should that ever become necessary. Care is also taken to center the window in the opening, setting the stage for effective air-sealing work, which will come later in the process.
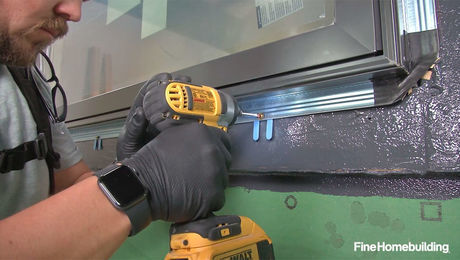
Depending on the style of nail fin found on your particular window, the process of preparing the unit for installation may vary. On this Pella window, the metal fins are attached at the factory and folded down for shipping. After getting the nailing fins unfolded, the window is test-fit and traced, providing a target area for applying sealant under the fins. If all of the above is done carefully, setting and fastening the window is fast and easy.
Videos in the Series
-
Part 1: Prepare a Rough Opening for a Nail-Fin Window over Exterior Rigid-Foam Insulation
-
Part 2: Installing a Nail-Fin Window in a Wall with Exterior Rigid-Foam Insulation
-
Part 3: Flash a Nail-Fin Window in a Wall with Exterior Rigid-Foam Insulation
-
Part 4: Air-Seal and Insulate a Nail-Fin Window in a Wall with Exterior Rigid-Foam Insulation
-
Have a different type of wall? Check out the full video series


