Part 3: Flash a Nail-Fin Window over a Fluid-Applied WRB
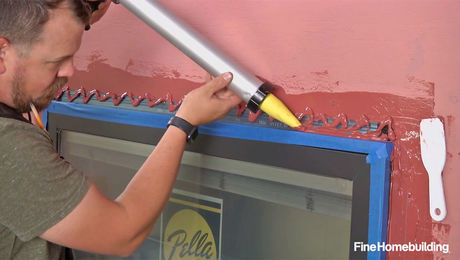
Mask off the window to keep things clean when you flash the window flange to the wall.
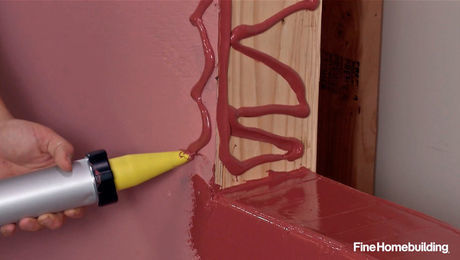
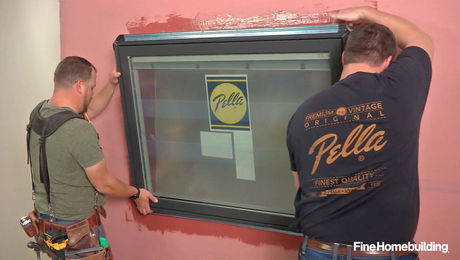
Flashing the window with the fluid-applied barrier is simple, but requires careful attention to detail. The goal here, as with most flashings, is to make sure that the structure can defend against moisture, and the weak areas are those where two substrates connect. In this case, some of the weak areas are where the water-resistive barrier (WRB) meets the nailing fin of the window because it leaves a small seam on different planes that could allow water to sneak into the wall. So, using painter’s tape to make sure he doesn’t get the Fast Flash product all over his window, builder Jake Bruton likes to apply a generous bead of liquid flashing, in this case Prosoco Joint & Seam, along the edge of the flange. Then, Jake uses a spreader tool to smooth the liquid flashing into an even, continuous coat. The head of the window requires the same treatment, but may require slightly more material. Although this flash-and-seal product might be on the more expensive side, repairing a window will cost quite a bit more, so it’s important to make sure you are doing a good job now to avoid spending unnecessary money down the road.
Videos in the Series
-
Part 1: Prepare a Rough Opening for a Nail-Fin Window over a Fluid-Applied WRB
-
Part 2: Install a Nail-Fin Window Over a Fluid-Applied WRB
-
Part 3: Flash a Nail-Fin Window over a Fluid-Applied WRB
-
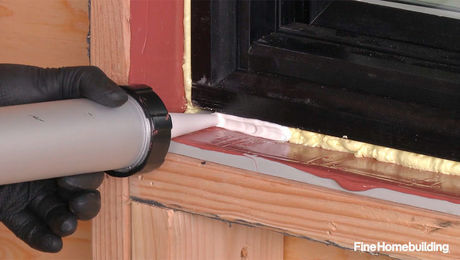
Part 4: Air-Seal and Insulate a Nail-Fin Window over a Fluid-Applied WRB
-
Have a different type of wall? Check out the full video series


