Part 3: Flash a Nail-Fin Window over Peel-and-Stick Housewrap
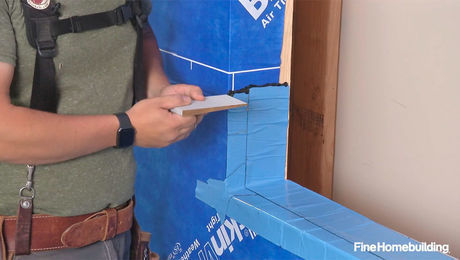
Strips of the same fully adhered membrane are the typical material used to bridge the gap between the window flange and the wall in this assembly.
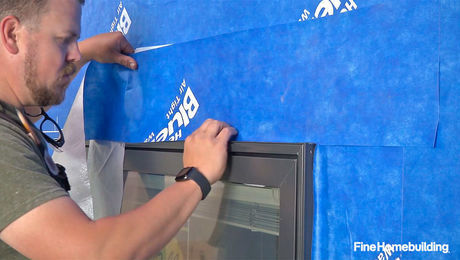
When dealing with a wall with a fully adhered membrane, flashing the window is quite simple. Instead of having to search for extra liquid flashing or specially made flashing tape, the membrane used for the wall itself, in this case Henry Blueskin VP100, can be cut to size and used as flashing tape. This manufacturer also makes a butyl flashing tape approved for use with their water- and air-barrier systems. Builder Jake Bruton always recommends using the same manufacturer’s product, so that if something goes wrong, you only have one number to call, an you can avoid worries that one company’s product is incompatible with another product you’re using. This prevents a hassle down the road if one of the products fails.
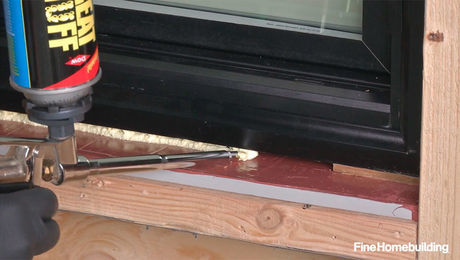
Unlike the left and right portions of the window, the head flashing with a fully adhered water-resistive barrier (WRB) requires one extra step. The same technique of taping along the window to bridge the connection between the WRB over the flange and onto the side of the window is used as well as an extra application of sealant. The sealant is an added layer of protection to make sure no water can sneak behind the tape from above and get stuck with no exit route. Instead of compromising the flashing by opening up the tape from the bottom, the better decision is to simply take all necessary precautions to make sure no water gets in whatsoever—in this case, by applying a bead of sealant.
Videos in the Series
-
Part 1: Prepare a Rough Opening for a Nail-Fin Window Over Peel-and-Stick Housewrap
-
Part 2: Install a Nail-Fin Window over Peel-and-Stick Housewrap
-
Part 3: Flash a Nail-Fin Window over Peel-and-Stick Housewrap
-
Part 4: Air-Seal and Insulate a Nail-Fin Window over Peel-and-Stick Housewrap
-
Have a different type of wall? Check out the full video series


