Replace a Wood Window: Part 2
With the old window removed, carpenter Scott Grice outlines the steps necessary to install the replacement window.
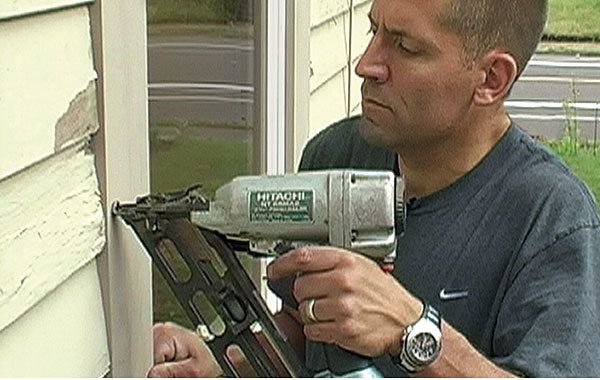
Synopsis: Wood windows look great on old houses, but they sometimes need to be replaced. In the second part of a two-part “Building Skills” article, carpenter Scott Grice continues outlining the steps necessary to replace a wood window. First, set the window in the opening and secure it to the framing. Next, apply the exterior trim, being sure to back-caulk it all the way around, and install the metal cap flashing above the head casing. Finally, insulate and trim the exterior. This article includes a sidebar about expanding polyurethane foam. Read the article from Part 1 here.
WATCH THE VIDEO SERIES:
How to Replace a Window with Scott Grice
Go step-by-step through the process of replacing your old wooden windows. Six episodes covering everything you need to know to upgrade your old wooden windows. Learn how to preserve or match your existing trim and siding for a simpler install. And learn best practices for insulating a new window.
Remodeling, repairing, and upgrading older homes often presents challenging circumstances. Rough openings are often out of square or out of plane. Weatherizing is like trying to make a Wiffle ball airtight, and plumb and straight are often less important than parallel and perpendicular. In other words, the success of a project like the window replacement shown here often lies in the compromises.
For example, if this had been a new home or a remodel that entailed stripping the siding, I would have lapped house wrap into the rough opening first. I also may have used a flanged window, which would have allowed me to lay flexible flashings over the house wrap and onto the window.
SET AND SECURE THE WINDOW

1. Set the window in the opening
Stop blocks help to align the window flush with the sheathing. Insert shims between the side of the window and the framing at the top and bottom to hold the window in place temporarily.
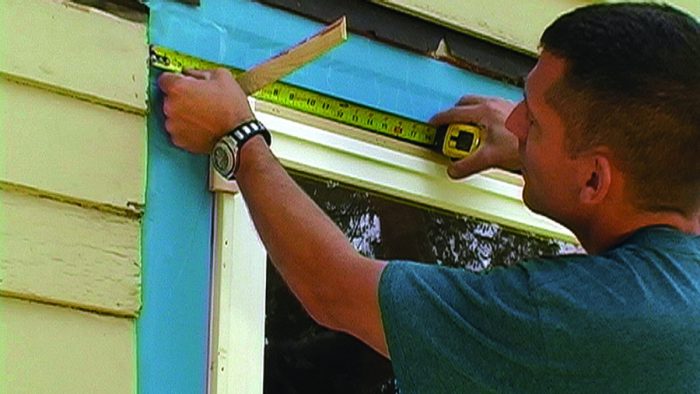
Adjust the shims to center the window. Use a level to ensure that the window is plumb, then cross-measure and square the window to within 1⁄8 in. This should closely match the center of the rough opening. If the existing edge of the siding is out of plumb by more than 1⁄4 in., you may have to taper the trim or cut the siding to make up the difference.
3. Secure the window
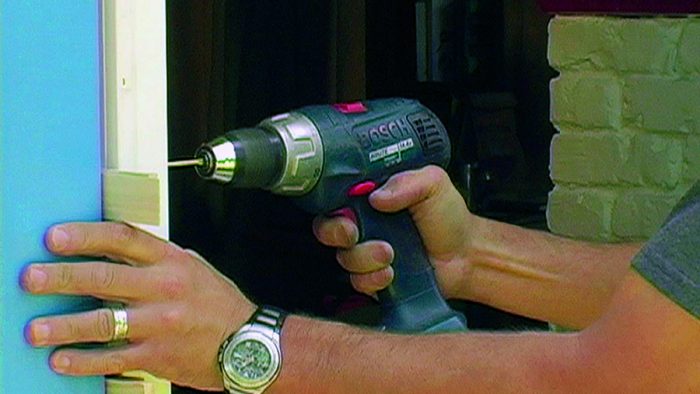
Shim the window every 2 ft. or so along the sides (but do not shim or use fasteners above the window), and drive trim-head screws through the jamb into the framing at the shim locations. With a level, ensure that the window frame is straight. If necessary, back out the screws, and adjust them. As a final check, make sure that the sashes move up and down smoothly.
APPLY EXTERIOR TRIM
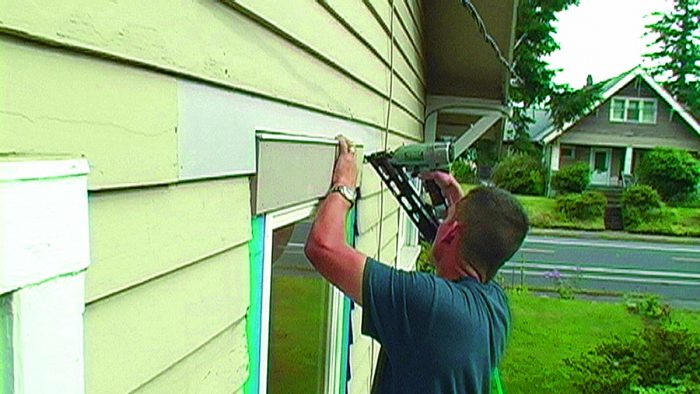
For wooden windows without a plastic flange, the trim helps secure the window in place and acts as a weather barrier. Back-caulk all exterior trim (applying a fat bead of caulk around the perimeter of the trim’s back face). Use 15-ga. nails to attach the trim to the window jamb and to the framing. Once the head trim is installed, apply metal cap flashing. If necessary, replace the one piece of siding above the window to aid in the cap-flashing installation.
5. Install the side casing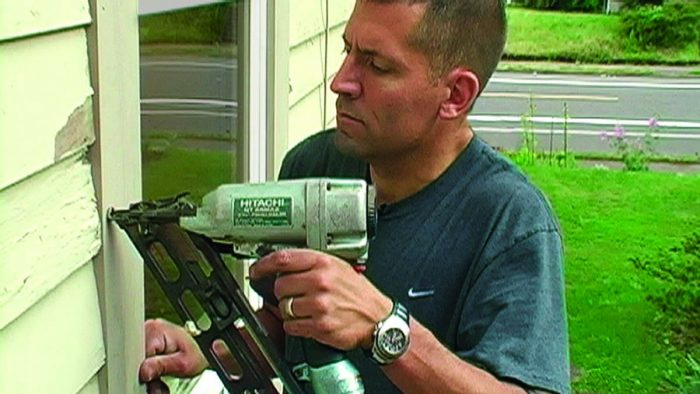
Size the window trim to leave a 1⁄4-in. to 3⁄8-in. jamb reveal and to abut tightly against the existing siding. As with the head casing, prime the side casing on all sides and back-caulk it during installation. Bevel the bottom of the casing leg if it rests on a sloped windowsill. Last, keep a uniform nailing pattern for an ordered and pleasing final look.
INSULATE AND TRIM THE INTERIOR
6. Fill the cracks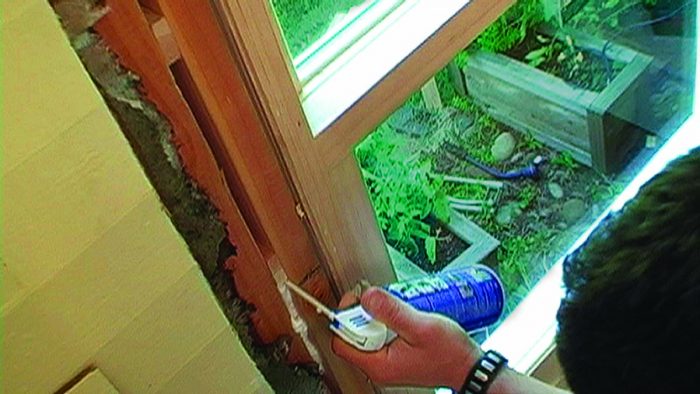
Use low-volume expanding foam to fill the void between the window jamb and the framing.
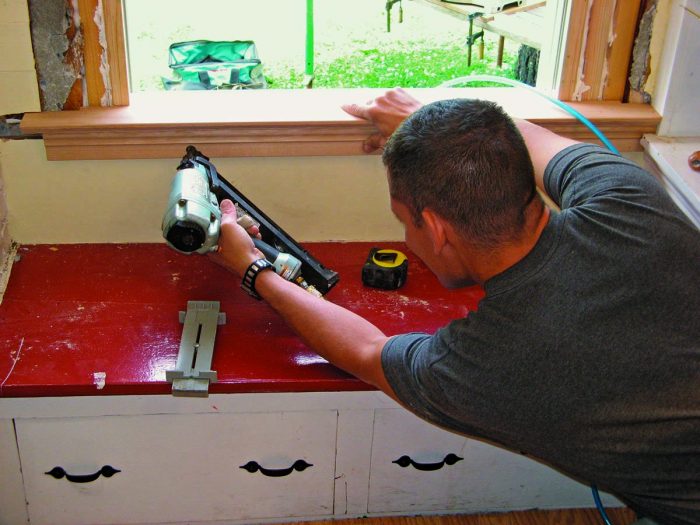
Like the outside trim, the interior trim helps to secure the window in place. Use 18-ga. fasteners for the trim-to-window connection and 16-ga. fasteners for the trim-to-framing connection. As shown in the photo below, you can use a reveal gauge to maintain a consistent reveal between the edge of the trim and the edge of the window jamb.
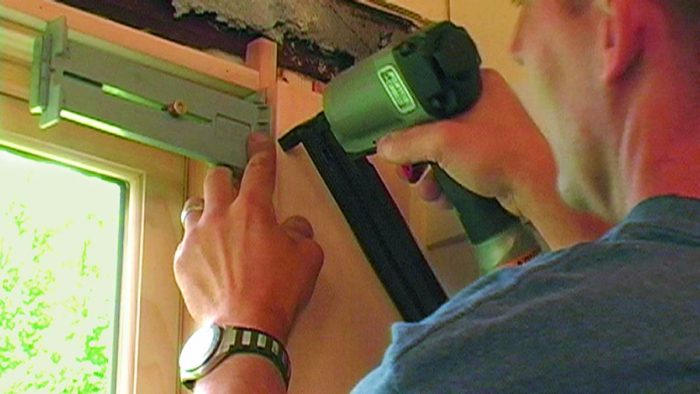
For more photos and details, click the View PDF button below:


View Comments
The PDF button leads to a Page Not Found. Is there a PDF for this article?
It works now.