
Stop Drafts with a Drop-Down Door Seal
This hidden mechanism retracts when the door is open and eliminates the need for a bulky threshold.
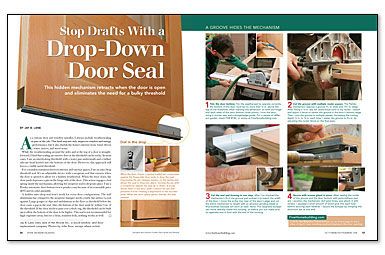
Synopsis: Keeping a house warm in winter and cool in summer can be a tough job. Losing conditioned air under ill-fitting doors is a problem that can be remedied with contractor Jay B. Lane’s technique for installing a drop-down door seal. This mechanism hidden in the door’s bottom retracts when the door is open and eliminates the need to install a bulky threshold. Lane’s process includes the use of a Pemko automatic door bottom. A series of photos illustrates the installation process. This article includes a companion video showing Lane installing weatherstripping in a door opening.
Magazine extra: Watch carpenter Jay B. Lane use a specialty weatherstripping tool to seal a door.
As a custom-door and window installer, I always include weathersealing as part of the job. This final step not only improves comfort and energy performance, but it also shields the home’s interior from wind-driven water, insects, and street noise.
While the weathersealing around the sides and at the top of a door is straightforward, I find that sealing an exterior door at the threshold can be tricky. In most cases, I use an interlocking threshold with a water pan underneath and a rubber silicone bead kerfed into the bottom of the door. However, this approach still leaves a visible metal threshold.
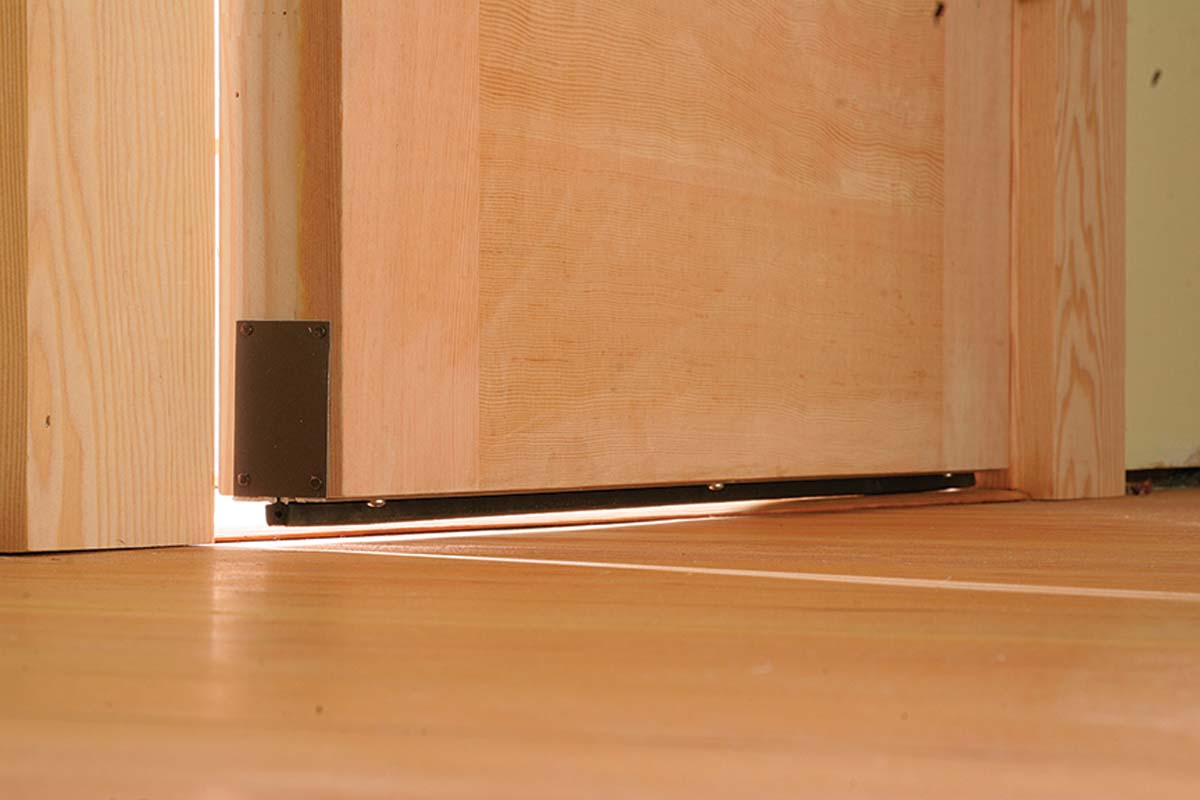
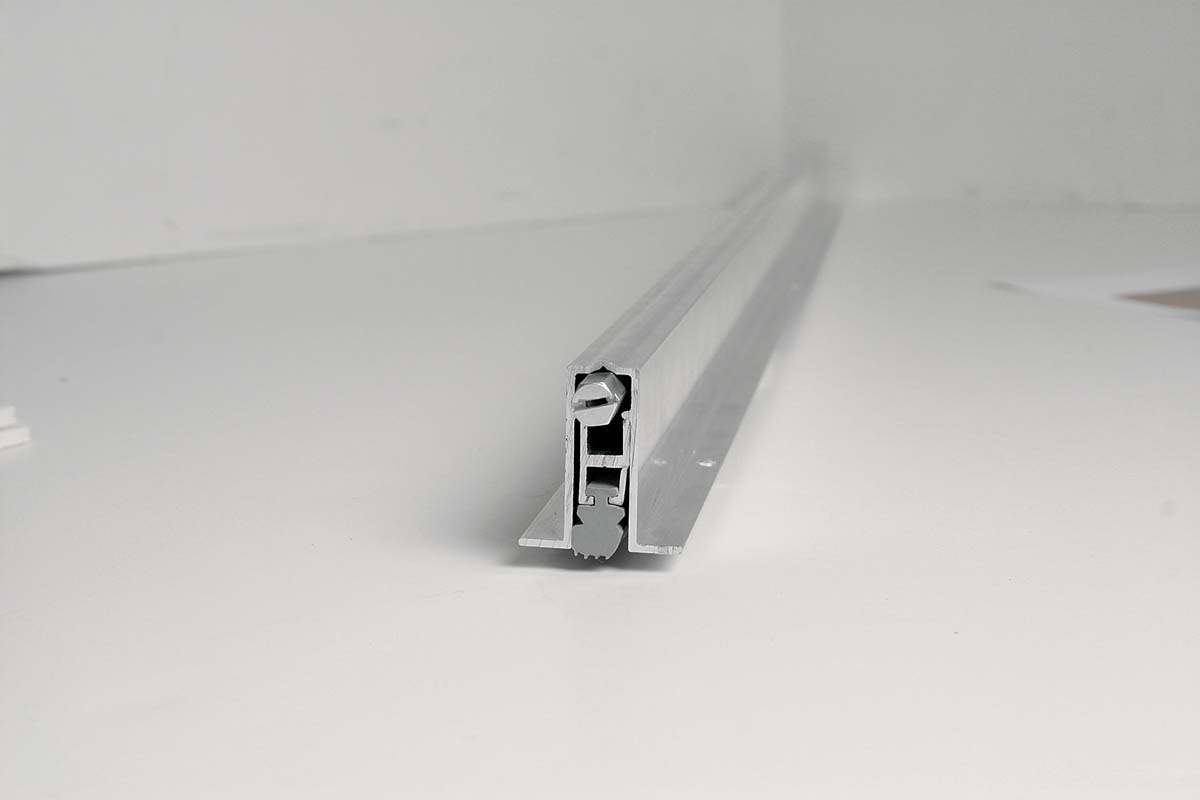
For a seamless transition between interior and exterior spaces, I use an auto-drop threshold seal. It’s an adjustable device with a neoprene seal that retracts when the door is opened to allow for a hidden weatherseal. When the door closes, the door jamb depresses a pin on the hinge side of the door. This action engages a leaf spring inside the mechanism, allowing the neoprene seal to drop into place. I use a Pemko automatic door bottom (www.pemko.com) because of its reasonable price ($35) and its solid assembly.
A hidden auto-drop seal won’t work for every door configuration. The stiff aluminum bar crimped to the neoprene bumper needs a fairly flat surface to seal against. Large gouges or dips and undulations in the floor or threshold below the door cause a gap in the seal. Also, the bottom of the door must be within 1⁄2 in. of the threshold. If the door needs to pass over a thick rug, the threshold can be built up to allow the bottom of the door to be higher. This seal is not recommended for high-exposure areas, but for a clean, seamless look, nothing works as well.
Dial In The Drop
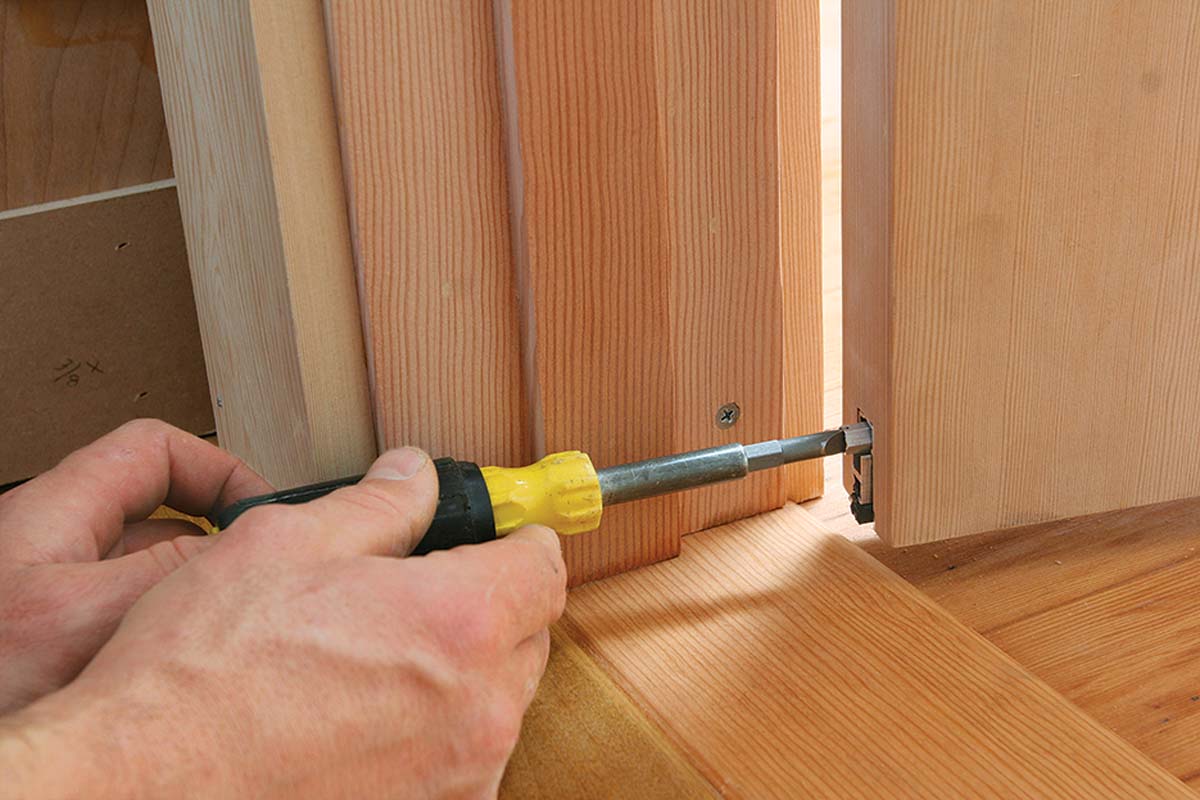
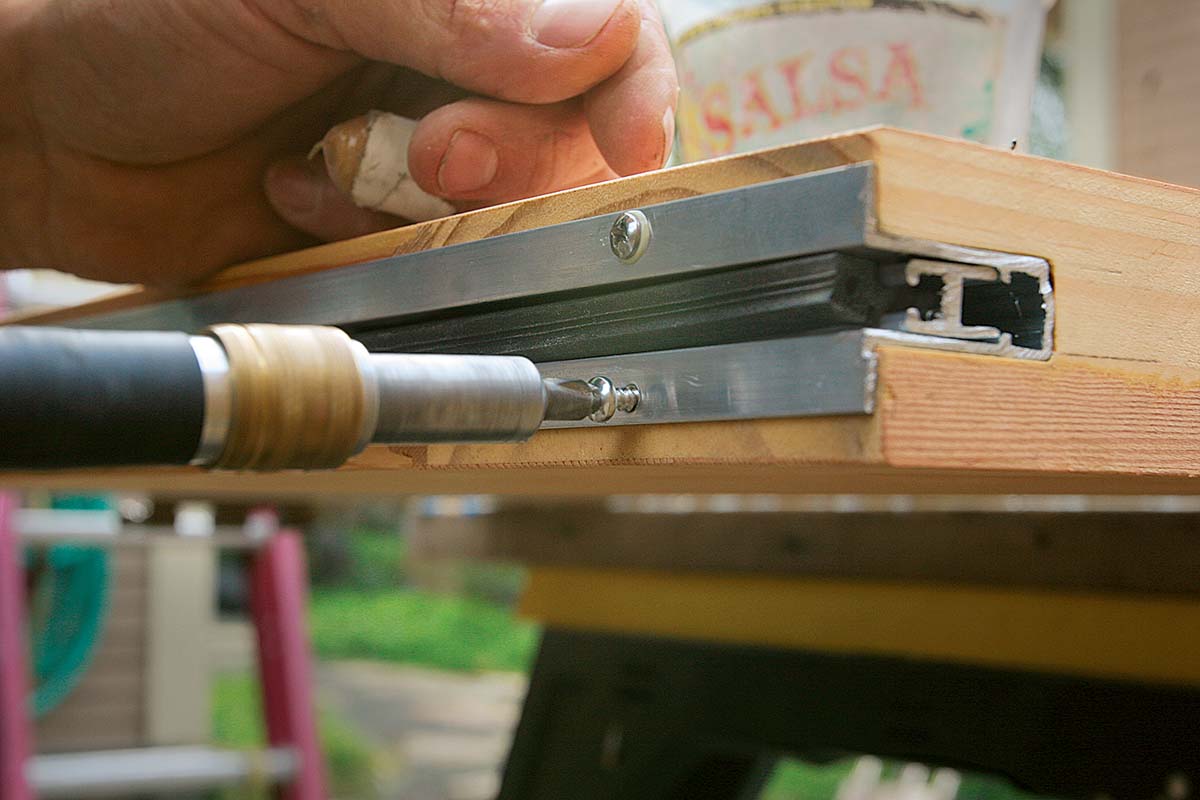
When the door closes, a spring-loaded pin compresses against the hinge-side door jamb to drop the seal. Depressing the pin releases tension on the spring and allows the seal to drop into place. Turning the pin with a screwdriver adjusts the seal up or down. A screw driven flush to the door jamb contacts the pin and prevents it from creating a depression in the wooden jamb. When the door opens, the seal retracts.
 |
 |
A Groove Hides The Mechanism
 |
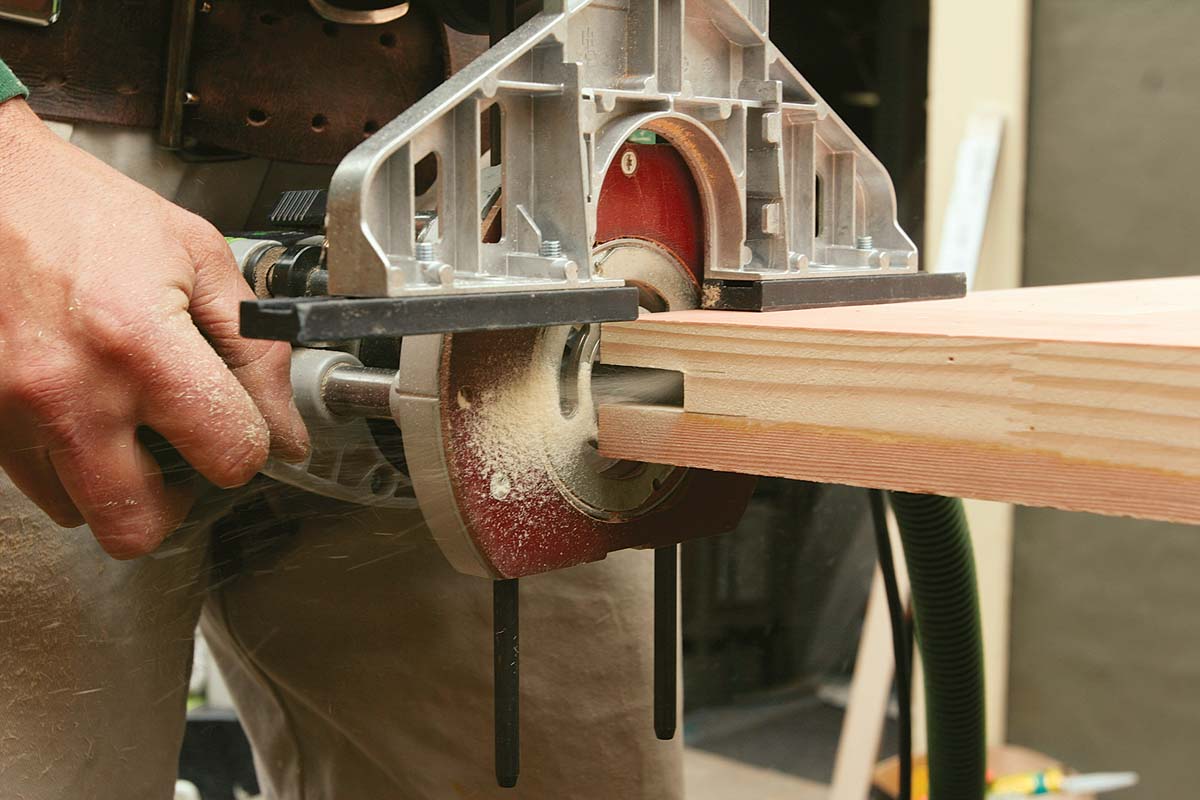 |
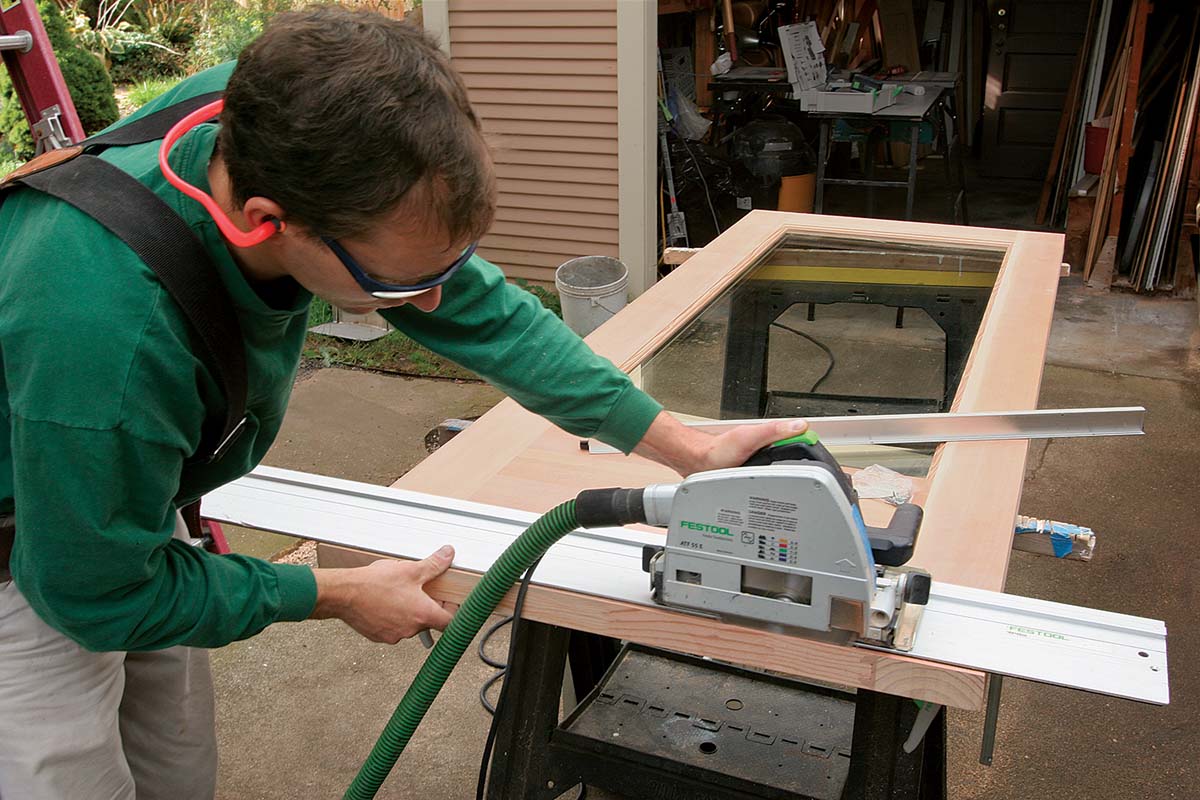
| 1. Trim the door bottom. For the weatherseal to operate correctly, the bottom of the door must be no more than 1⁄2 in. above the top of the threshold. After marking this dimension on both the hinge and latch sides of the door bottom, I trim the door using a circular saw and a straightedge guide. | 2. Cut the groove with multiple router passes. The Pemko mechanism requires a groove 9⁄16 in. wide and 19⁄16 in. deep. After fitting a 1⁄2-in.-dia. bit (www.freud.com) in my router, I attach and adjust a fence to center the groove in the door’s bottom edge. Then I rout the groove in multiple passes, increasing the cutting depth 1⁄4 in. to 3⁄8 in. each time. I widen the groove to 9⁄16 in. by adjusting the router fence on the final pass. |
|
|
|
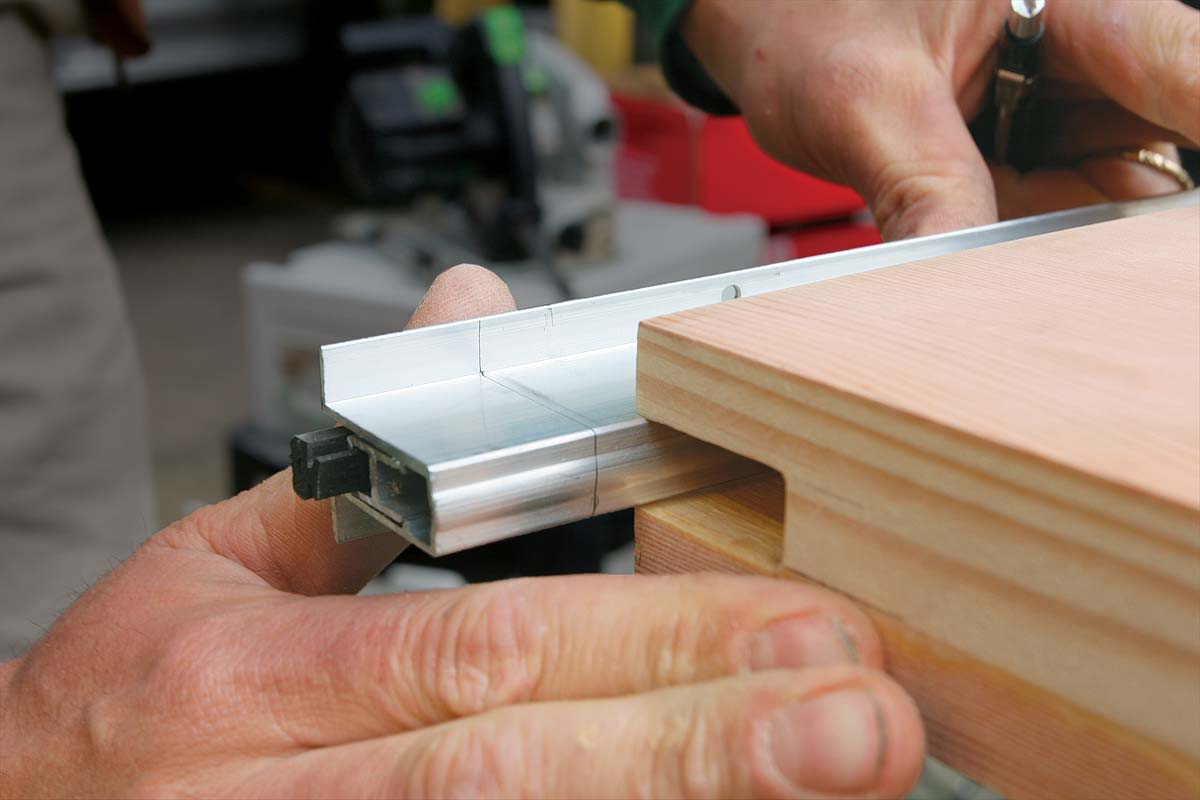
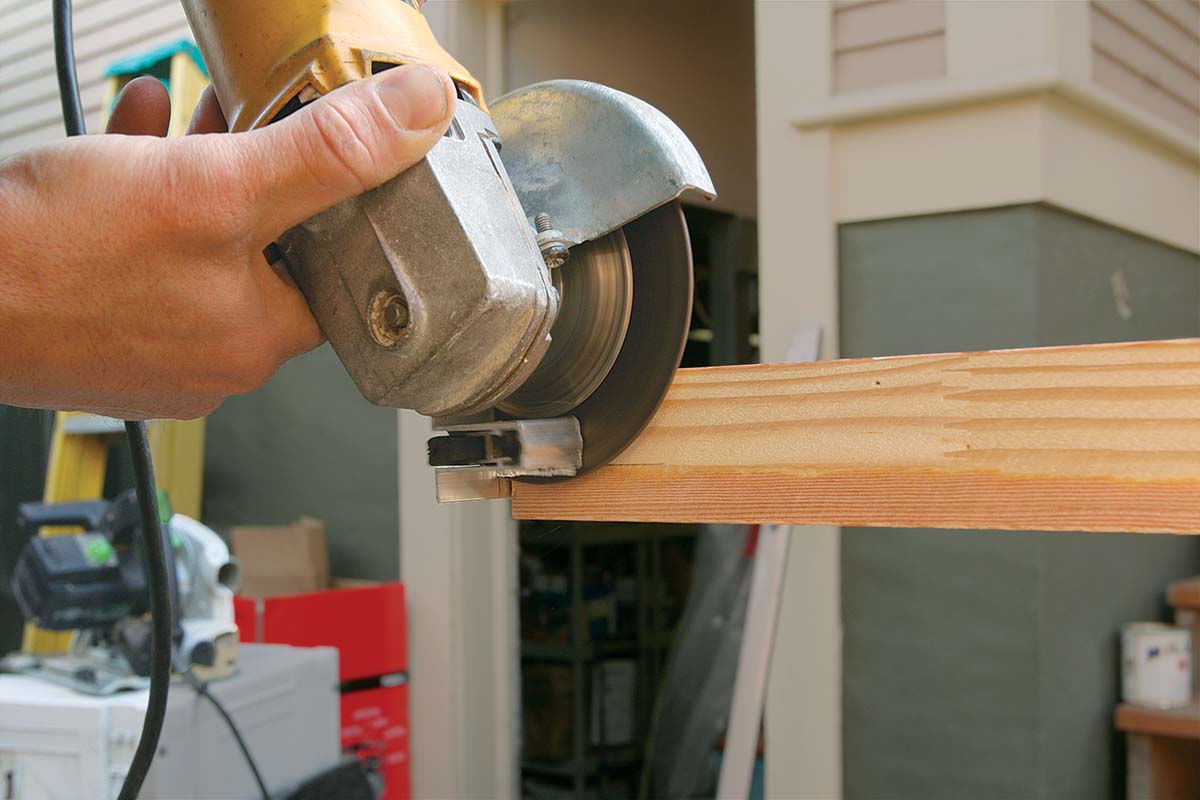
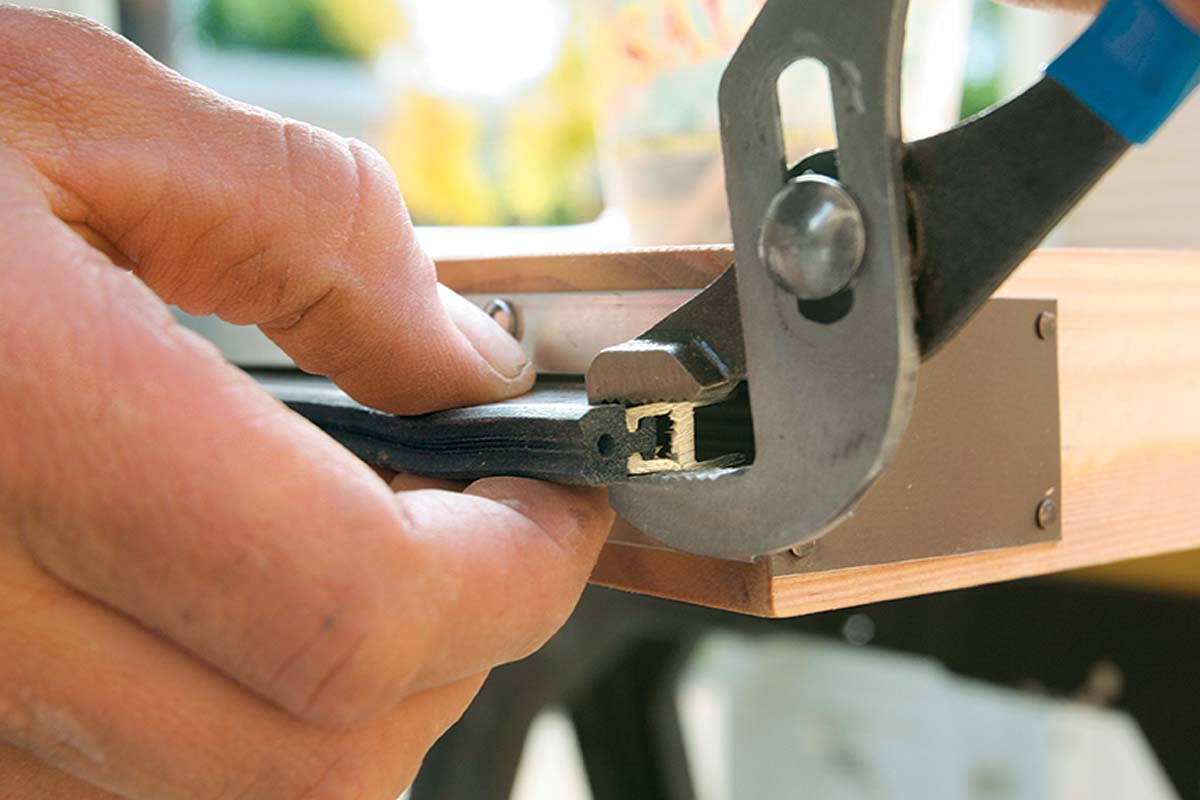
3. Cut the seal and housing in one step. After I’ve checked the mechanism’s fit in the groove and scribed it to match the width of the door, I move the scribe line clear of the door’s edge and cut the entire mechanism to length with an abrasive grinding blade (a fine-toothed hacksaw will work as well). Note: The neoprene bumper can move laterally inside the housing, so before you cut, make sure its opposite end is flush with the end of the housing. |
4. Secure with screws glued in place. After sealing the inside of the groove and the door bottom with polyurethane sealant, I position the mechanism, drill pilot holes, and attach it with screws. I squeeze a small amount of wood glue into each hole before securing each fastener. I secure the bumper by crimping the aluminum bar at one end. |
For more photos and details, click the View PDF button below:

View Comments
This PDF does not load for me.