Vintage Window Tune-Up
Increase quiet and comfort with easy improvements to historical windows.
Synopsis: The historical windows in this older home were letting in drafts and noise from the street, but replacement windows were out of the question for the well-preserved and over 100-year-old house. The solution was to restore each window’s weatherstripping and better seal the sashes to keep out drafts and noise. Contractor Joseph Filanowski explains the anatomy of an old window and how he approached the window upgrades for this house.
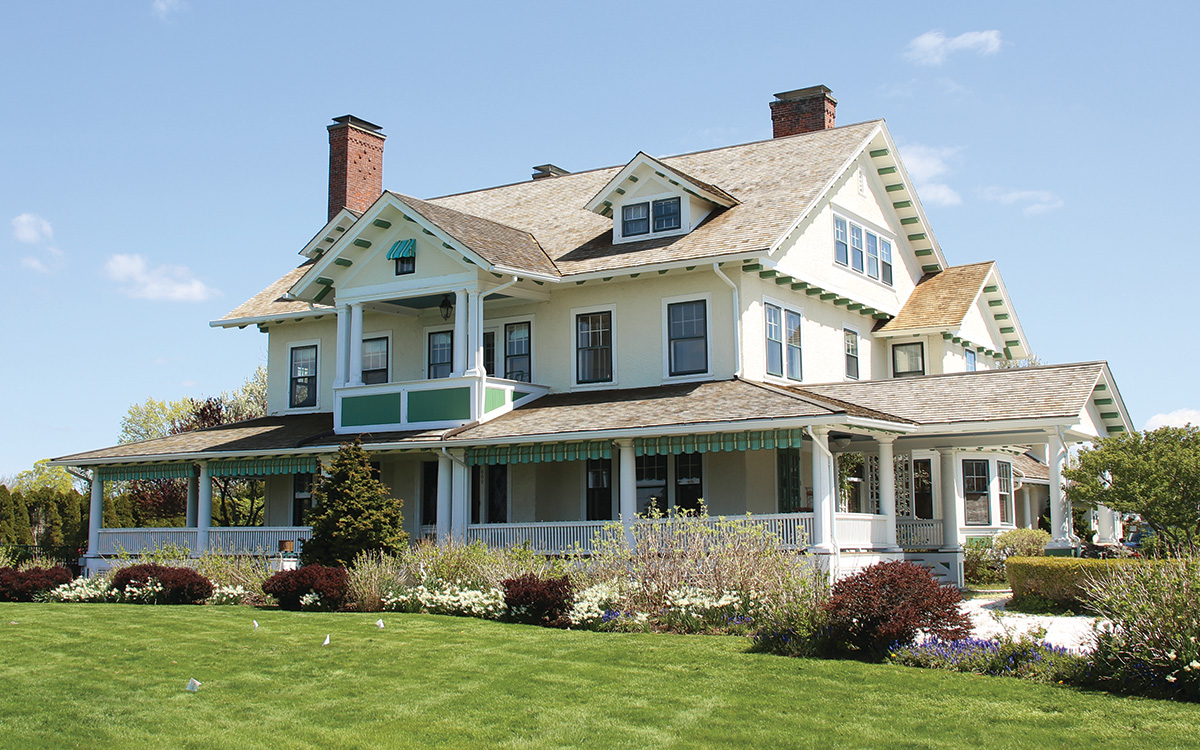
A friend and long-term client recently told me that he’d been awoken in the night by weekend revelers walking in front of his shingle-style home on the Milford, Conn., coast. I was surprised because the sidewalk is easily hundreds of feet from his bedroom window. He confirmed that his windows weren’t open, which wasn’t a surprise since it was the heating season.
New windows have better weatherstripping and glass than old windows, and noble-gas fills and low-e coatings have made glazing even better in recent decades. But when it comes to sound and thermal performance, improving the airtightness of an old window pays huge dividends in stopping noise and controlling air leakage.
My friend and his family love their old house, which was built by the best craftsmen of the day. They have period furnishings. They tolerate extension cords running everywhere to make the most of the house’s few receptacles. And the house itself, which they saved from demolition, is meticulously maintained. When something needs repair, it’s done correctly with the right materials. This is easily one of the classiest homes in our town. Even suggesting new windows in a house like this was a nonstarter for both of us, but I offered to come and see if anything could be done to better block out the sound from the street. Fortunately, when I took a look, it was clear to me that the windows could be made a lot quieter and likely more energy efficient with relatively little work.
Keep it simple
I’m sure many contractors, especially specialty window contractors, would suggest insert replacement windows for my friend, but on this house it would be criminal to replace near-perfect original oak sashes, and the cost would be astronomical. A more nuanced approach might be to remove the sash weights, fill the weight pocket with canned foam, and use another type of sash-balance system. Energy diehards might suggest replacing the single panes of glass with insulating glass. I think these measures are too much for a 100-year-old home that’s so well-preserved.
The windows were meant to last a lifetime, and the millwork craftsmen who built them used construction methods that made it possible for me to come along 100 years later and make these windows perform like they did when they were new. My coworker and I replaced the sash locks, cleaned the zinc weatherstripping, and tightened the adjustable stops using period-correct hardware. All these measures together improved each individual window’s airtightness and made it better at keeping out the sounds of cars and late-night partygoers.
After we had worked out a system, we could tune-up a window in about an hour. The difference in sound transmission was genuinely surprising. When we’d start on a room facing the street, we could plainly hear peoples’ conversations as they walked by. By the time we were done with all the windows in that room, we could barely hear anything at all. Later I learned that coastal winds would sometimes rattle the windows, a condition the owners assumed was part of living beside the sea in an old house. Our window tune-ups solved that problem too.
This was a fun project, and I’m proud to have done my part to keep a beautiful old home working like its builders intended.
Old-window anatomy
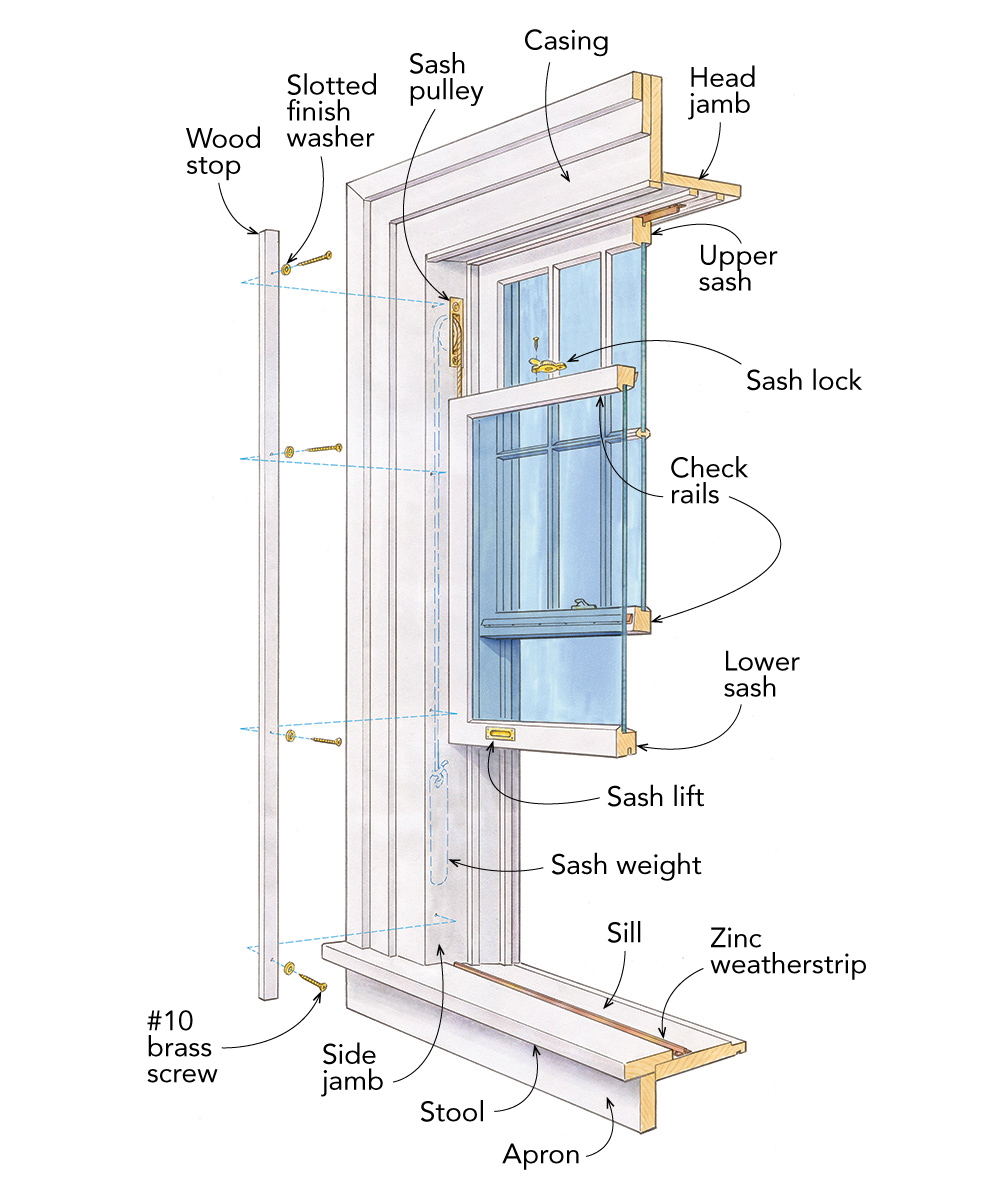
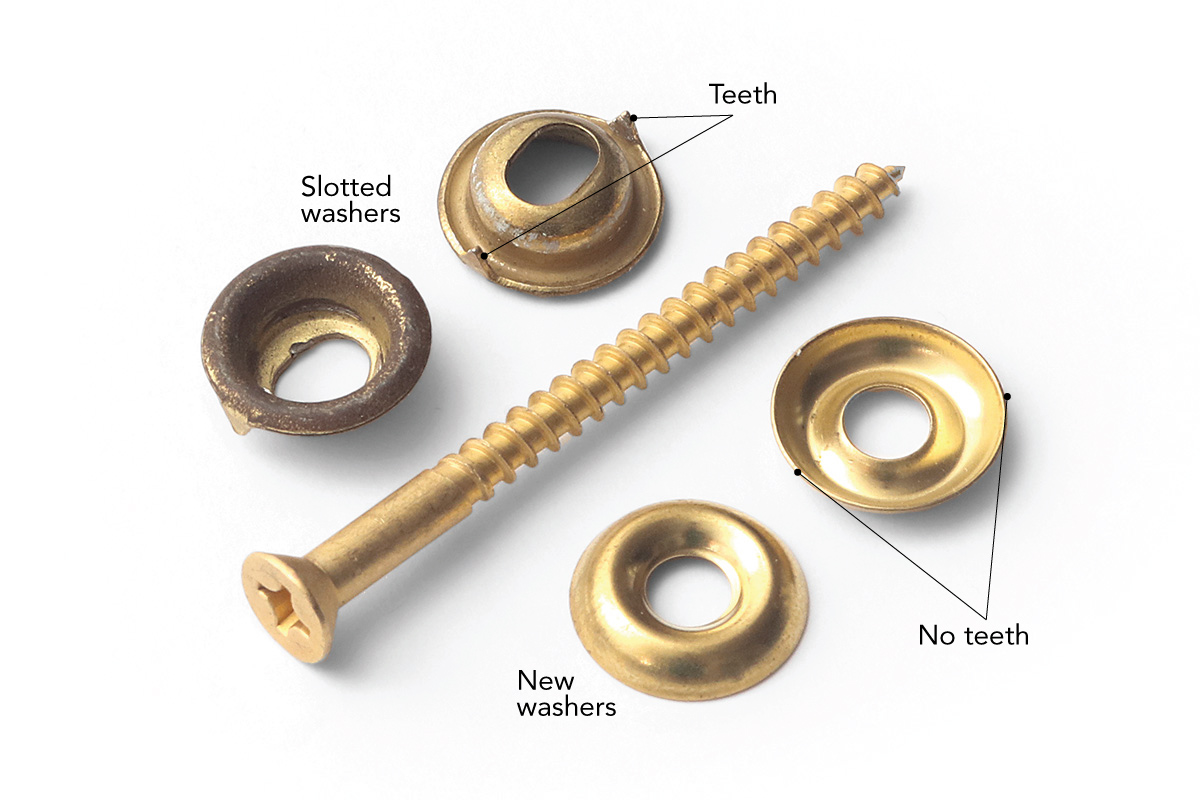
Hundred-year-old double-hung windows use cords, pulleys, and sash weights to balance the weight of the wood sashes. The sashes ride in channels on the jambs created by the wood stops on both sides of the sashes. Slotted finish washers make the stop adjustable, so it presses tight to the sashes for reduced air infiltration and less outside noise.
Clean the weatherstripping
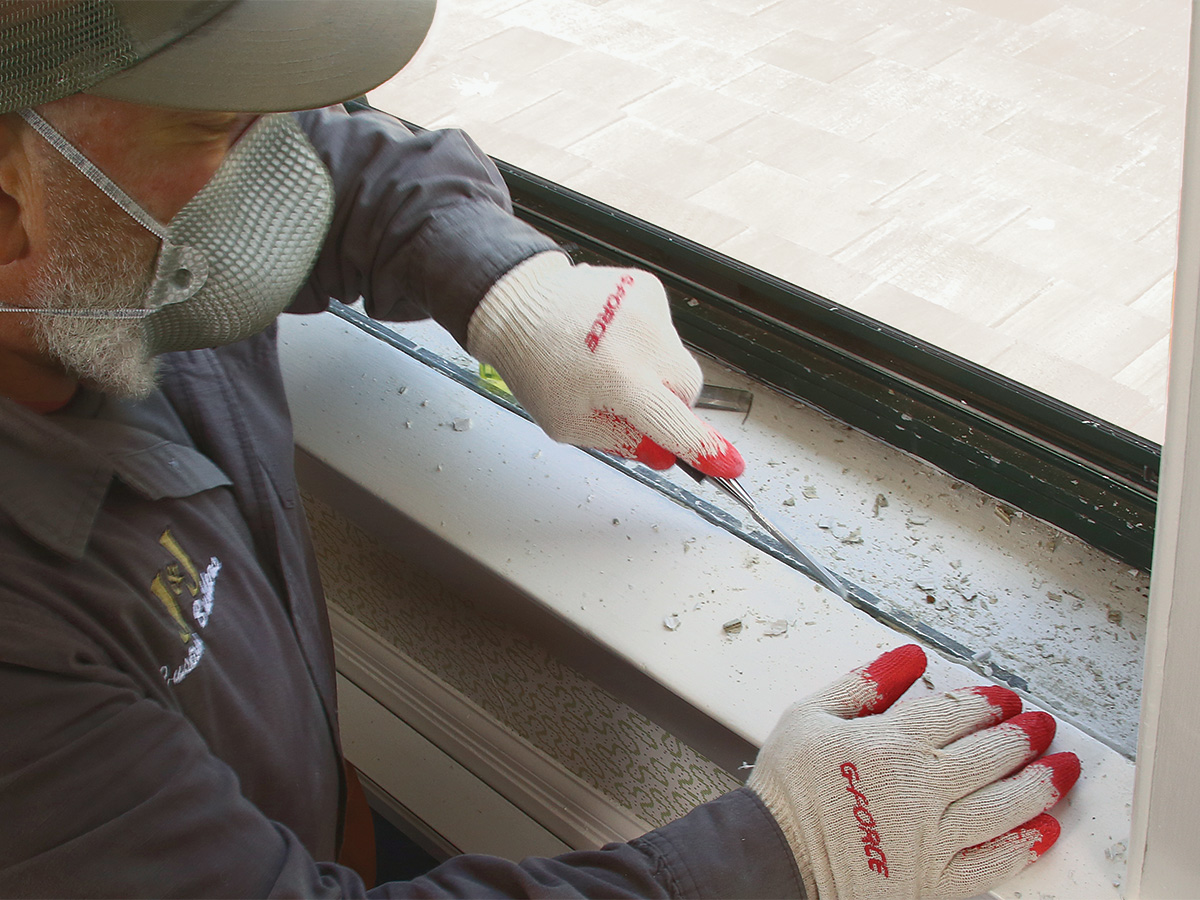
1. Scrape off paint
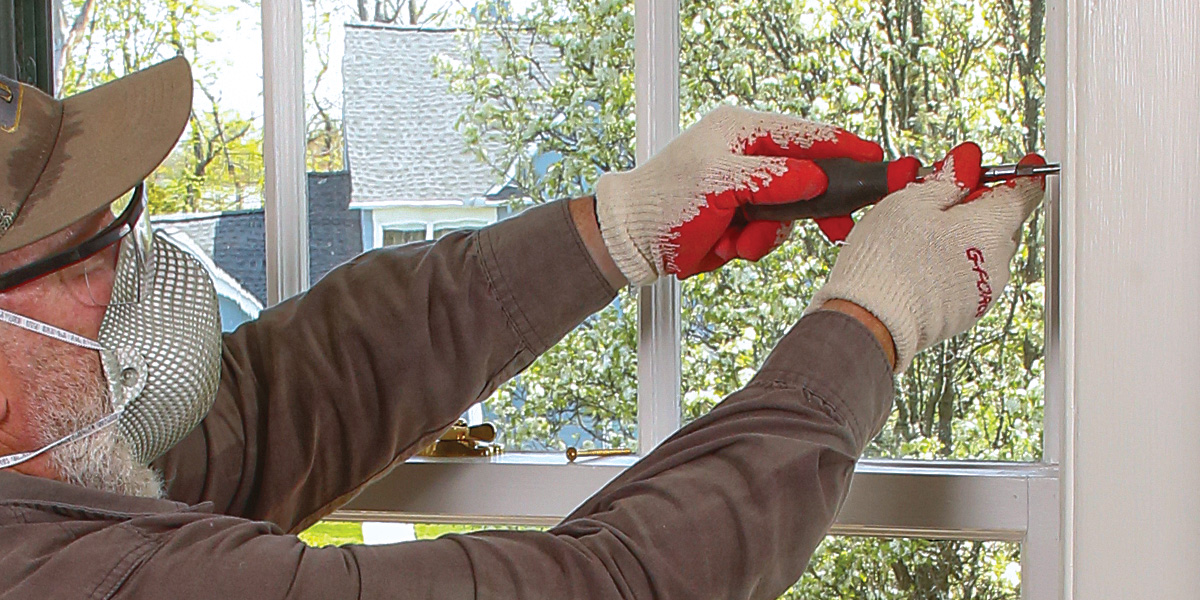
A cheap chisel with factory sharpening is a great tool for getting built-up paint off the zinc weatherstripping that’s on the window stool. I’m careful not to scrape on the wooden stool itself. I also make sure the corresponding groove on the bottom of the sash isn’t filled with paint. That wasn’t the case here, but if it had been, I’d scrape that corresponding groove with the chisel’s corner.
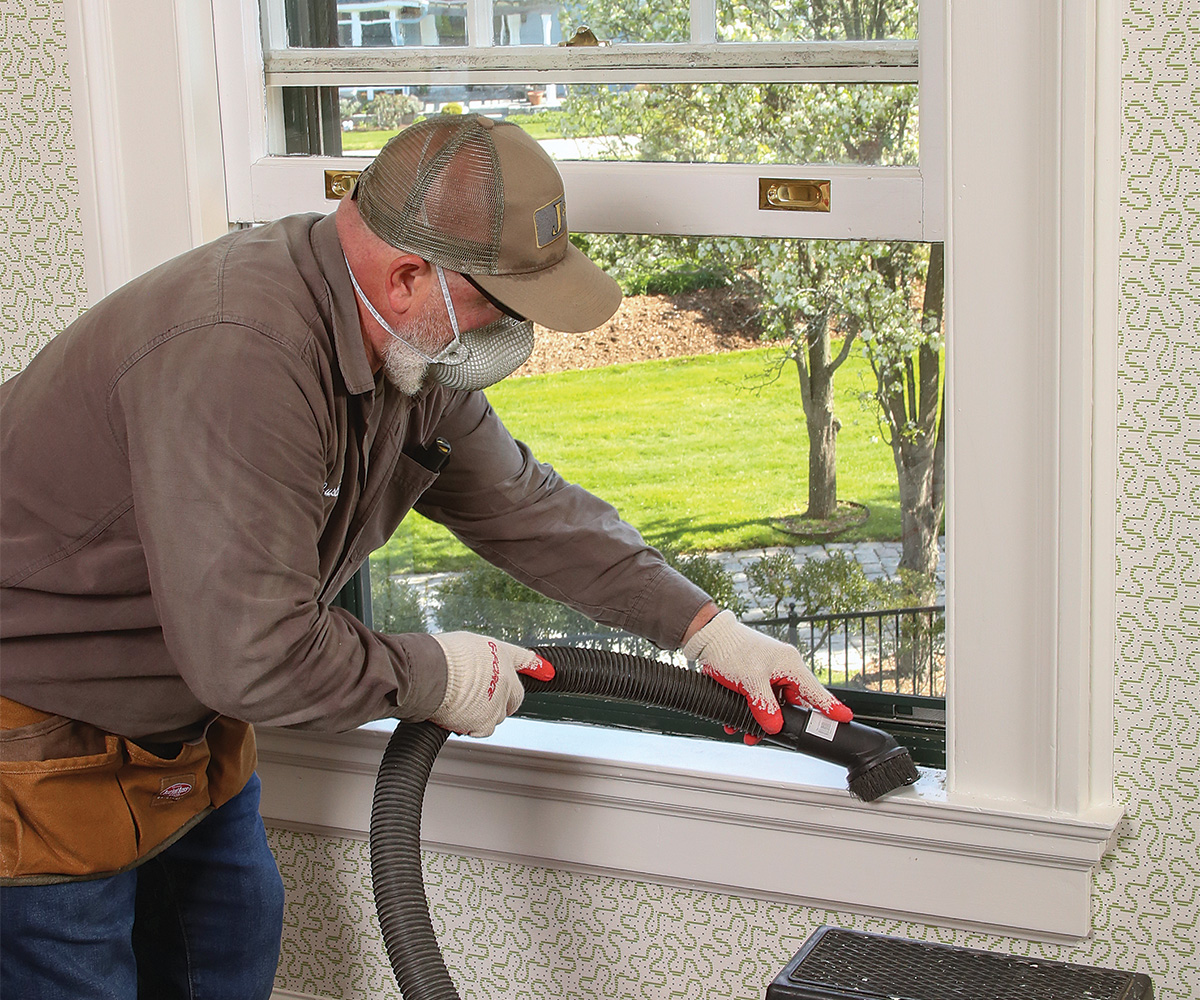
2. Clean up the mess
I assume there’s lead paint on woodwork for any home of this vintage, so I worked lead-safe (and presented the risks of disturbing lead paint to the clients at the outset). I cleaned up with a HEPA shop vacuum as soon as I was finished scraping. Moving blankets contain chips and prevent damage to the carpet.
Inspect the meeting rails
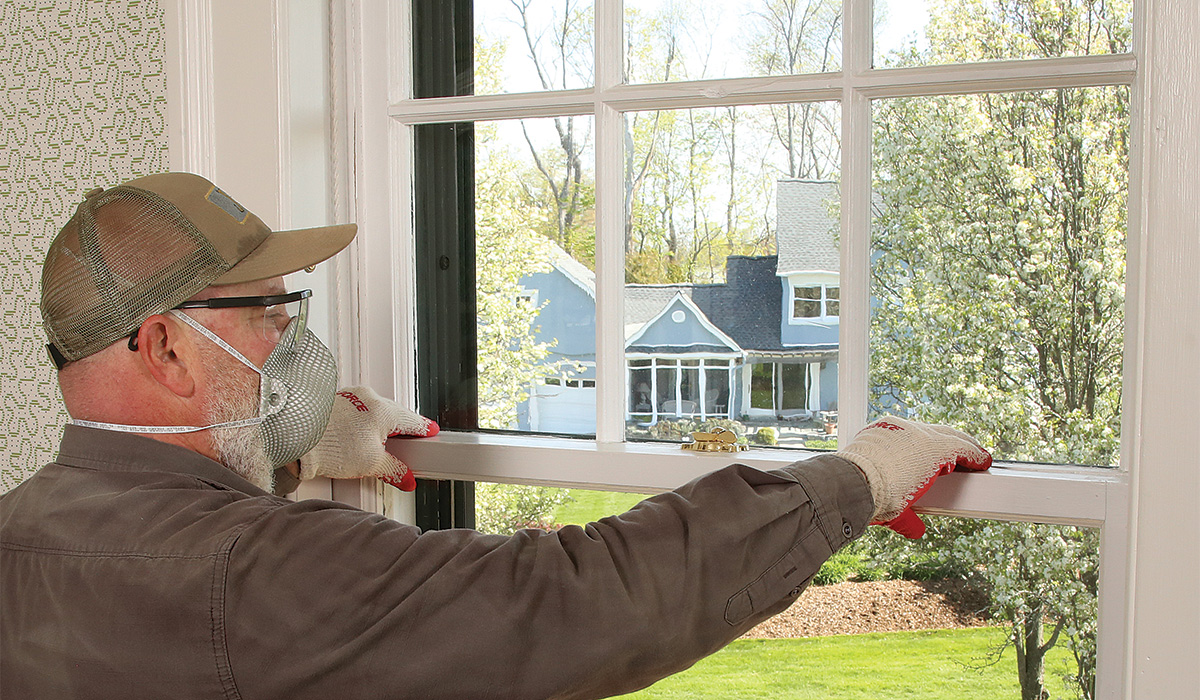
Check the fit
If the weatherstrip and groove are mated correctly, the sashes will fit tightly together at the check rails. Like other high-quality wood windows of the era, the check rails here have complementary bevels for a tight fit when closed.
Lubricate the sash pulleys
Lubricate pulleys
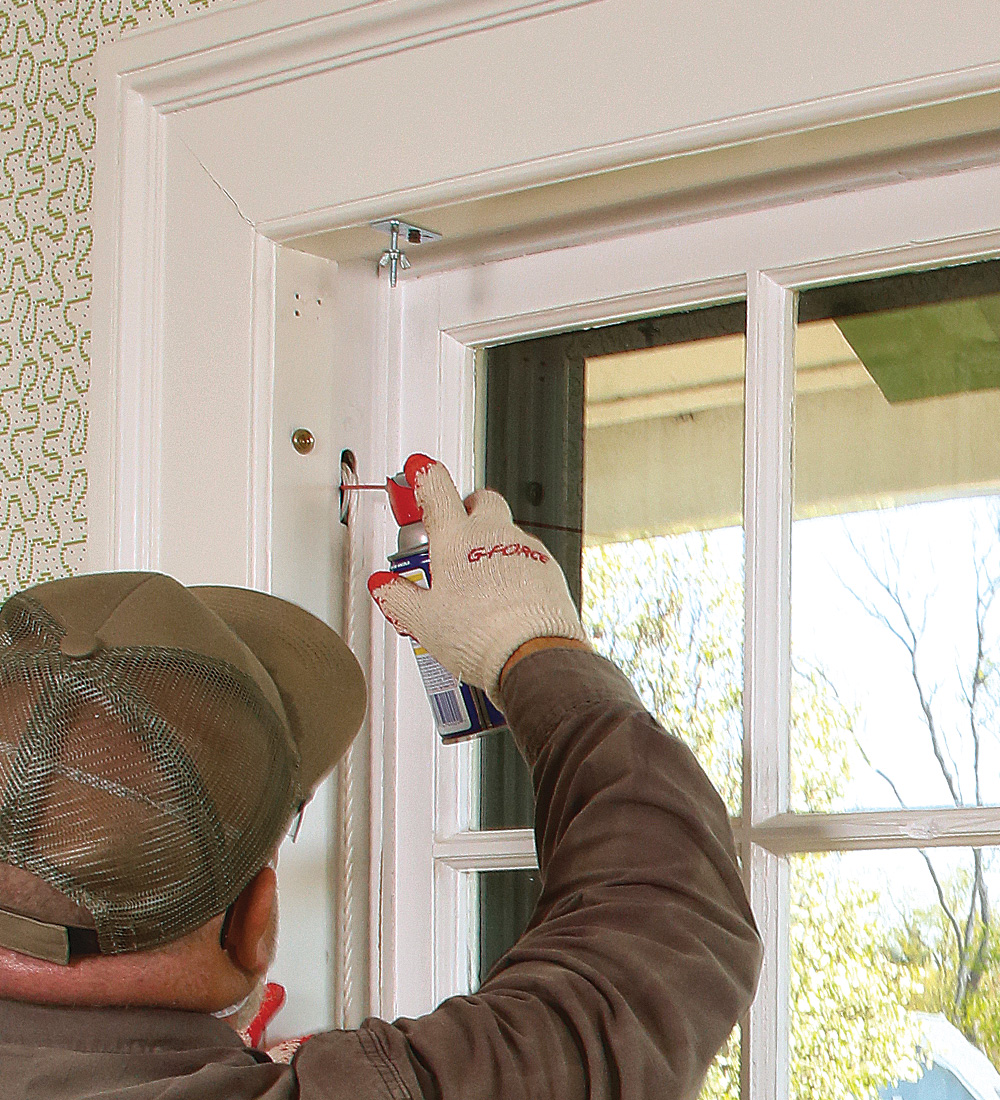
The sash cords were all in good shape. (Replacing them would have required a second article.) I used WD-40 on the sash pulleys; the trigger nozzle with the straw makes application precise. After a quick spray to both sides, the pulleys were quieter and the windows raised more easily.
Replace the sash locks

Some of the windows had cheap, stamped-steel replacement sash locks. They seemed to work OK, but they looked terrible. I replaced them with solid brass Baldwin sash locks (model 0452-003). The brass is bright, but they’re uncoated, so they should darken with time.
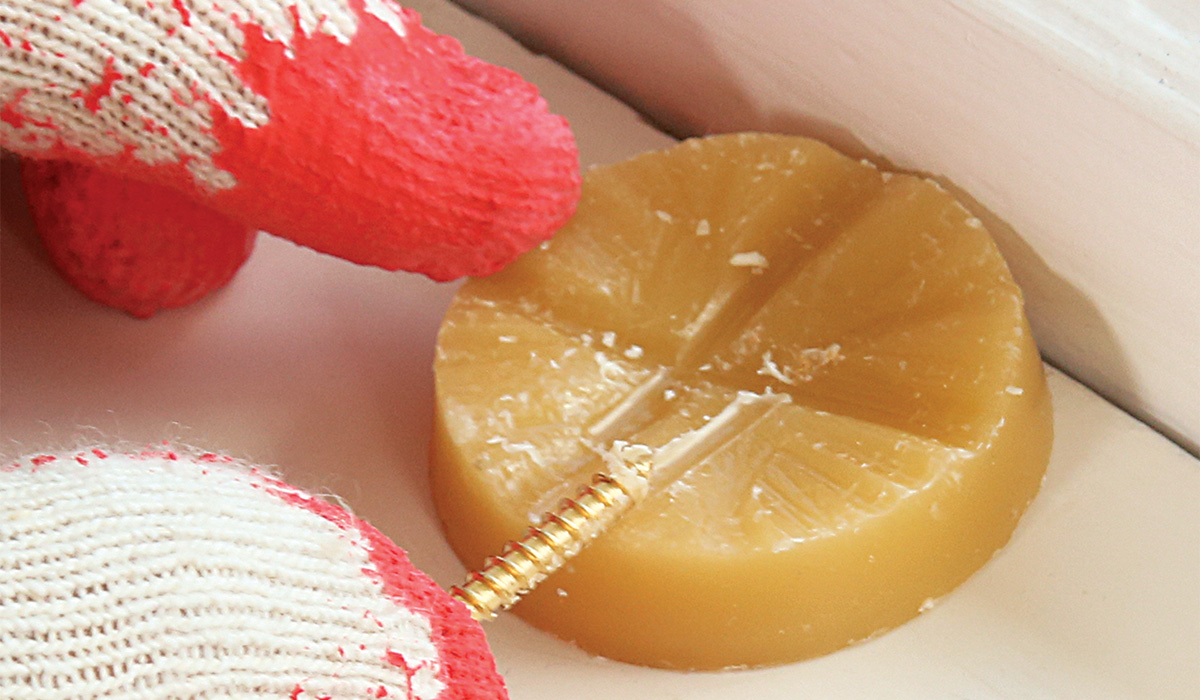
1. Wax the screws
These sash locks come with brass screws that strip easily. I coated the threads with wax before driving them. Had there been no existing threaded holes, I would have driven steel screws before driving the brass screws to prevent stripping the heads.
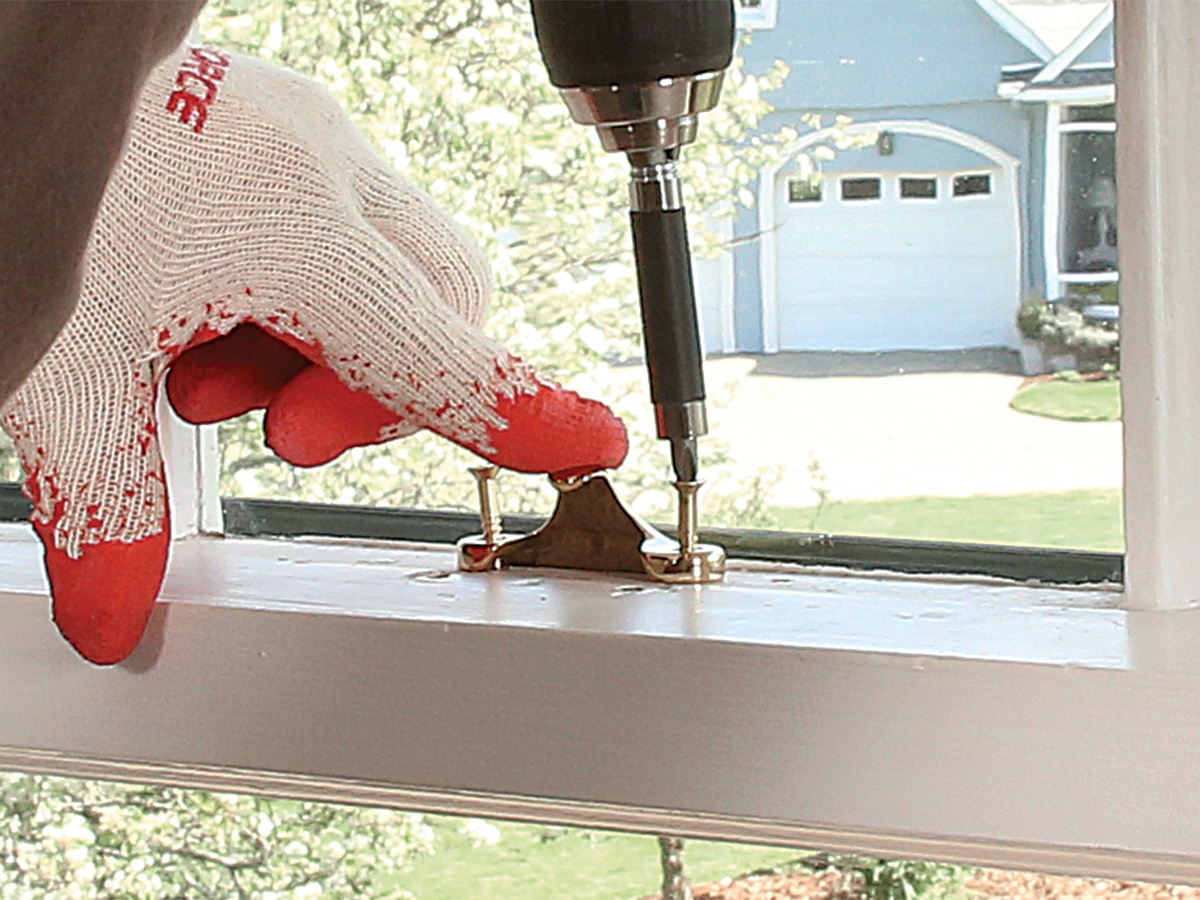
2. Fasten the keeper
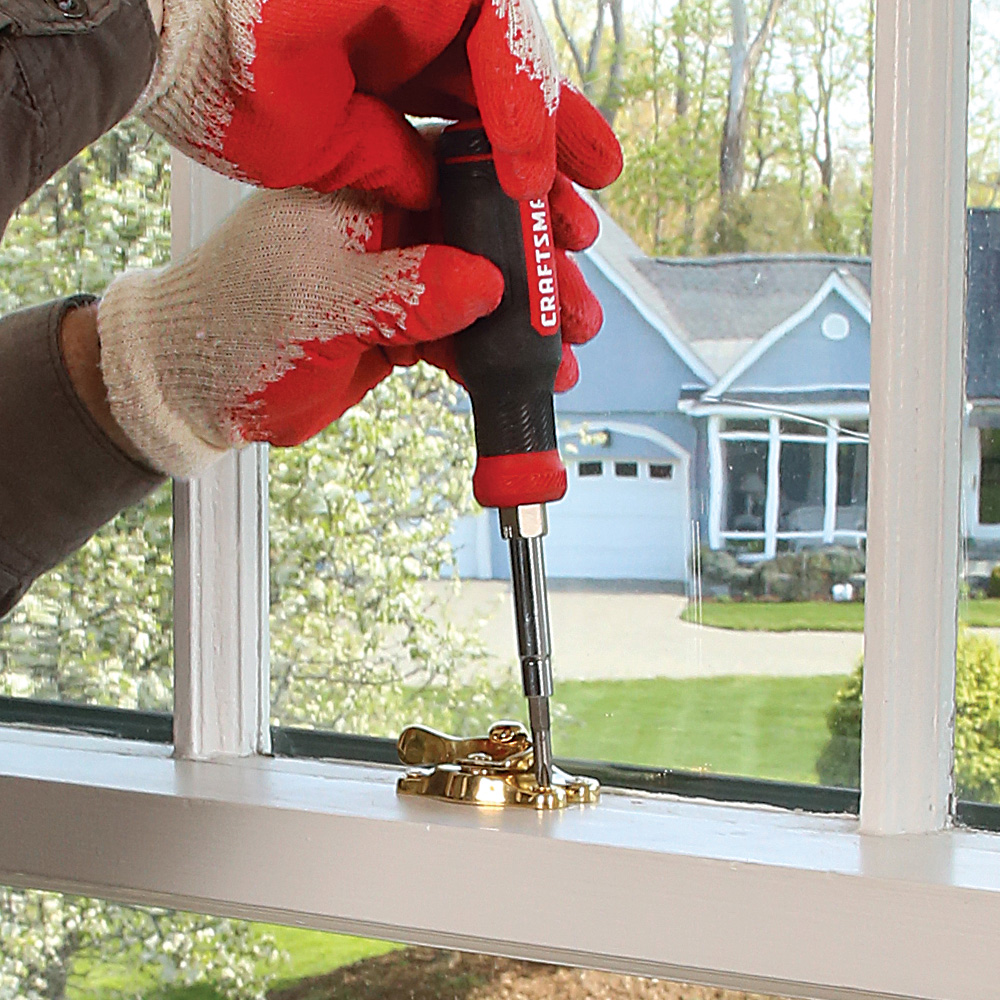
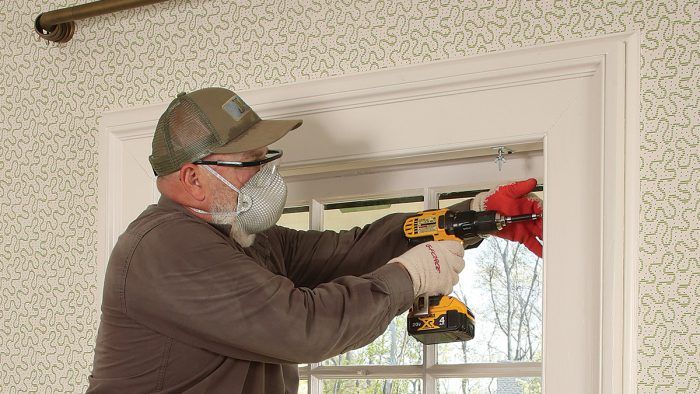
I first fastened the keeper to the top sash using the screws provided. I used a new bit and a cordless drill instead of an impact driver to prevent damaging the brass heads or breaking the screw shanks.
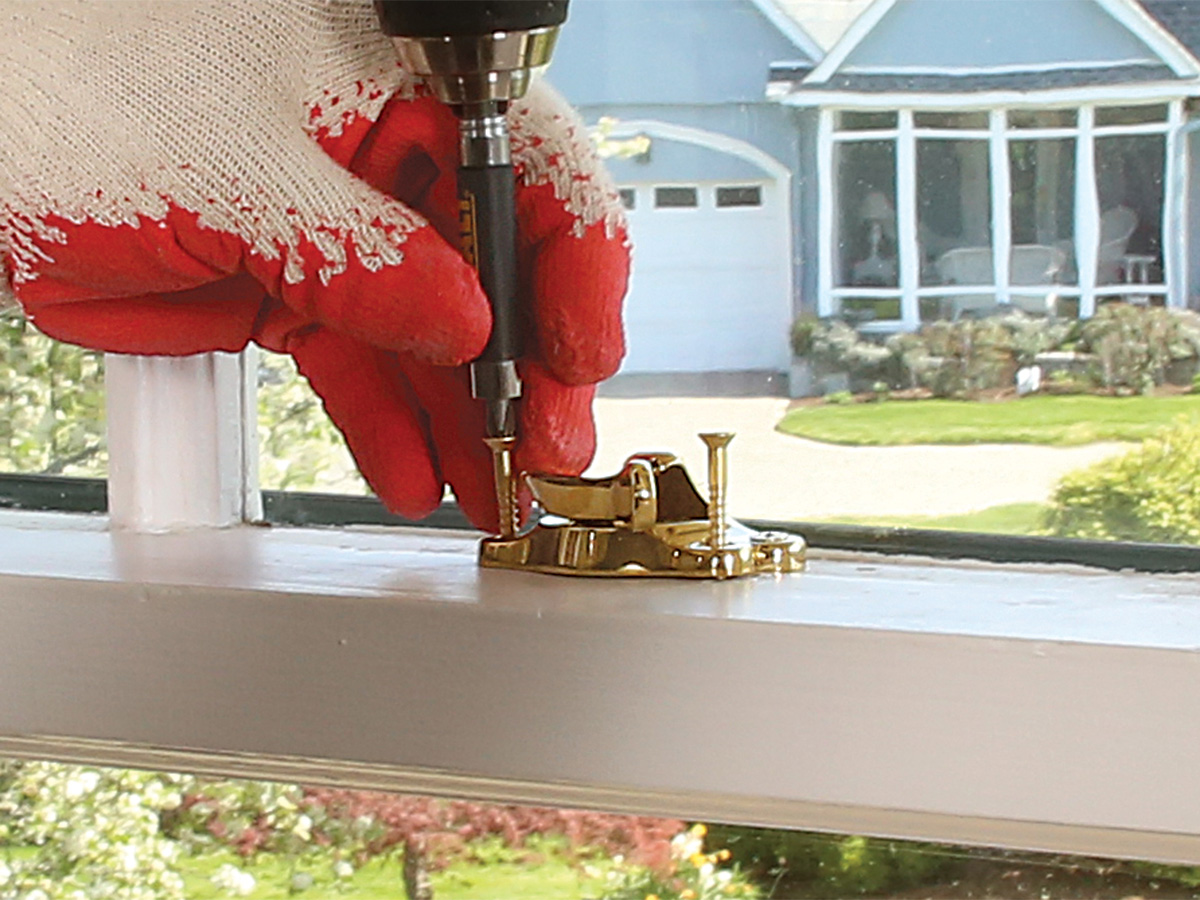
3. Fasten the cam
I fastened the cam to the bottom sash using the same techniques I used on the keeper. If you do break a screw inside the hole, it may be easier to shift the lock left or right slightly and redrill, instead of trying to get out the broken piece.
4. One final twist
I had the clutch set on the drill to prevent breaking the screws, so I made the final partial turn by hand to ensure that the screws were fully tightened. The screws have to be fully tightened for the sash lock to pull the check rails tightly together.
Adjust the sash stops
The window stops on the home were held in place with brass screws and slotted finish washers with a pair of pointy teeth on the back. The arrangement allows you to rotate the finish washer so the wooden stop puts pressure on the window sash, sealing out sound and weather. The teeth on the back prevent it from spinning as the screw is tightened. Also shown is the unfortunate modern equivalent, which I had to use in a few places.
1. Swap the screws
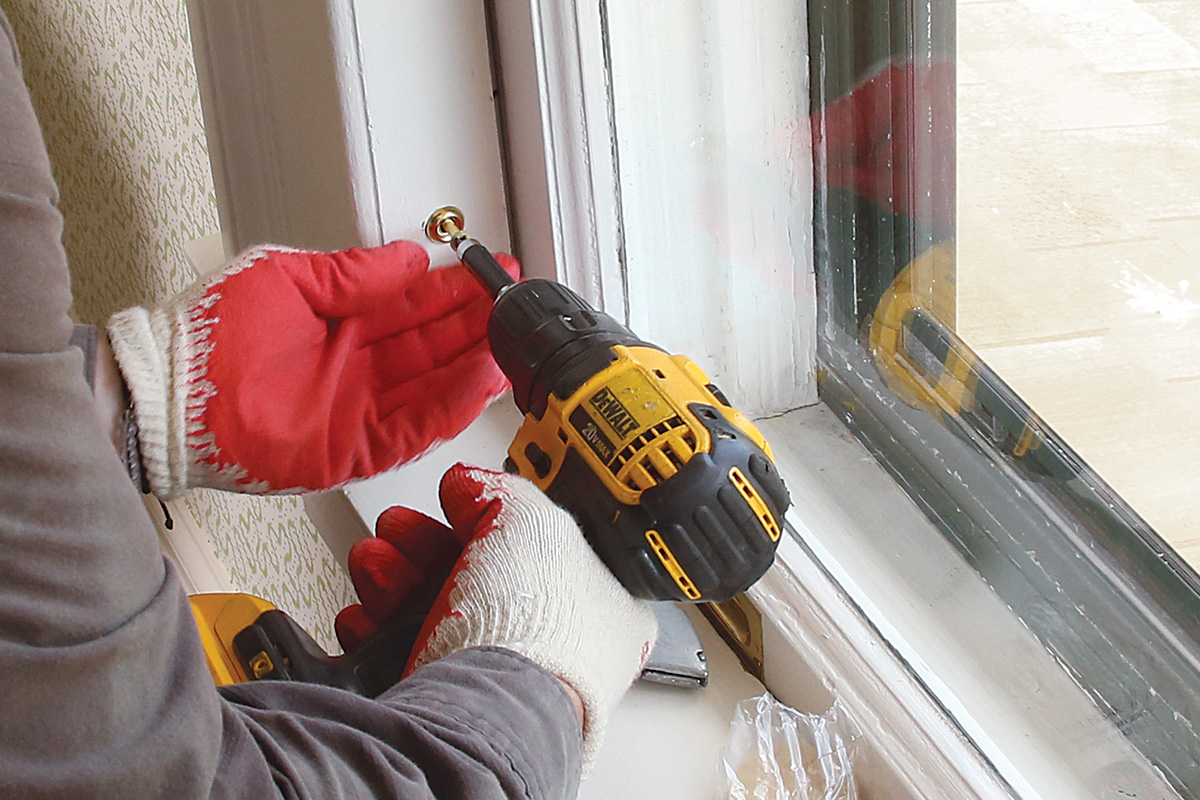
Many of the screws holding the window stops in place were in stripped holes, so I switched from 1-1/2-in. #8 wood screws to 1-1/2-in. #10 wood screws. The larger screws still fit in the finish washers and hold securely in the formerly oversized holes.
2. Just the right tight
Once again I made my final partial turn of the stop screws with a screwdriver to prevent stripping the screw heads. After that I checked the window and sash-lock operation and gave the sashes a shake to ensure they were held tight to the stops and tightly together.
Joseph Filanowski is a contractor in Milford, Conn.
Photos by Patrick McCombe, except where noted.
From Fine Homebuilding #311
RELATED STORIES

