How to Install a Better Window Head Trim and Drip Cap
A few extra bends in this typical aluminum-window-flashing component makes it a more effective water-shedding detail.
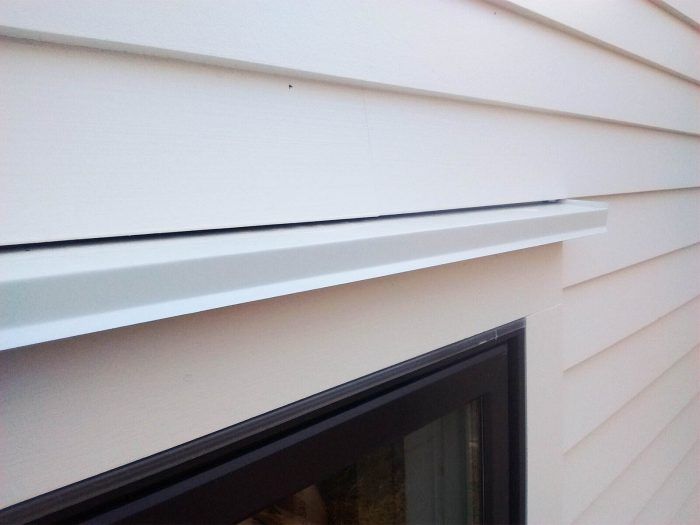
The window head-trim design Mike Maines calls for is a 5/4 by 4-in. head piece with a 5/4 by 4-in. cap. We ripped the top edge of the head piece with a 7-deg. bevel so the cap would be slightly sloped to help drain water.
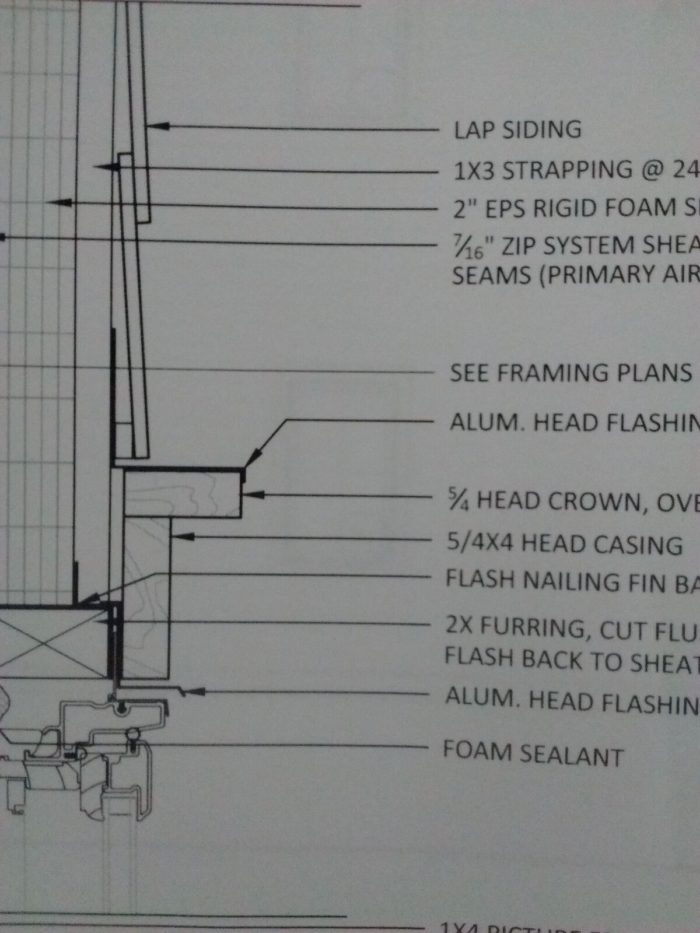
Over the cap we installed aluminum flashing. We formed a slight kick-out along the bottom of the drop leg to stiffen up the flashing and kick water away from the trim piece.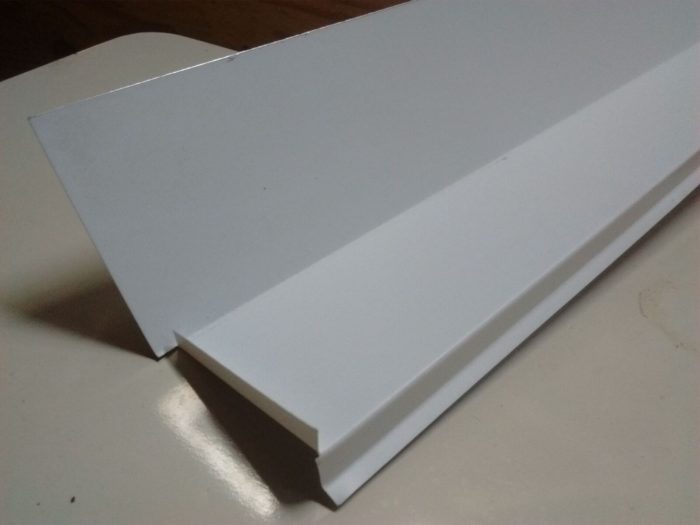
Rather than turn the ends of the flashing down over the ends of the cap trim, we turned up 1/4-in.-high end dams. 
The end dams help block water from rolling off the ends of the flashing where the siding is notched around the 1-in. cap trim horns. The end dams aren’t noticeable unless you look closely at the windows, so they don’t detract from the window-surround design.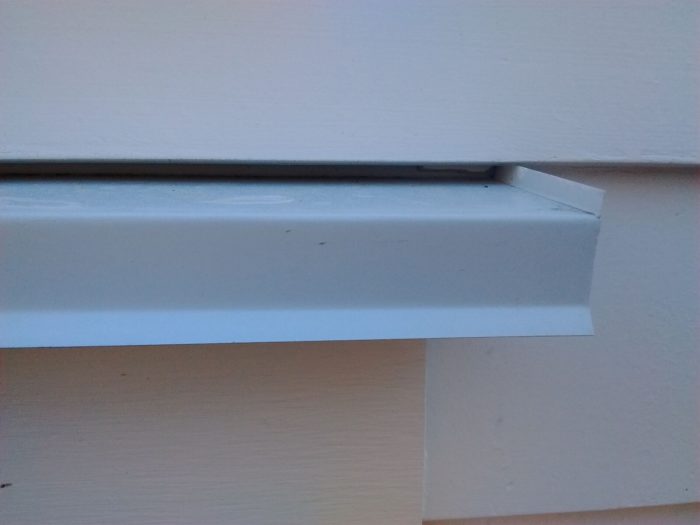


View Comments
How are the back corners of the dam sealed? Is the flashing a reverse lap or does the WRB go over the flashing? Is the flashing nailed or is some adhesive used? Flashing detail errors are an excellent source of revenue for moisture rot specialists.