Creating a Wiring Trench
Cutting a trench in drywall or plaster to run cable is faster than fishing cable behind finished surfaces.
When adding multiple outlets or rewiring an entire room, cutting a wiring trench in finish surfaces instead of fishing cable behind them is much faster. Before cutting or drilling, however, turn off the power to the areas affected. Be sure to wear eye protection and a dust mask.
| Safety Alert: Before you cut into any finish surface, ascertain that it’s not covered with lead paint. |
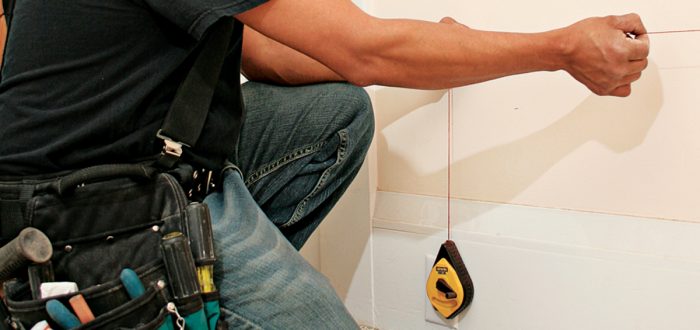
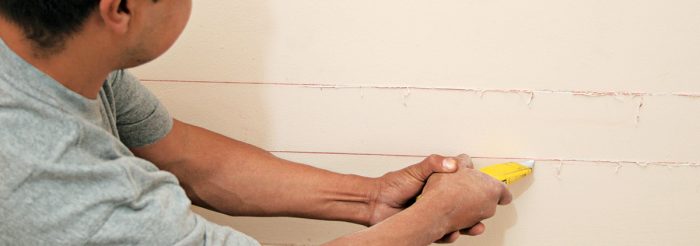
If there are no windows in the walls to be rewired, cut the trench about 3 ft. above the floor so you won’t have to kneel while working. If there are windows, cut the trench under the windows, leaving at least 1 in. of wall material under the windowsill to facilitate repairs. If there’s plaster, make the trench as wide as two strips of lath. Snap parallel chalklines to indicate the width of the trench 1. Then use a utility knife to score along each line 2. Scoring lines first produces a cleaner cut and easier repairs.
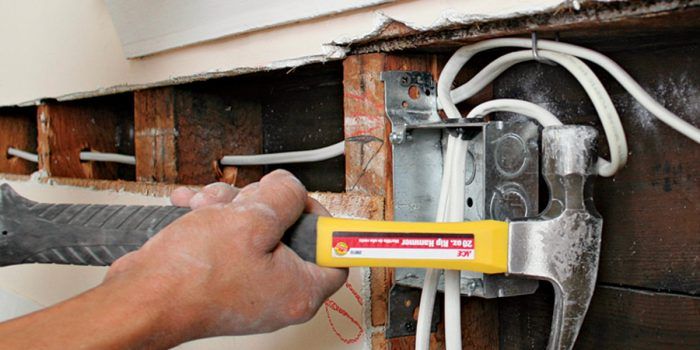
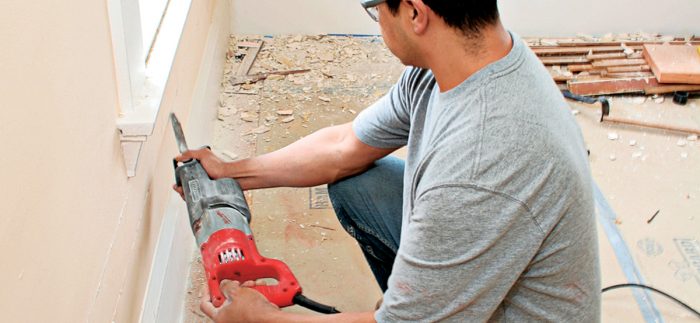
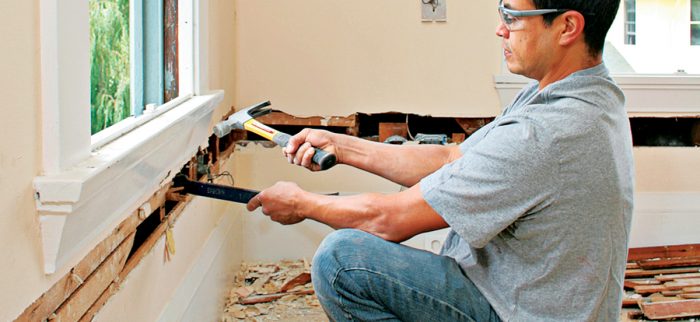
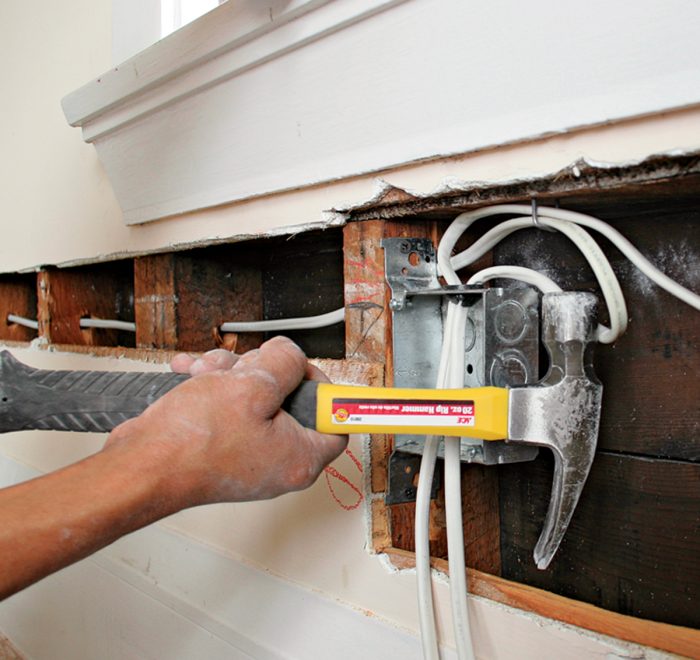
Next use a reciprocating saw with a demolition blade to cut through the plaster or drywall. Hold the saw at a low angle: You’ll be less likely to break blades or cut into studs 3. Using a hammer, gently crush the plaster between the lines 4. Use a utility bar (flat bar) to pry out the lath strips or drywall section. If you expose any cables in the walls, use a noncontact tester to make sure they’re not hot 5. Next, drill through the studs so you can run cable in the trench. Wherever there’s an outlet indicated, expand the trench width to accommodate the boxes.
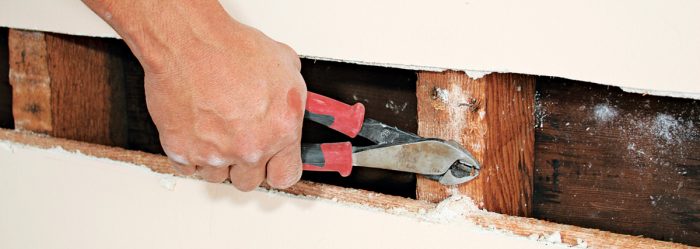
Finally, pull any lath or drywall nails from stud edges 6. They’re easy to overlook because they’re small; if you pull them now, patching the trench will go smoothly.

Pulling Cable to Retrofit Boxes
Once you’ve cut a wiring trench and drilled the holes, installing the boxes and pulling cable are straight-forward.
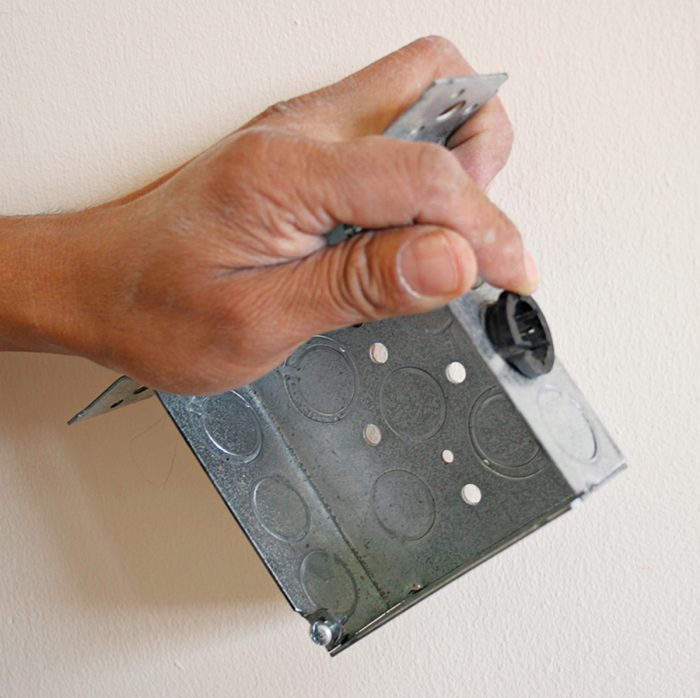
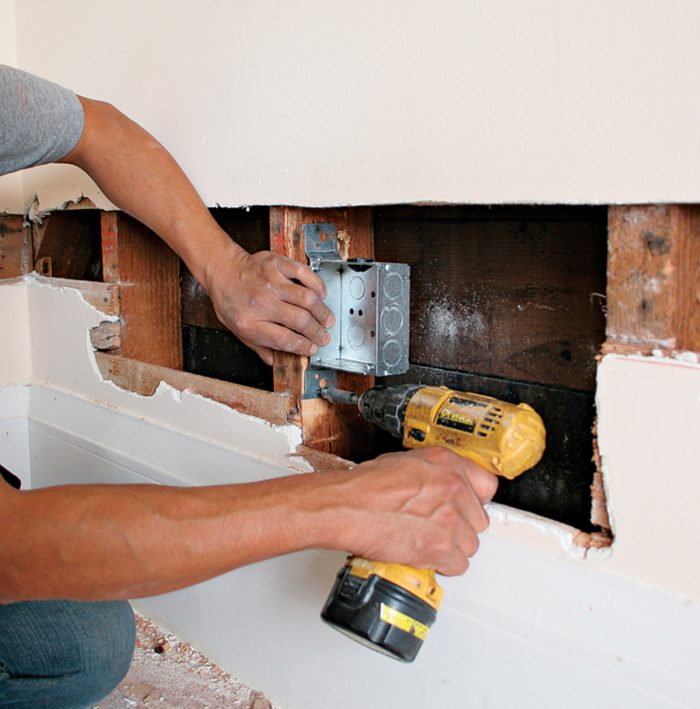
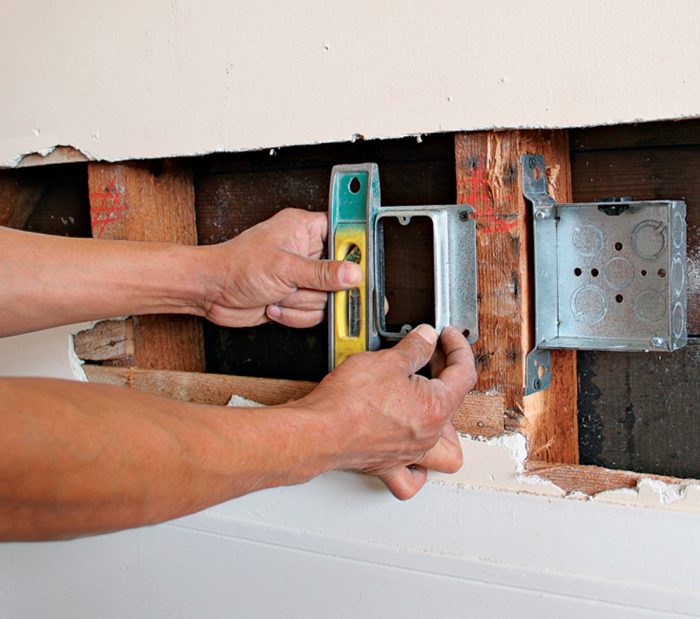
If you’re installing metal boxes, remove knockouts and insert cable connectors into their openings 1. Then screw boxes to studs; screwing is less likely to damage nearby finish surfaces 2. Be sure that the box will be flush to finish surfaces or, if you’ll install plaster rings later, flush to the stud edge. Whenever you install boxes side by side—as with the outlet and low-voltage boxes shown here—install them plumb and at the same height 3.
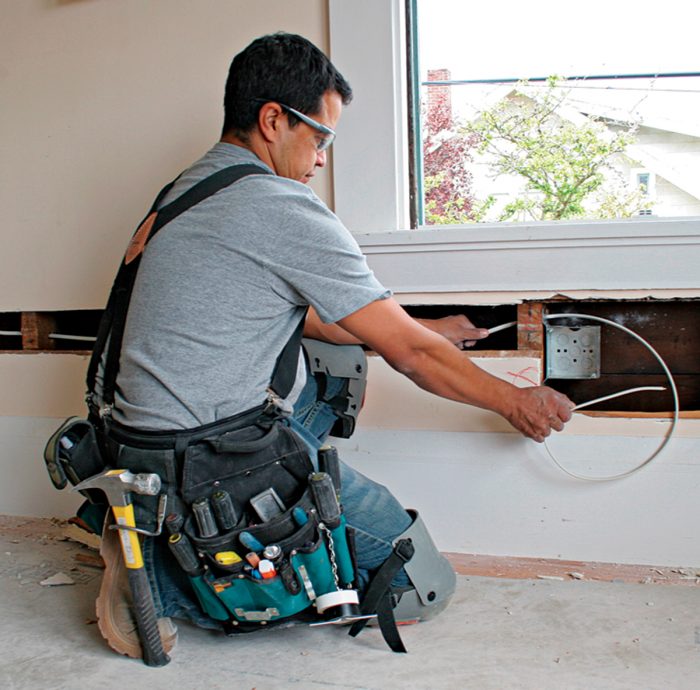
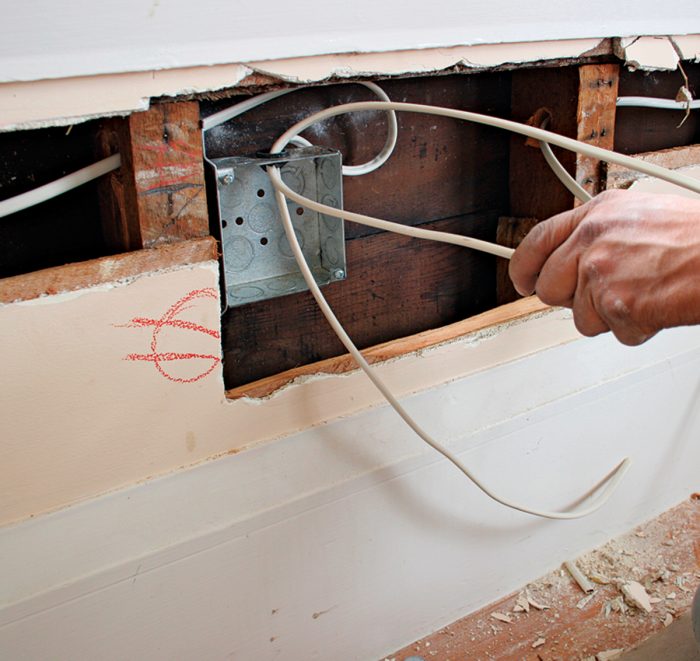
Installing cable in remodels can be tricky because space is tight and you must avoid bending cable sharply, which can damage wire insulation 4. Install nail plates wherever the edge of the hole is less than 1 1⁄4 in. from the stud edges. Feed cable through the cable connectors into the boxes 5. Finally, staple the cable to the framing within 8 in. of a single-gang box without clamps, or within 12 in. of other boxes. If there’s not room to loop the cable and staple it to a stud, it’s acceptable to staple it to other solid framing, such as the underside of a sill 6.
Excerpted from Wiring Complete, 3rd Edition (The Taunton Press, 2017) by Michael Litchfield and Michael McAlister
Available in the Taunton Store and at Amazon.com.

