Installing Ceiling Boxes
Whether you're setting a recessed can overhead or a 4-in. box between joists or against one, here's how.
Boxes for ceiling lights are most often 4-in. octagonal or round boxes or recessed light fixtures with integrated junction boxes. Setting ceiling boxes in new work is similar to setting wall boxes, with the added concern that the ceiling box be strong enough to support the fixture. Many electricians prefer to use metal boxes for ceiling fixtures. Ceiling fans require fan-rated boxes.
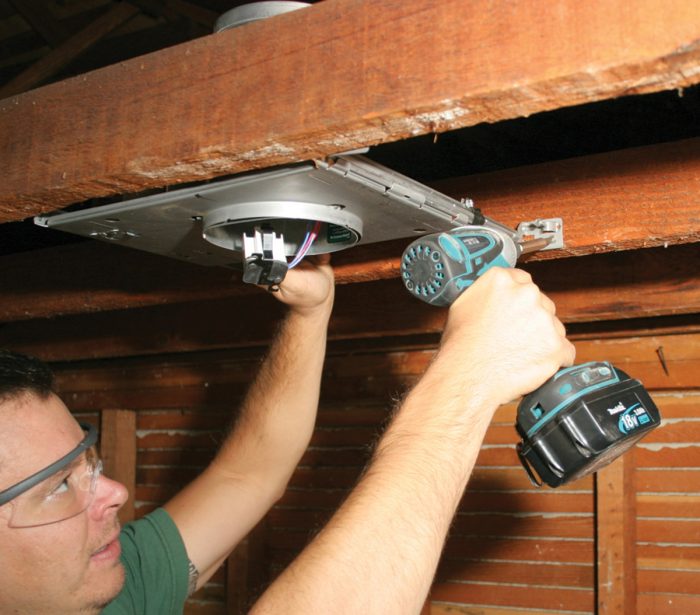
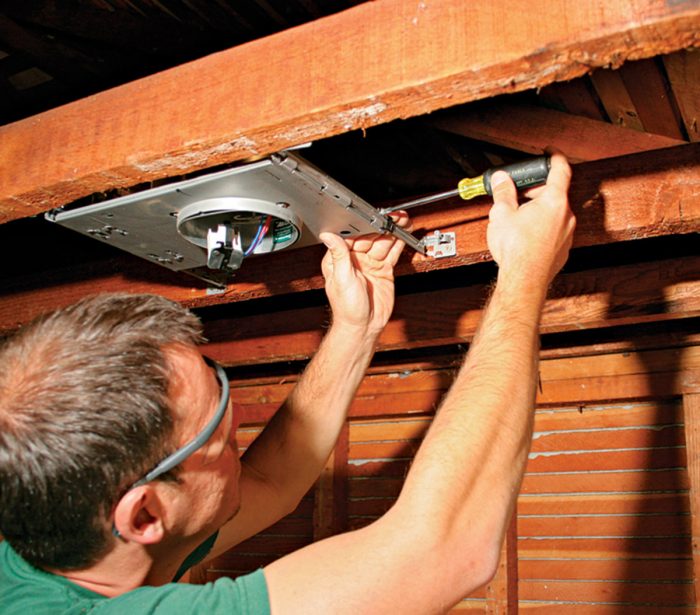
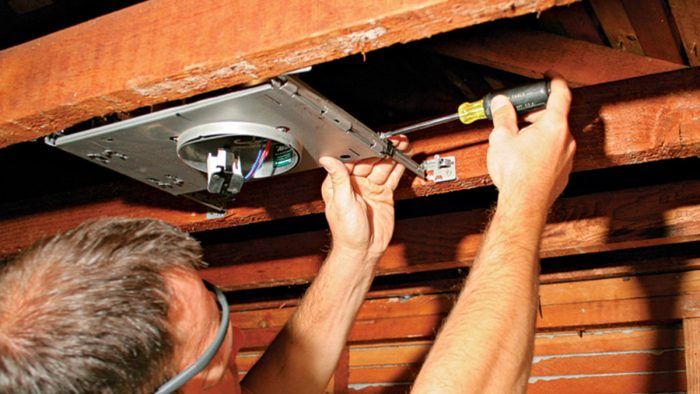
In many cases, you’ll need to reposition the box to avoid obstacles or line it up to other fixtures, but it’s quick work if the box has an adjustable bar hanger. To install a recessed can, for example, extend its two bar hangers to adjacent ceiling joists. Then screw or nail the hangers to the joists 1. Slide the can along the hangers until its opening (the light well) is where you want it and then tighten the setscrews on the side 2.
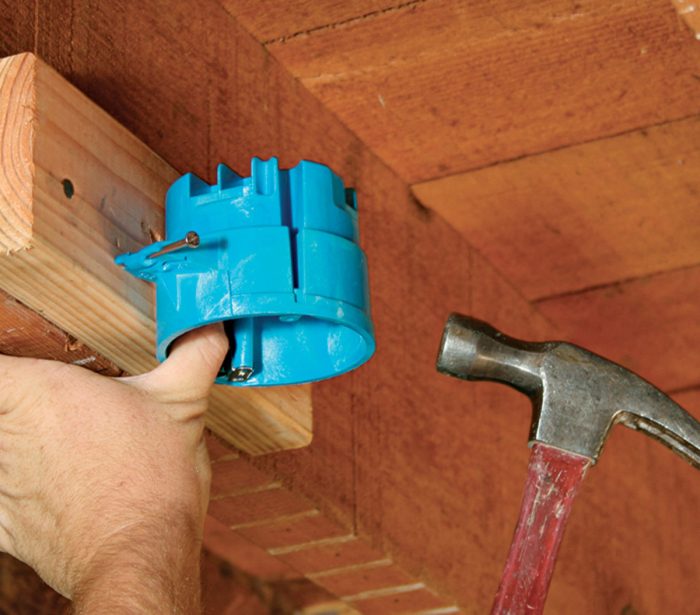
To install a 4-in. box, simply nail or screw it to the side of a joist. If you need to install it slightly away from a joist, first nail 2 x 4 blocking to the joist, then attach the box to the blocking 3. The box edge must be flush to finish surfaces.
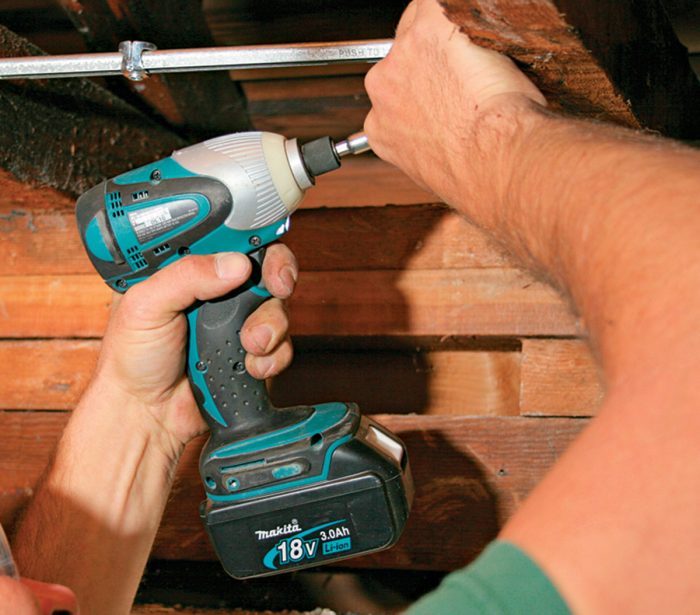
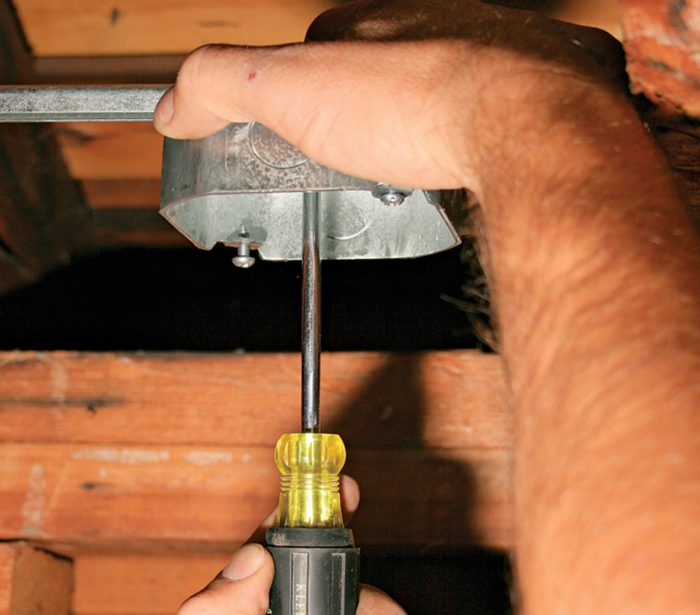
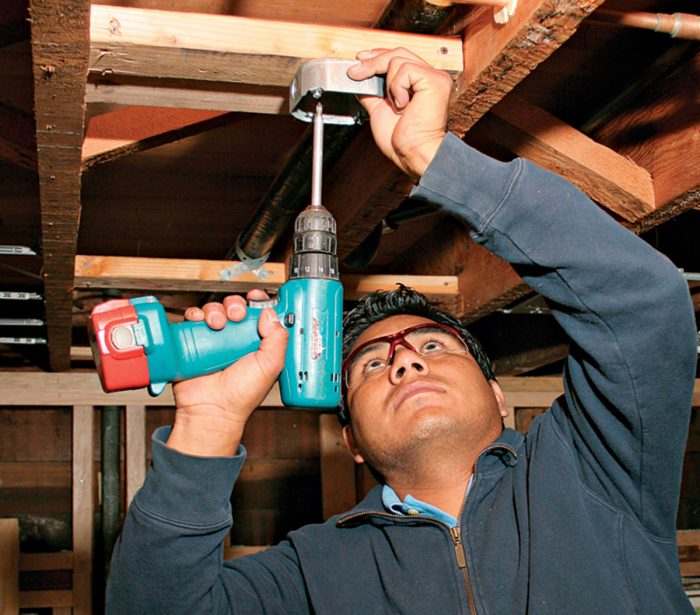
To install a 4-in. box between joists, first screw an adjustable hanger bar to the joists 4, then attach the box to it 5. Or, alternately, you can insert 2 x 4 blocking between the joists and screw the box to it 6.
Excerpted from Wiring Complete, 3rd Edition (The Taunton Press, 2017) by Michael Litchfield and Michael McAlister
Available in the Taunton Store and at Amazon.com.

