Kitchens Illuminated
Get your recessed-can lights right, and the rest is easy.

Synopsis: Most kitchens nowadays are illuminated with recessed-can lights. Despite the boost they provide over the single ceiling fixture of the past, they don’t provide the right amount of light in the right locations if their placement has not been carefully planned and if they are not part of a three-layered system that includes ambient lighting, task lighting, and accent or decorative lighting. In this article, Jeffrey R. Dross, corporate director for education and industry trends at Kichler Lighting, explains how to get the ambient layer right. This is the layer typically created by recessed cans. Dross begins by explaining the importance of beam angle, which is the angle at which light radiates from a lamp. In the case of recessed cans, this angle is cone-shaped. Proper placement means beam angles crossing about 6 in. above countertop height and being far enough away from cabinets so as not to create a glare on their surface. The next step is determining how strong the lamps need to be. This is calculated using two measures: footcandle and candlepower. Dross concludes with a demonstration of how the ambient-lighting needs for a sample kitchen would be determined.
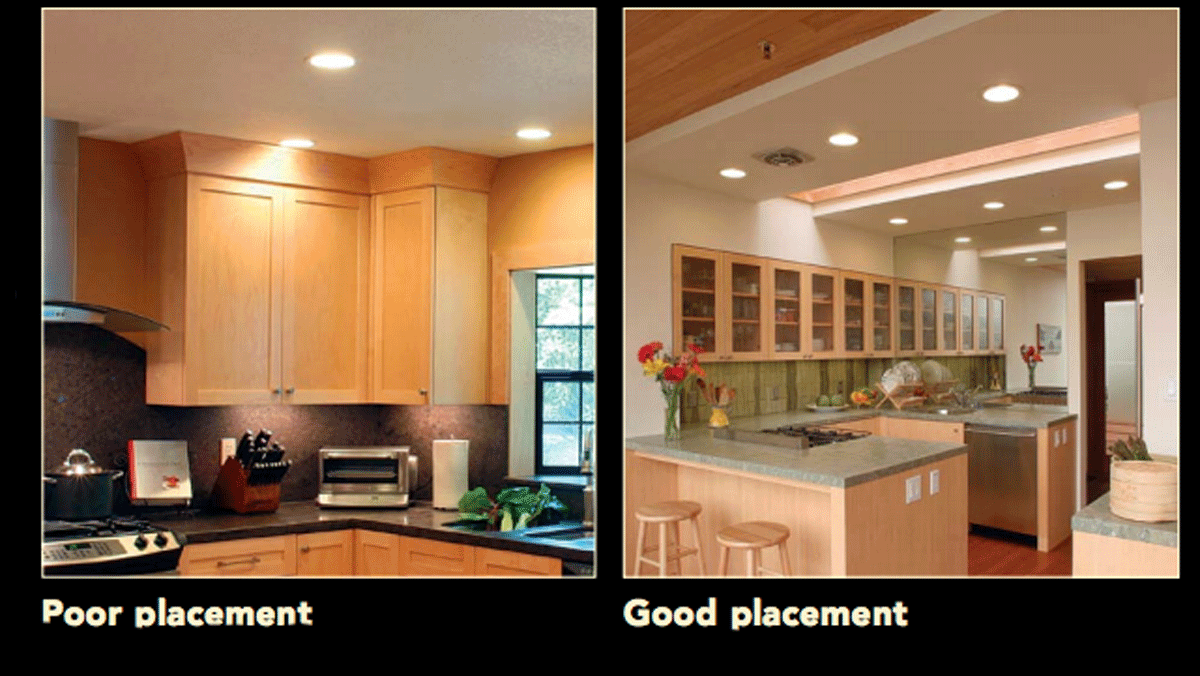
We used to light kitchens with one fixture placed in the middle of the ceiling, an arrangement that rarely provided enough light in the right location and often made kitchens stark, gloomy places. Unfortunately, the trend today toward recessed-can lighting has not improved the situation. Often improperly placed and poorly chosen, recessed cans cast inopportune shadows and create undesirable washes of glare that make it almost impossible to see what you’re cutting on the counter, even with the added benefit of undercounter lighting. The truth is that despite opulent fixtures, cans by the dozen, and undercabinet lights, many of the lighting layouts that I see today are ineffective because designers chose the wrong fixtures and didn’t optimize their placement.
If, however, you follow a few simple steps that help you properly position those cans and choose the right lamps to put in them, your kitchens will suddenly seem bigger, look brilliant, and function beautifully.
The foundation layer
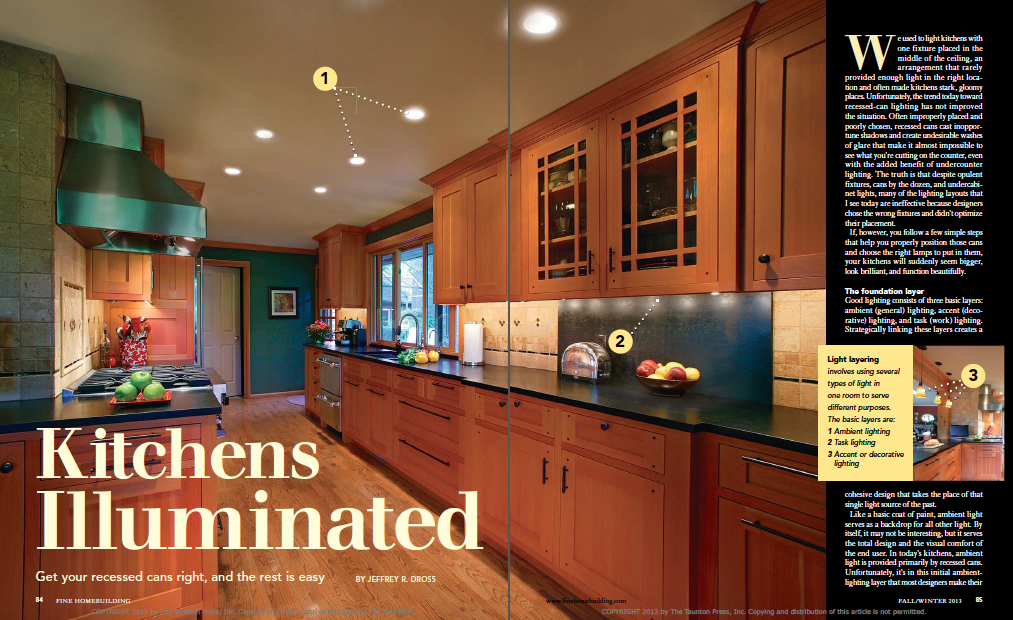
Good lighting consists of three basic layers: ambient (general) lighting, accent (decorative) lighting, and task (work) lighting. Strategically linking these layers creates a cohesive design that takes the place of that single light source of the past.
Like a basic coat of paint, ambient light serves as a backdrop for all other light. By itself, it may not be interesting, but it serves the total design and the visual comfort of the end user. In today’s kitchens, ambient light is provided primarily by recessed cans. Unfortunately, it’s in this initial ambient-lighting layer that most designers make their most egregious mistakes. Understanding how light is emitted from recessed fixtures is essential for positioning them correctly.

Beam angle is the key to spacing cans
Unlike surface-mounted fixtures, which emit light in a 360° angle, light emitted from recessed fixtures forms a parabolic or cone-shaped beam. This is why they are also colloquially called downlights. Think of recessed cans as automobile headlights installed upside down on the ceiling.
The shape of the cone of light is determined by a reflector that focuses the light into a specific beam angle. This reflector may be part of the fixture itself, or it may be built into the lamp (bulb). The “r” found in the popular bulb designations “r,” “Mr,” and “PAR” indicates that these lamps have reflectors. In either case, whether built into the fixture or the bulb, you will find the beam angle specified by the manufacturer, generally on the box. This angle ranges from an extremely narrow 8° to a very wide 55°.
A narrow beam angle pushes all of the light into a slender cone, resulting in an intense quantity of light in a tiny space appropriate for illuminating a small worksurface, such as a cutting board or a sink. Wider beams take that same amount of light and disperse it over a broader area, which is generally more appropriate to ambient lighting. When using wide beam angles for ambient lighting, however, remember that the wider the beam, the lower the light intensity. To end up with an even distribution of the right amount of light, the quantity of fixtures and their beam angle must work in tandem so that beams overlap to cast even lighting, and that beams don’t intersect upper cabinets to create shadows on worksurfaces.

For more photos, drawings, and details, click the View PDF button below:


