Retrofit Undercabinet Lights in Frameless Cabinets
Learn how to accommodate undercabinet lighting with frameless European-style cabinets.
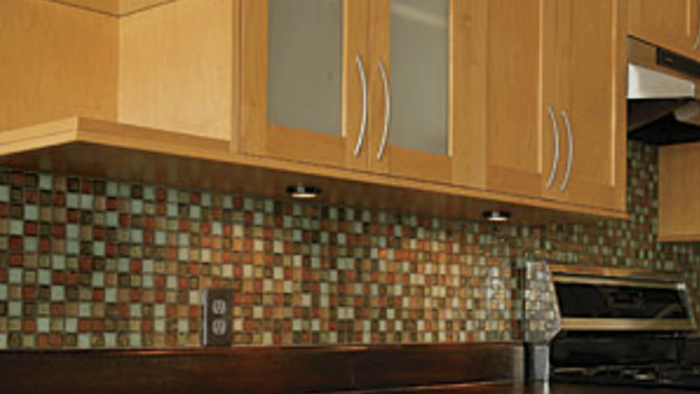
The good thing about European-style cabinets is the crisp lines of the frameless box and full-overlay doors. The bad thing is that this design makes it hard to conceal undercabinet lighting. When I custom-build Euro-style cabinets, I add a 2-in.-deep tray under the upper units to hide wires and transformers. However, one customer rejected that idea because she thought she would need the extra space and wouldn’t need lights. A few years later, she called back a little sheepishly and said she had changed her mind. After being in the kitchen, she realized she needed the lighting. To keep down costs, we decided to find an option that wouldn’t require the work of an electrician.
I wanted to keep the cabinet lines as clean as I could and didn’t want to disturb the glass-tile backsplash, so I chose not to add anything under the cabinet. Instead, I found some xenon puck lights that fit the bill. These models from American Lighting (www.americanlighting.com; about $15 each) are line voltage and don’t require bulky transformers. All I had to do was install an outlet inside the cabinet and then somehow conceal the wires. I routed a wire chase in the bottom of the cabinet and covered it with a false bottom panel made of the same melamine. All that’s visible is a cabinet edge thickened by 3/4 in.
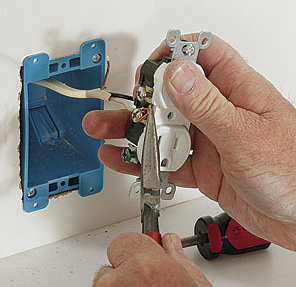
As tempting as it was, running a new outlet from one of the nearby outlets above the counter is not allowed by the electrical code. After cutting a hole in the cabinet back, I pulled a new circuit from the panel and installed the outlet.
In a different scenario, I might have had an electrician hardwire fixtures to remote transformers and/or the panel, eliminating the outlet and the plugs. But I would still conceal the wiring with this method.
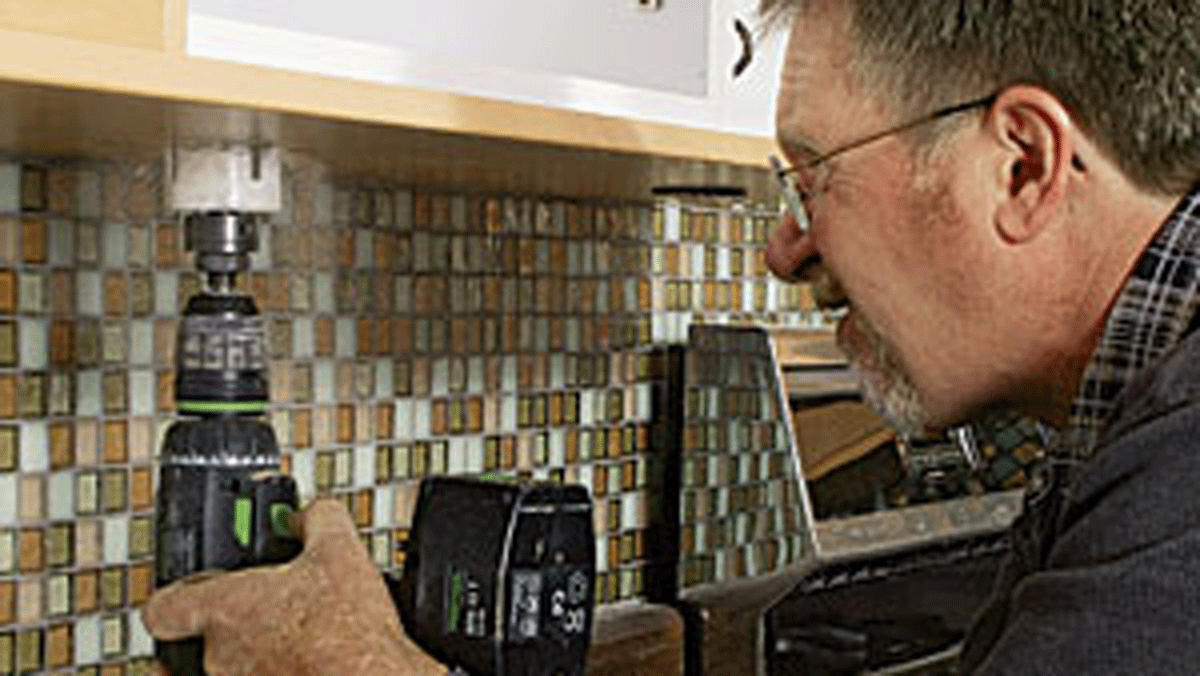
Locate the fixture. These pucks were centered in the middle of each cabinet. Use a hole saw of the appropriate diameter to cut through the lower applied end of the cabinet. Follow with a 1/2-in.-dia. drill bit to cut through the melamine for the wires.
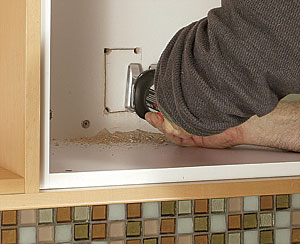
Cabinet surgery. Decide where the outlet is best placed, and mark the outline of the cuts. After drilling holes at each of the corners, use a saw (see below) to cut both the cabinet back and the drywall behind carefully. Fish the wire up, and install the outlet box.
 |
 |
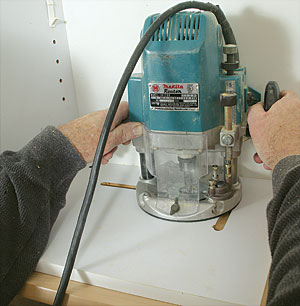
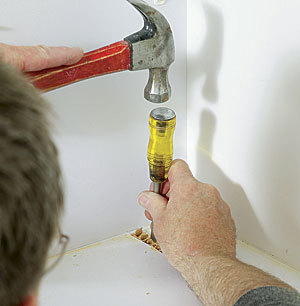
Plunge to the chase. A plunge router with an upspiral straight bit plows a fast mini-chase into the cabinet’s lower panel to hide the cord. Finish excavating the chase to the cabinet side with a chisel.
 |
 |
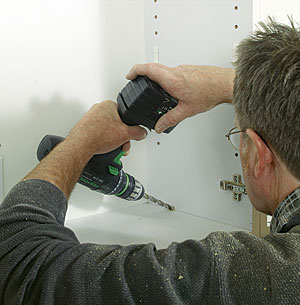
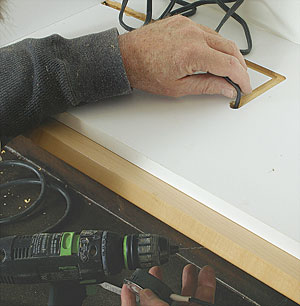
Connect the dots. Drill a 1/2-in. hole through the cabinet side, and repeat the routing and chiseling process on the adjacent cabinet. Next, check that the fixture wires run smoothly in the chase with enough slack to reach the outlet.
 |
 |
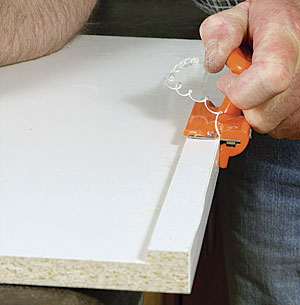
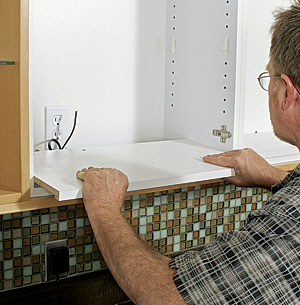
False bottom with close tolerances. Cut a piece of 1/4-in. or 1/2-in. melamine to fit tightly into the bottom of the cabinet. Rip and glue 1/4-in. strips onto the sides to make room for the wire. Cover the edges with iron-on melamine tape.
 |
 |
Tool of the Trade: Compact Cordless Saw
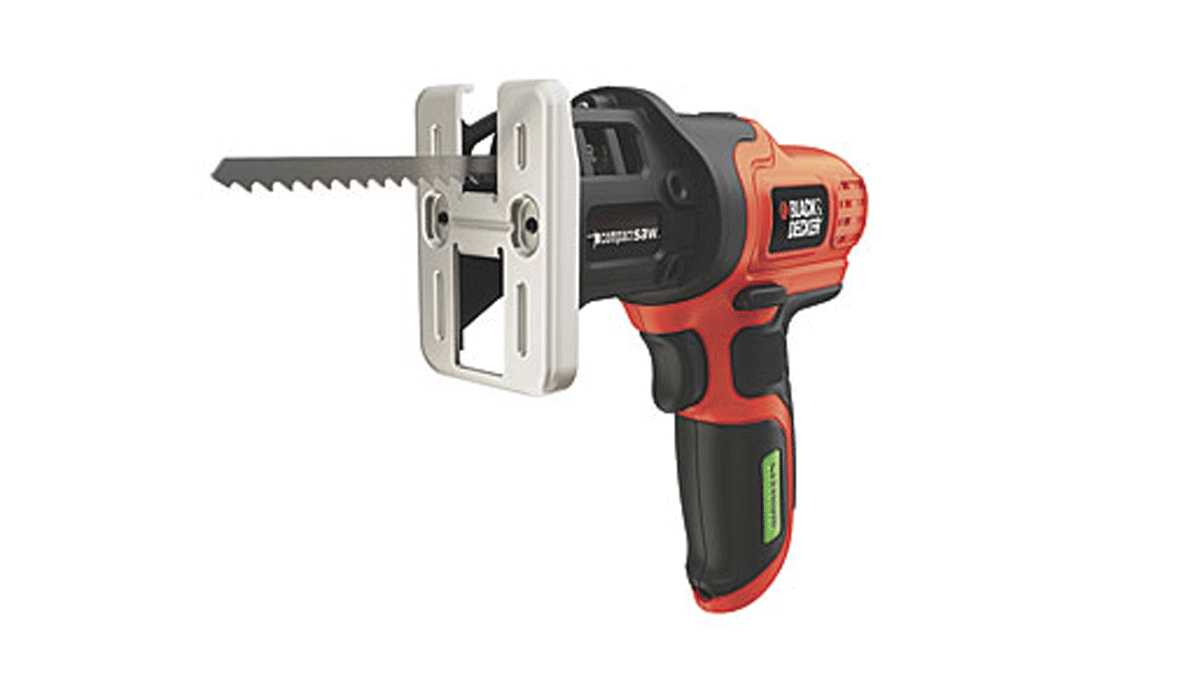
Ordinarily, I don’t even bother to look at certain makes of a tool because I sense that they’re not made to withstand constant use and daily abuse. However, somewhere along the line, I picked up a small VPX lithium-ion cordless reciprocating saw made by Black & Decker (www.blackanddecker.com). I used it one day when I didn’t have anything else handy, and I found that it was a great tool for some little jobs. It’s compact and lightweight, though not particularly strong. I hide it under the rest of the tools in my van. Unfortunately, the product line has been discontinued, but Black & Decker has a newer version (LPS7000, shown above). It lacks the articulating handle of the older model and sells for $50.
Photos: Charles Bickford, except where noted


