Retrofitting Recessed Lights
Replacing an old surface-mount fixture with recessed lights is an easy upgrade that you can customize with different trim kits.

Synopsis: To install recessed lights you need to do three things: get the right fixtures, determine location and spacing, and figure out how to get power to and between the lights. In this article, an electrician walks you through those steps on a kitchen remodel. Sidebars cover the types of recessed can lights that can be installed, as well as their uses for different lighting tasks.
They’re called a lot of things: can lights, downlights, high hats. Whatever you call them, there is no denying that replacing an old fixture with one or more recessed lights can modernize and brighten just about any space. Recessed lights are available for every type of ceiling, and the trim kits that go with them are available in different colors and styles. The lighting effect you create can range from functional to dramatic.
To install recessed lights, you need to make three decisions: getting the right fixtures, determining location and spacing, and figuring out how to get power to and between the lights. Once you work out these details, the installation is light work.
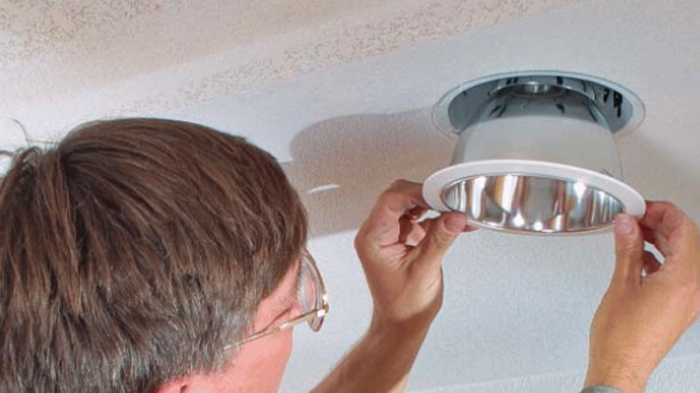
Recessed lights come in a variety of sizes, shapes, and lamp types. Here, I used a 6-in. fixture made to take an energy-efficient fluorescent lamp. Because this is a retrofit, I chose a remodeling fixture that is designed to be installed from below. This type of fixture has retaining clips that lock into place behind the drywall to hold the fixture in the ceiling.
In this room, the recessed lights will be the main light source, so I spaced the fixtures at 4-ft. intervals. Installing a series of recessed lights in only one joist bay is easy. But because these lights are spaced to illuminate the whole kitchen, I had to drill through joists to run wires between the lights. When I drill inside a ceiling or wall, I am careful not to hit anything but the joists. Pipes, wires, and ducts often are close to a joist, so probing inside the ceiling before drilling is a good idea.
As I’m settling on the location of the cans, I’m looking for power. In this room, I replaced an existing light fixture. I identified which circuit the light was on, cut the power, and locked out the breaker. Before using existing wiring, though, make sure the cable is marked NM-B, which signifies that the insulation is rated for modern light fixtures.
If the cable is too short or isn’t rated NM-B, install a separate junction box and splice NM-B-rated cable to the existing wiring. This unction box has to be accessible from somewhere inside the house. If the junction box is not accessible from an attic or crawlspace, it must have a removable access panel.
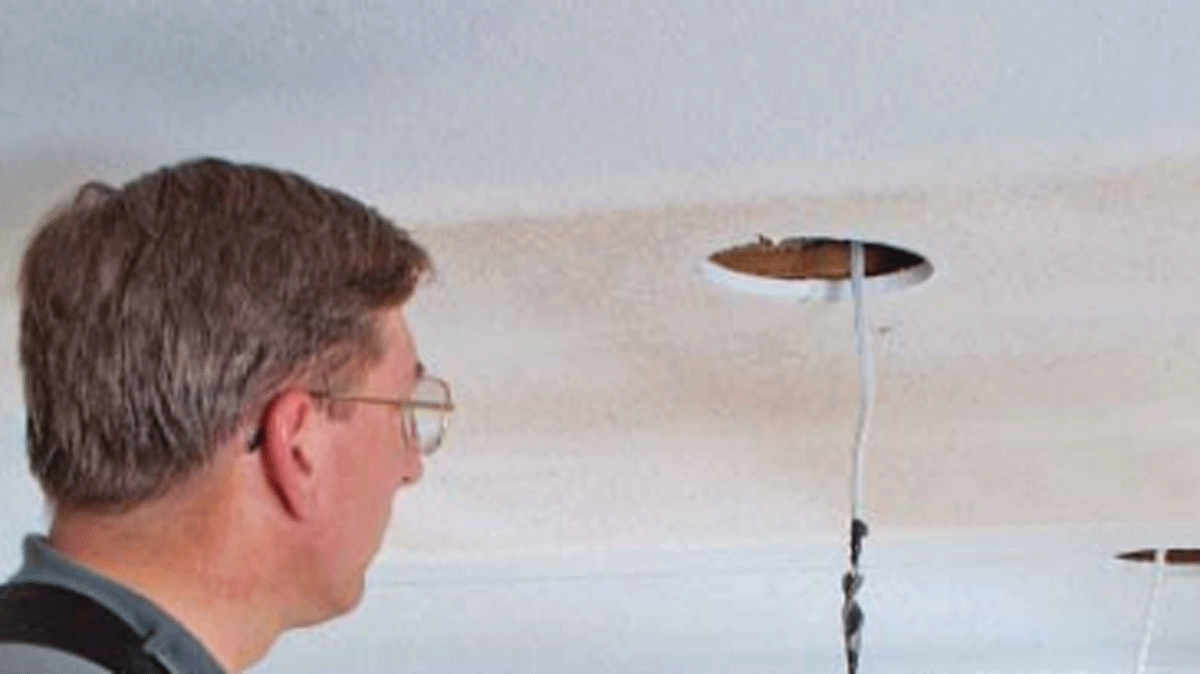
Mark the circular cutouts on the ceiling using the template that comes with the recessed-light fixtures. I could cut the hole with a drywall saw, but to avoid making a mess, I use a specialty drill bit that cuts circles and has an integral dust and cutoff collector.
 From Fine Homebuilding #168
For more photos, illustrations, and details, click the View PDF button below:


