How To Connect and Fasten Down Electrical Conduit
Learn techniques for making up fittings and securely strapping EMT to concrete and wood surfaces before running wires through it.
VIDEO TRANSCRIPT
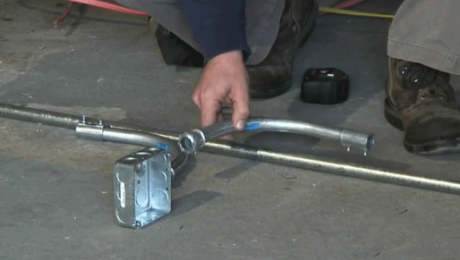
Now that we’ve cut all the pieces to size, we can just assemble it as we go. Orientation of the pipe is an important thing to think about. Just make sure everything is in the same axis when you’re making up these connections. That way you don’t have a pipe that’s kind of leaning over sideways or out of line with the rest of the pipe. If you’re laying a bunch of pipe that needs to be oriented the same way, get it on the floor first. If you start with a relatively flat surface, when you stand the pipe up, it’s going to be in line.
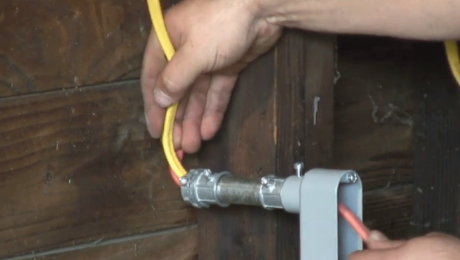
We’re at the point now where we’ll make up the rest of the fittings and start standing all of this stuff up; then we can run the wire through. Code says you should have it all put together and then pull the wire. If you’re running multiple wires for different circuits through the same set of conduit, you may run into different-size knockouts in the boxes that are available. Since we’ve got one ¾-inch knockout and two ½-inch knockouts in the bottom of the box, we’ll use two different fittings to accomplish our goal. One fits a ¾-inch knockout, where two wires will come through. Since we’ve only got one wire exiting the box, we’ll use the ½-inch-size coupler.
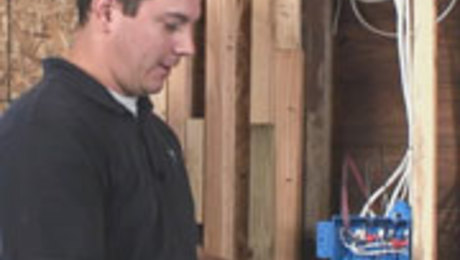
Now we’re at the point where we can punch the knockouts on the bottom of the box in the correct orientation—a ¾ and a ½ inch. Each of these little threaded adapters has a retaining ring on it; just snug those down. Make sure the box is secure. Again, we’ll just use a flat-head screwdriver to snug it up.
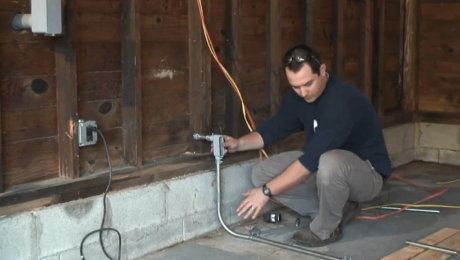
Now that we’ve got everything roughly where we want it, we’re going to strap it down so it doesn’t move. Use ¾-inch two-hole straps around the ¾ conduit. We’ll use masonry screws to secure it to the wall. Running pipe has a tendency to move around, and holding it and marking it at the same time can get rather tricky. Tighten up the radius on the strap just a little bit and snap it onto the pipe. That way we won’t need to hold the pipe and the strap; we can just hold the pipe in place. I make two little dots where I want to drill the holes, and move it out of the way.
At this point, we’re not going to worry too much about plumbing it up. When we get to strapping the floor, we’ll manipulate it back and forth and get it where we want it. Now we can set this back where we want it and use a drill/driver to install some screws. That’s nice and tight.
Before I put a strap into the floor, I’ll use a 3-4-5 right triangle to make sure it’s square to the wall and stays straight. We’ll try to pin the two 90-degree elbows to the floor, since they make a secure connection on this section of conduit.
Now we can start to pull the wire.
Videos in the Series
-
VIDEO SERIES: How To Install Conduit, Wiring, and Light Switches
-
How To Lay Out, Measure, and Cut Electrical Conduit
-
How To Connect and Fasten Down Electrical Conduit
-
How To Run Wires in Electrical Conduit
-
How to Work Efficiently in an Electrical Box, Part 1
-
How to Work Efficiently in an Electrical Box, Part 2
-
How to Work Efficiently in an Electrical Box, Part 3
-
How to Install a Single-Pole Light Switch
-
How to Install a 3-Way Light Switch, Part 1
-
How to Install a 3-Way Light Switch, Part 2

