How to Install a 3-Way Light Switch, Part 1
Get an overview of how a 3-way switch functions, and learn how to connect the first of two required switches in a 3-way circuit.
VIDEO TRANSCRIPT
The difference between a three-way switch and a single-pole is that all the single-pole is really doing is breaking the connection between the two wires that are attached to it, while a three-way switch alternates between two possible wires (called travelers) that electricity can flow through. Both three-way switches in a circuit need to be switched to the same traveler in order for the circuit to be live.
A three-way switch has a common terminal. The common is going to be either the power source into the switch setup or the power source to the light. It’s always going to be powered. All the switch is doing is switching the connection from one terminal to the common to the other terminal. So, if you’re connected this way when the switch is up and you turn the switch down, you’re going to be connected the other way. At the other end, when you combine those two, you’re redirecting the electricity back and forth.
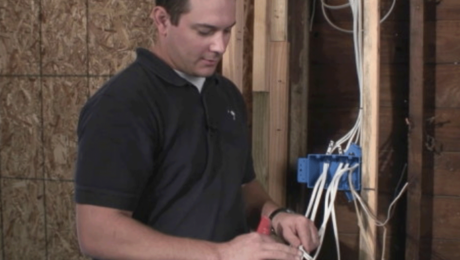
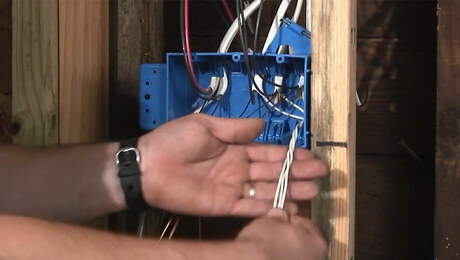
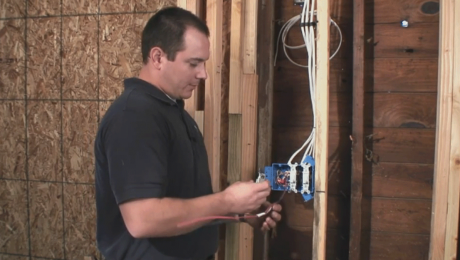
Since we know the common terminal is going to be one of two things—either the feed to the light or the power source to feed the setup—and we’ve got our light feed on this end, the light feed is actually going to get connected to the common. In order to keep things from getting confused, I’ll do that first. That way I’ll know where these two go. I’ve already got them labeled and I’ve already got them bundled with the sheathing, but you have to take all this off to set the switch up, so it’s easy enough to get confused. I do this fairly frequently, and I’m not immune to confusion. Again, we’re making things neat and tidy and tucking them in there so we can get them back out when we need to.
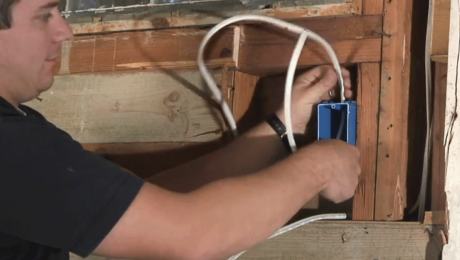
Even if it is going to a switch that sits right in front of the box, you want to be careful before you cut anything because you still have to maintain that link. Strip off a little bit and make a crook on the end. Layer it in there.
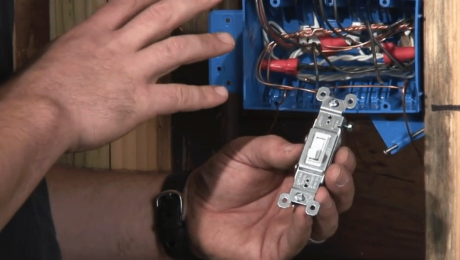
With a three-way switch there’s not really an on/off orientation. There may or may not be a marking indicating which way is up. On this particular device, there is not a marking, but to keep the grounds consistent, we’ll just orient it this way.
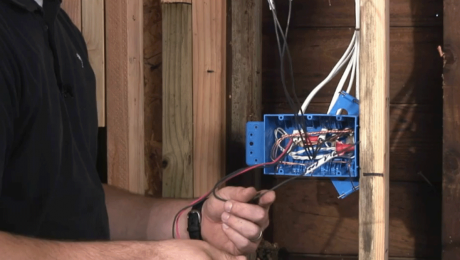
I’ll do the same with the ground. Before we make that connection, I’ll set up the travelers to connect to the switch also, just because everything goes in all at once. If we make this connection, it may be difficult to get in everything that needs to be in there. With regard to the travelers and the actual connection to the switch, it does not matter what terminal you put these on. All they are is a channel through which to pass the electricity from one switch to the other, so as long as they’re both connected and they’re not on the common terminal, it doesn’t matter what order you put them in. If you’re using standard three-wire Romex, I like to keep the red one on the same side as the common terminal. (It’s a personal habit that doesn’t have any bearing on the wiring.) Generally, if it’s a single two-wire connection, the common is going to be black.
Make the connections. Loosely wind them all first to keep them together. That way I can be a little more efficient, without having to pull my screwdriver back out. I check all connections before I put the switches in the box anyway, even if I’ve already tightened them.
Now that we’ve finished this workbox, we can work on the other side of the room and complete the other half of this three-way setup.
Videos in the Series
-
VIDEO SERIES: How To Install Conduit, Wiring, and Light Switches
-
How To Lay Out, Measure, and Cut Electrical Conduit
-
How To Connect and Fasten Down Electrical Conduit
-
How To Run Wires in Electrical Conduit
-
How to Work Efficiently in an Electrical Box, Part 1
-
How to Work Efficiently in an Electrical Box, Part 2
-
How to Work Efficiently in an Electrical Box, Part 3
-
How to Install a Single-Pole Light Switch
-
How to Install a 3-Way Light Switch, Part 1
-
How to Install a 3-Way Light Switch, Part 2

