
How to Install a 3-Way Light Switch, Part 2
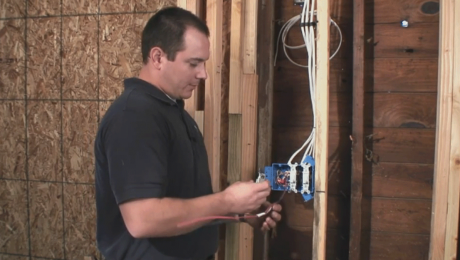
Electrician Brian Walo organizes wires in a work box and connects them to the second of two switches that complete a 3-way circuit.
VIDEO TRANSCRIPT
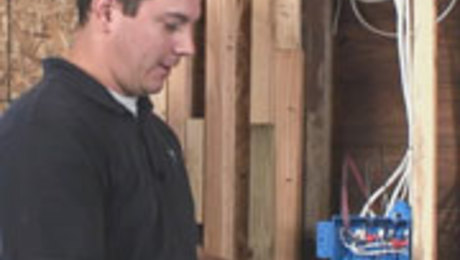
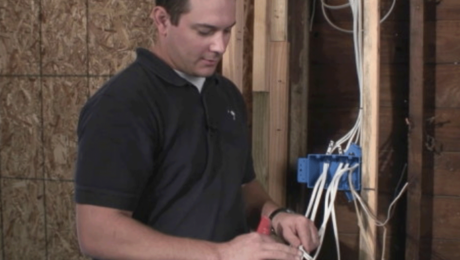
We’re getting set up to run the wires for the three-way switch, which gives us the ability to turn the lights on in the garage not only from here but also by the other door. We’ve got power coming in from one wire on the panel. We’ve got power going from this switch to the other side of the garage to the other switch on a separate wire. There’s a third wire on the other side of the garage that actually goes to the light.
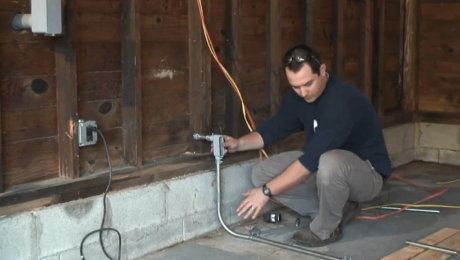
We’ll start by roughing in the home run, which is the power supply from the panel or another workbox in the series of lighting—in this case, it’s straight from the panel. When I’m feeding wires into a nonmetallic workbox, which has little clamps in the back corners, to get started I pry them up with a screwdriver. It makes it easier to feed the wire through. Some people like to cut the sheathing off the wire before they get it into the box so they don’t have to reach in with a utility knife or some sort of scoring device, but I’ve tried that method and it doesn’t work for me. I end up cutting the sheathing too short and have to go back and trim it anyway, so I usually just wait to the end to do that. Leave a little slack so you can staple it up underneath and make sure it’s good and secure.
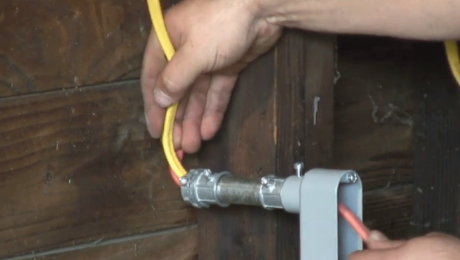
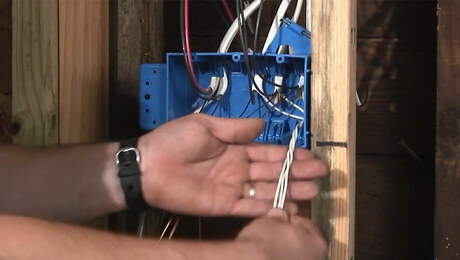
Now I pull the feed for the three-wire connection to the other workbox through the bottom. Be careful when you feed it through the back of the box not to mar the insulating jacket on the cable in case you have to pull it back out. Otherwise you’ll have nicks on the sheathing. Staple this one off and clip the ends.
Now that the wires are in the box and are the right length, we’ll score the sheathing and expose the conductors inside. Remove the paper insulator. On a nonmetallic box like this, you need at least ¼ inch of the sheathing still sticking into the box from the point at which it enters, to be up to code. We’ll leave about ½ inch. If you have long-nose crimpers, you can use the cutting end to score the jacket at the back and pull the rest of it off.
Now we’ll set up for the actual switch. The neutral line—or the white, in this case—tends to be manipulated the least because it doesn’t actually make a connection to the switch itself most of the time. So I’ll go ahead and get that made up and tucked in the back of the box so that it stays out of the way. To stay neat, I like to tuck the individual conductors into a corner and make them the same length so it’s easier to strip them. I use my side cutters a lot to twist wire. Clip the end before you cap it.
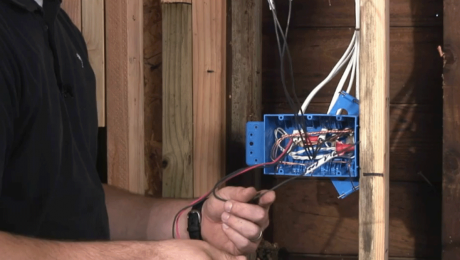
The next thing I make up is the ground. The ground is a little bit different in that it does actually make a connection to the switch—and since we have two wires but only one point of connection, we’ll bundle them together and clip off the excess. Once that’s done, we’ll take a small crimping sleeve and slide it an inch down from where the termination of that twist is and use the long-nose crimpers to make sure it’s tight and doesn’t move around.
Now we’re left with the hot wire coming from the panel and the travelers that go to the other side of the three-way switch setup. Since these are the travelers and we don’t want to get the two black wires confused, we’ll twist them together lightly. That way we’ll know we need them for the traveler terminals on the switch. Another trick is to strip the hot line a little bit at the end.
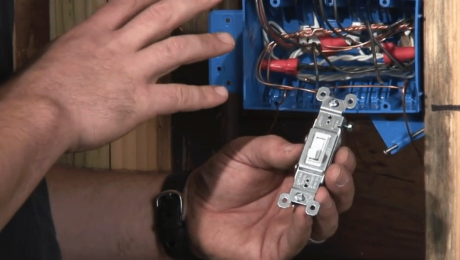
This other three-way switch is the last piece of the puzzle in our setup. In the rough-in stage, we set up the box so that we would know exactly what was going on when we came back. If you follow the same setup during rough-in, you don’t have to think about it when you return to put the switch in. Even if it is disassembled or pulled out from the way I left it, I know what I’m doing.
There are two travelers. We’ve got our connection to the common terminal, which on this side of the setup happens to be the power source. We’re using nonmetallic boxes with nonmetallic cable, so we have to make the ground connections straight to the actual switch device. We’ll get the ground wire set up the same way we did on the other ones and loop it around the terminal. I like to make that connection the minute I wrap it. Once the ground connection is secure, we can move on to making the connection to the common and the travelers.
It really helps to keep things consistent as you’re working. If you do the same thing over and over, you’re less likely to have a problem. And that’s the easiest way to hook up a three-way switch.
Videos in the Series
-
 VIDEO SERIES: How To Install Conduit, Wiring, and Light Switches
 -
 How To Lay Out, Measure, and Cut Electrical Conduit
 -
 How To Connect and Fasten Down Electrical Conduit
 -
 How To Run Wires in Electrical Conduit
 -
 How to Work Efficiently in an Electrical Box, Part 1
 -
 How to Work Efficiently in an Electrical Box, Part 2
 -
 How to Work Efficiently in an Electrical Box, Part 3
 -
 How to Install a Single-Pole Light Switch
 -
 How to Install a 3-Way Light Switch, Part 1
 -
 How to Install a 3-Way Light Switch, Part 2
