How to Install a Single-Pole Light Switch
Learn how to cut, strip, and connect the ground, neutral, and hot wires for a basic light circuit.
TRANSCRIPT
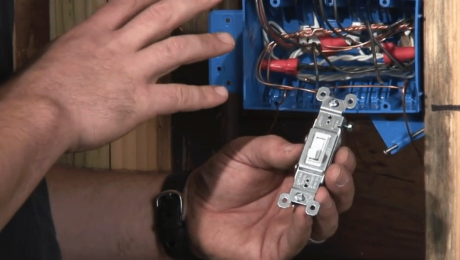
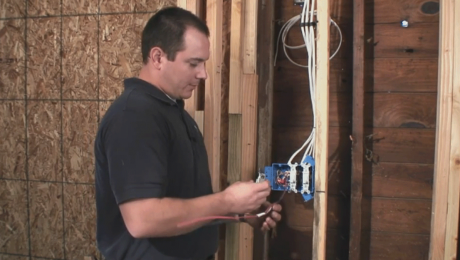
For the single-pole switches we’re using to control the lighting, the terminals will be on the left-hand side. Some electricians fix everything with the power feeding into the top or bottom terminal. On a single-pole switch, it’s not going to make much difference because effectively you’re breaking the connection between the two. For my own organization and workflow, I generally keep the hot feeds on the bottom, so if I go back later on, I know what’s what.
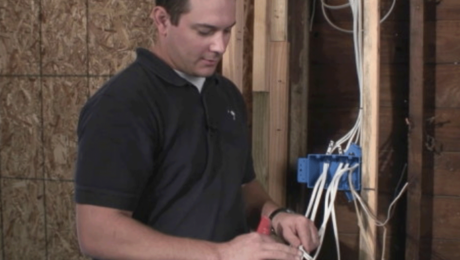
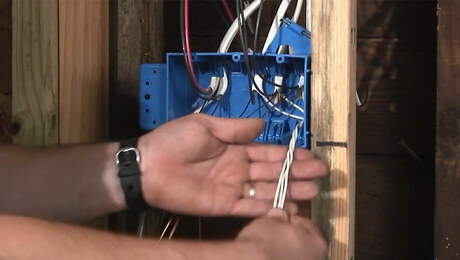
To make the connection to the switch and make sure everything fits in the workbox nice and neatly, we only need an inch past the 90-degree bend we made, so I’ll clip that back. We only need about ½ inch of exposed conductor to make the connection to the screw terminal on the switch itself. Put a little crook in so they can wrap around the screw terminals on the switch. Make sure to bend it in the same direction you’ll be tightening the screw, so you don’t end up backing it off the screw when you make the connection to the switch. Then do the same thing for the feeds at the top. We’ve got two hots. Pair each hot with the appropriate feed for the lights. If you were just roughing this in and weren’t going to put the switches in right now, it wouldn’t be a bad idea to leave the labels on so you knew what you were looking at when you came back. If you follow the same setup each time you wire a box, it’s not going to take you long to get to the point that you know what you’re looking at. You know that the exposed conductor is the power source, and the nonexposed means the power is traveling elsewhere.
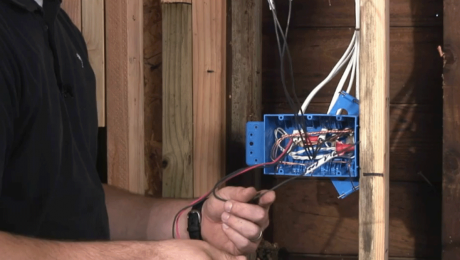
Now we’ll install the single-pole switches. We’ve done most of the setup for them. We’ve got a hot and a feed to the lights for each of the two single-poles and we’ve got a ground connection. So, the three points of contact on this device we’ve already set up for. I usually make up the ground connection first. In this case, we’ll set up the switch here so we know how far we need to be before we cut it off. Then we’ll pull this out a little bit so we can work on it. Now that we’ve gauged it based on the depth of the box, we can cut this off. You can use strippers to make the little crook to wrap around the terminal. If you have a device with a small hole, just stick the end of the wire in there, fold it over and wrap around, and it’s made the crook for you. Just tighten it up with your #1 Robertson screwdriver. So, we’ve made the ground connection. In the process, you may have straightened up the 90-degree bend, but that’s no big deal. Just fold it back in there.
Some people connect the hot wire last, but in this case, everything has yet to be tied into the electrical panel, so it’s not going to matter. To get a good wrap on the screw terminals, take your strippers and close that loop. Sometimes it has a tendency to wrap around the screw, so you might have to hold the wire as you tighten, to keep it from shifting. That’s switch number one. Make sure everything sits nice and neatly. You can set the screws in place.
If I’m doing a ton of workboxes, I’ll carry my Bosch drill/driver with a #1 bit in it and buzz those screws in. Using a screwdriver can eat up a lot of time if you’re doing a whole house. If there are multiple switches or outlets in the box, you want to get the screws all oriented on the same side because they have some lateral movement. When you put the cover plate on, everything should line up.
Single-pole switches are marked ON and OFF. It’s critically important that you maintain the correct orientation so that you don’t run into a problem with a switch or circuit or light that appears to be off but is actually on.
We’ll repeat the same process with the second witch in line. Make sure it’s nice and tight. Once the switch is oriented correctly, secure it. That’s how you wire two single-pole switches in a workbox.
Videos in the Series
-
VIDEO SERIES: How To Install Conduit, Wiring, and Light Switches
-
How To Lay Out, Measure, and Cut Electrical Conduit
-
How To Connect and Fasten Down Electrical Conduit
-
How To Run Wires in Electrical Conduit
-
How to Work Efficiently in an Electrical Box, Part 1
-
How to Work Efficiently in an Electrical Box, Part 2
-
How to Work Efficiently in an Electrical Box, Part 3
-
How to Install a Single-Pole Light Switch
-
How to Install a 3-Way Light Switch, Part 1
-
How to Install a 3-Way Light Switch, Part 2

