
How To Lay Out, Measure, and Cut Electrical Conduit
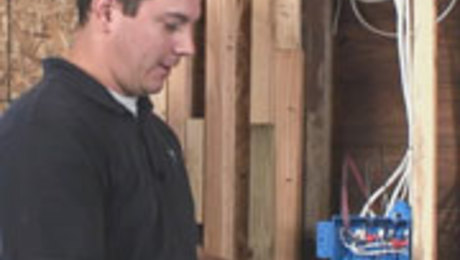
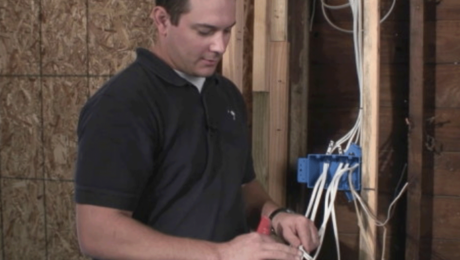
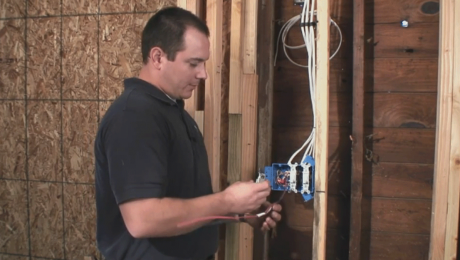
Electrician Brian Walo demonstrates the preliminary steps for protecting exposed wiring with electrical metallic tubing (EMT).
VIDEO TRANSCRIPT
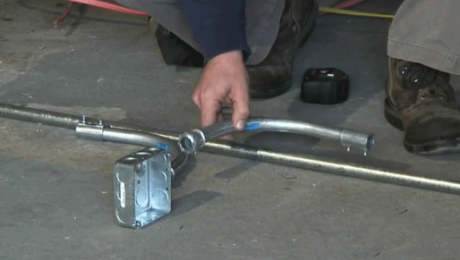
So, the heart of our workshop is going to be our tablesaw and our chopsaw. Rather than having cords running across the floor that we’re going to trip over constantly, we’ve decided to install some floor outlets. We know this box is going to end up on the face of that cabinet when it’s installed, and we’ve already made our mark, so we’re going to use that as our reference. Since both of these 90-degree elbows are going to end up terminating into the bottom of this box, we want to get those in line with that mark also. What we’ll do is lay this over the pipe. I usually approximate a little less than halfway into the coupler to make my mark. And I’ll put a little X on the cut side so I know which piece to keep.
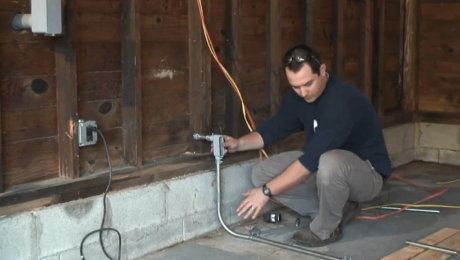
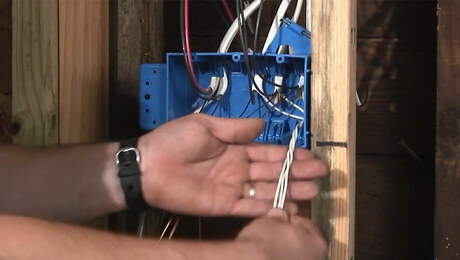
Now we’re going to move over to the point where we’ll make the turn up the wall so that we can feed the wires already roughed in overhead. To get the wires running down to the floor level, we’re going to need to make some transitions through various conduit fittings. We’ll come up the wall with a 90-degree elbow through the coupler and add a short section of ¾-inch conduit between the two to give us the proper height. Since this wall will eventually be covered with drywall, we’ll also add a short section of ¾-inch conduit to give us penetration through the wall and a clean exit.
Since we’ve already marked the long length of pipe for the various nineties and where to cut, we’ll make those cuts first and use the scrap material from them to make the small pieces that run up the wall.
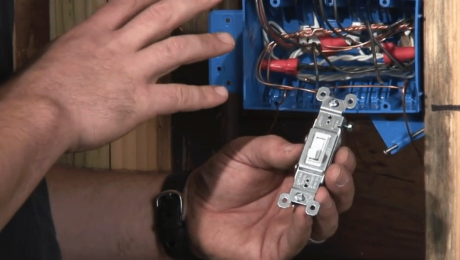
This will eventually be attached to a cabinet surrounding the tablesaw as a workstation. We’ll use one 90-degree to come up to it. If you didn’t have a permanent attachment for this box, you could use a separate section of ¾-inch pipe to help support this.
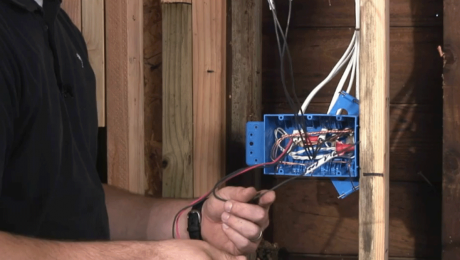
So, we’ve made our mark on the floor and it’ll end up coming out like so. Then we’ll get our conduit set up for that location. Again, we’ll mark approximately 40 percent of the depth on this coupler. Now we’ll cut the pipe into the various sections we’ll need. If you’re only doing a little bit of conduit, you can get by with using a metal-cutting blade on a reciprocating saw. But it does make a good excuse to buy a new pipe cutter.
We have a little bit of a burr on this side, which we’ll clean up in a minute, but first we’ll double-check we are where we need to be with the fittings and the cuts that we’ve made so far. We’re right on the mark.
Now we’ll make a turn up the wall to intercept the wiring we ran earlier. At the midsection here, we’ll run a strap across to make sure this is nice and secure. There’s nothing critical about this measurement; we’ll just get it in a nice, comfortable spot and mark the cut location. Then we’ll dry-fit the pieces to make sure the heights are correct.
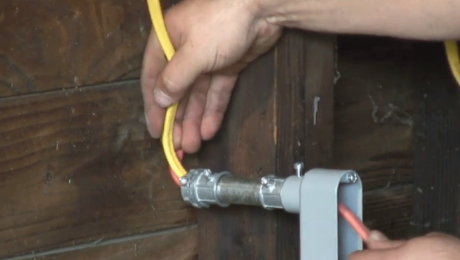
Before making the last cut, we’ll install the fitting so that we know how much extra distance we have to leave to attach to the LB. We’ll also install the bushing, where the wires enter and exit, to make sure they don’t get nicked or cut by the actual metal fitting. I take the marker and figure out approximately where I want to be inside the wall. I do want to keep this fitting inside the wall so the drywallers don’t have to mess around with it too much. Then we’ll make the final cut.
Now that we’ve cut all the pieces to size, we’ll de-burr all the ends to make sure we have smooth conduit running all the way through, to make sure we don’t nick the wire. There are a variety of de-burring tools. On metal that’s soft like this, you can usually get away with a pair of needlenose pliers. Just ream out the inside to make sure you don’t have any sharp points in there. We can just assemble it as we go.
Videos in the Series
-
 VIDEO SERIES: How To Install Conduit, Wiring, and Light Switches
 -
 How To Lay Out, Measure, and Cut Electrical Conduit
 -
 How To Connect and Fasten Down Electrical Conduit
 -
 How To Run Wires in Electrical Conduit
 -
 How to Work Efficiently in an Electrical Box, Part 1
 -
 How to Work Efficiently in an Electrical Box, Part 2
 -
 How to Work Efficiently in an Electrical Box, Part 3
 -
 How to Install a Single-Pole Light Switch
 -
 How to Install a 3-Way Light Switch, Part 1
 -
 How to Install a 3-Way Light Switch, Part 2
