How To Run Wires in Electrical Conduit
Fishing heavy-gauge wire through thin tubing can be challenging. Electrician Brian Walo offers some tips for making the job a little easier.
VIDEO TRANSCRIPT
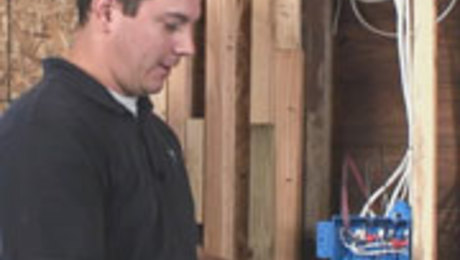
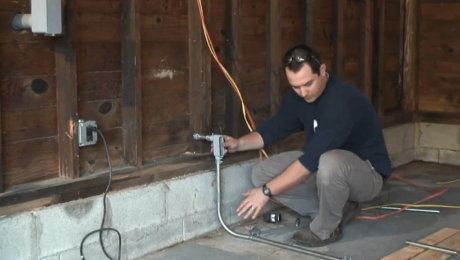
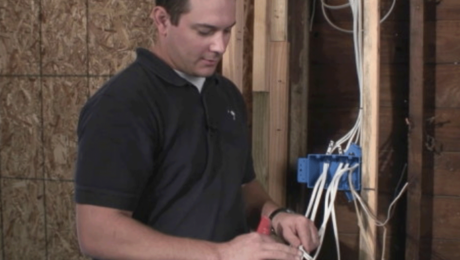
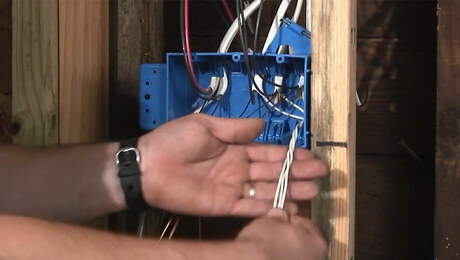
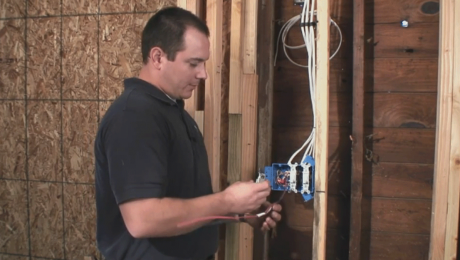
We roughed this wiring in earlier, but we left this unsecured down here since we knew we were going to come back with some conduit fittings that it would have to run through. To make it easier, I didn’t staple it, so I have the ability to move the wires around a lot more when I’m running it through the pipe.
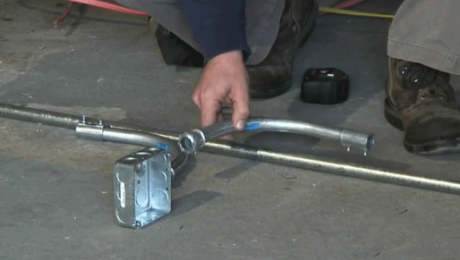
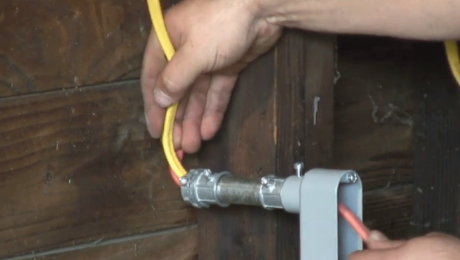
The first thing to do is get it through this LB. Thicker-gauge wire can be kind of tricky because it’s tougher to bend. But that’s also going to help you out when you’ve got to snake it through a long run. You can use what you’ve already done to help you feed the next one. Tuck it in, give yourself some slack from what you’ve already pulled, and help inch it along.
Just because you can fit a certain number of wires within a certain-size conduit doesn’t mean you should. Always make sure you’re within code for the number of conductors you have and the size of conduit you’re using.
Now that we’re stubbed out through the nipple, we can staple these and secure them to the wall. Next, we’ll use fish tape to give us something to pull the wires through the conduit; then we’ll make the connections to the ends of the wires. Stab it through the insulation and hook in there. This is a relatively short run, so I’m not that worried about it. On a longer run, what I’ll do sometimes is score the end of the wire, expose the ground conductor, and clip off the extra, so all I’m left with is the ground. Then we can just take this and fold it over that, and give it a couple of wraps with the tape. Tape is cheap, time is expensive—I try to use a lot of tape so I don’t have to do this more than once. Once I’ve got that where I want it, I’ll take the end of the other wire and kind of layer it on there and continue to wrap with the tape. Make sure you don’t have any sharp, jagged ends up here at the top that could catch on something inside the pipe. Give it a couple of extra wraps at the top to give it a smooth surface so that it can get by any obstructions without hanging up. It’s now ready to pull.
We’ll try to push at the same time that we pull. That way we’re not pulling the fish tape off the end. You want to keep the wires stacked the way they went into the pipe, so they lay flat and you don’t get hung up anywhere.
We’ll leave the little hook on the end since we’re going to continue this one down the line. Pull that one first. Making sure the wire goes down the hole can be a little bit tricky. You may have to wrestle it a little bit without binding it up or creating a kink.
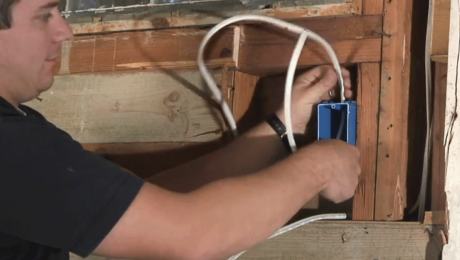
Finish running the wire down from the wall into the first box. With a rigid enough wire, you may just be able to use the wire itself to slide through the conduit. In this case, we only have about a 5-foot run, so we’re going to try it and see what happens. If we can get there, great. If not, we’ll just do it with the fish tape. And there it is. That’s more than enough wire to terminate the outlet for the tablesaw.
Videos in the Series
-
VIDEO SERIES: How To Install Conduit, Wiring, and Light Switches
-
How To Lay Out, Measure, and Cut Electrical Conduit
-
How To Connect and Fasten Down Electrical Conduit
-
How To Run Wires in Electrical Conduit
-
How to Work Efficiently in an Electrical Box, Part 1
-
How to Work Efficiently in an Electrical Box, Part 2
-
How to Work Efficiently in an Electrical Box, Part 3
-
How to Install a Single-Pole Light Switch
-
How to Install a 3-Way Light Switch, Part 1
-
How to Install a 3-Way Light Switch, Part 2

