How to Work Efficiently in an Electrical Box, Part 1
After running and labeling all of the wires for your lighting circuits, it's time to organize them in the switch boxes.
TRANSCRIPT
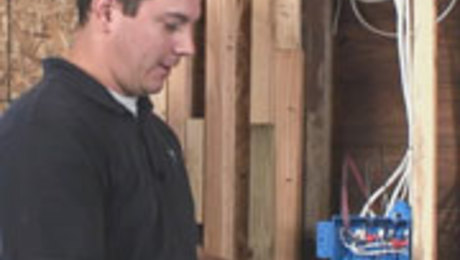
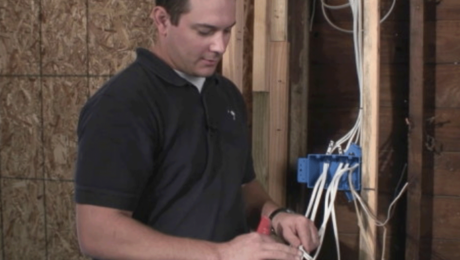
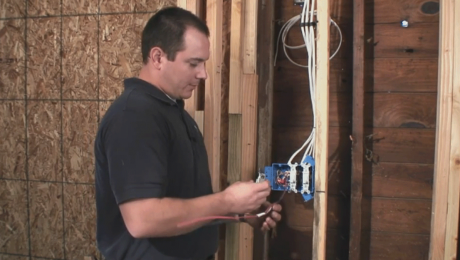
So, this is the other half of the three-way circuit that we started at the opposite end of the garage. As you can see, there’s quite a bit more wire here, and even as a licensed electrician, I can get confused by this much going on in one box.
We’ve got to do a couple of things to get ourselves set up here. This is our power source or home run; it will come into the box right there, so we’ll put it on that side. Here we’ve got the light feed; this goes from the switch to the light on the ceiling, so that will go in somewhere in the middle, since it’s the second one. We’ll leave the first light feed for the first switch hanging out on this side. The exterior light we’ll tuck in the back. The three-wire feed from the three-way switch will be with the first feed going to the light.
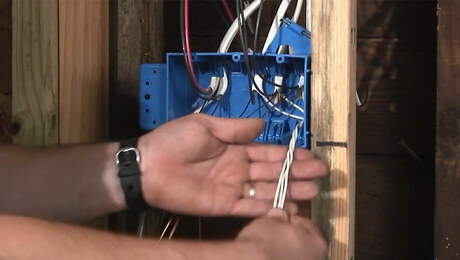
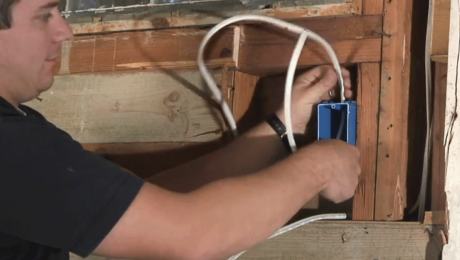
These little tabs sometimes stay connected to the box from the molding process. What I’ll do to make it easier to pull wires is pull up the tab a little bit with needlenose pliers. When they’re a little more flexible, it’s easier to get the wire in there. Another way is to use a flat-blade screwdriver. You don’t want to go too far because the tab still has be able to keep the wire secure. Now I’ll start feeding wires into the box.
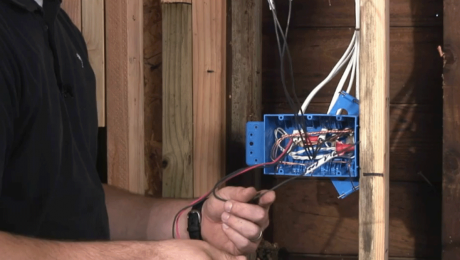
By code, you need to have a staple within about 8 inches of the workbox. To make it easier, I’m going to feed all these wires in and get them where I want them, and then I’ll staple them off. When you run them through the tabs on the top, sometimes they can get jammed up at the bottom of the box. I give the wires a bit of a bend so that I can grab them and pull them out a bit more easily. The last two are for the three-way setup we started at the other side of the room. To keep organized, I’m actually going to run these through the same hole so that I know they go together. It’s just a system I developed to keep myself straight when I go back to trim out. Make sure not to pull them tight when you’re running them through. We still need to be able to secure them to the stud right here. Make sure you get staples that are designed to secure the number of wires you’re using with them.
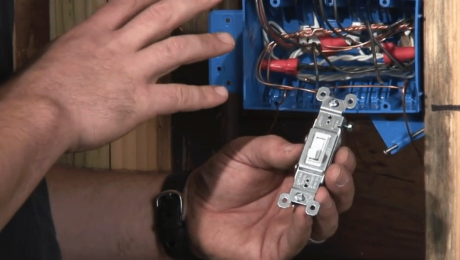
When you get the cable nice and neat and flat, and stapled off so it looks well organized and professionally installed, you’re going to inspire a lot more confidence in your work—and possibly in the building inspector, who may show up to take a look at what you’ve done.
Videos in the Series
-
VIDEO SERIES: How To Install Conduit, Wiring, and Light Switches
-
How To Lay Out, Measure, and Cut Electrical Conduit
-
How To Connect and Fasten Down Electrical Conduit
-
How To Run Wires in Electrical Conduit
-
How to Work Efficiently in an Electrical Box, Part 1
-
How to Work Efficiently in an Electrical Box, Part 2
-
How to Work Efficiently in an Electrical Box, Part 3
-
How to Install a Single-Pole Light Switch
-
How to Install a 3-Way Light Switch, Part 1
-
How to Install a 3-Way Light Switch, Part 2

