
How to Work Efficiently in an Electrical Box, Part 2
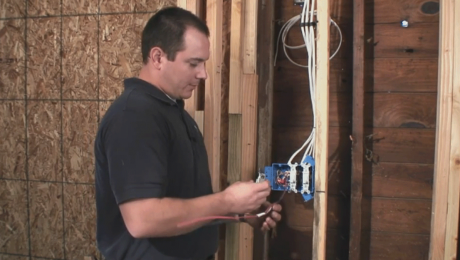
Once non-metallic sheathed cables are pulled into a box and stripped, it's time to organize the hot, neutral, and ground wires.
TRANSCRIPT
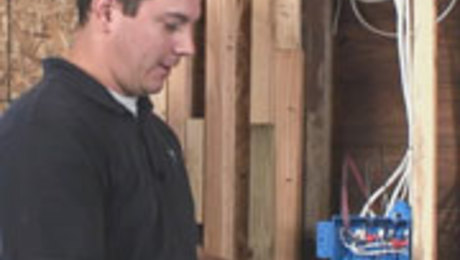
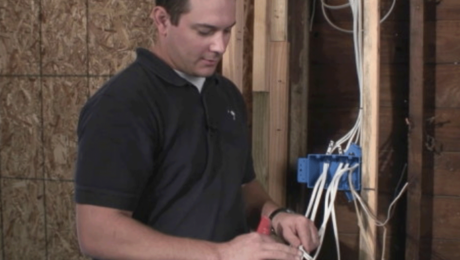
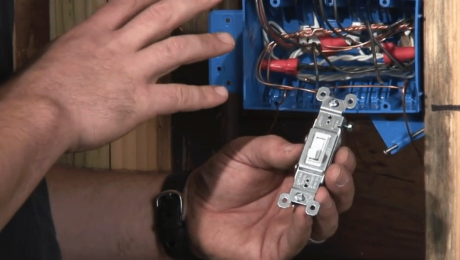
Now that we’ve got the wire pulled, we’ll start stripping the sheathing off and set up the workbox to accept the switches.
Since we’ve already got labels on everything and the wires are more than long enough, we can reuse the label by clipping it off. Then, after we strip the sheathing, we can put the label on the hot conductor, so we know what’s what.
To get the insulation off this wire so that we can get to the conductors inside, the easiest way to avoid cutting yourself or scoring the wire on the inside is to get about 1½ inches of what’s sticking out of the box and just stab into it with a utility knife and cut away from you. Once you’re there, expose the conductors on the inside and just pull it back.
The other advantage to only scoring the first 1½ inches of this is that we’ve got more than enough wire here to do what we need to do in this box. Even if we scrape the wire sheathing on the inside, it’s not going to matter because it’ll get cut away.
When we roughed in the wire, we labeled everything so that we knew what it was. Now that we’ve cut all the labels off, just set them back where the wires enter the box so that they’re ready when the conductors are exposed. Now that we’ve got the sheathing stripped back and left ½ inch in here to meet the ¼-inch minimum, take the cutters and clip off the remaining sheathing. I like these as opposed to a utility knife, so I don’t accidentally nick the conductor on the sheathing itself.
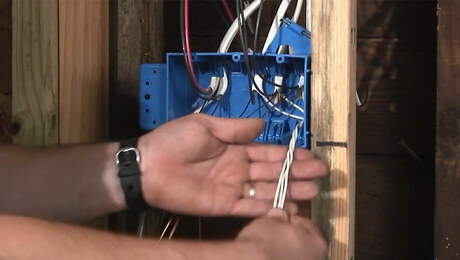
This is typically the “now what do I do?” moment for most people who don’t do this for a living. But since we’re pretty well organized, it’s just a matter of working through it methodically. The first thing I generally do now that I’ve got all the plastic on is get rid of this paper stuff. It should just pull right out. Now that it’s all exposed, I separate all of the conductors into various groupings. We’ve got two separate circuits running for lighting. To make it easier to work with this jumble, we can take everything we’re not going to need for a minute and just fold it up and out of the way. It also might be helpful at this point to slide the labels on. Just fold them over so they don’t fall off. Another way to differentiate them is to just strip the end. When I make up boxes, anything with a bare end is typically a power source.
It helps to manipulate the wires to set them up for what you’ll do next. If we know we’re going to bundle them together and fold them into the box, we want to make sure the ground wires will be out of the way. So, in this case, we’ll poke all three of these wires into the bottom corner before we do anything else. We’ll do the same on the other side with the other two.
By code, you have to leave a minimum amount of conductors sticking out of the box. A good rule of thumb is to tuck the wires as far back into the box as you can. Then use a loose measurement of about four finger widths out in front of the box as the point at which to cut them. The easiest way to get a good tight connection under a wire nut is to have everything start out at the same length. And since we’ve tucked these into a corner and bundled them together, and used that finger width measurement, they’re all more or less the same length. I’ll just strip the ends of them. I like about an inch or less when I expose the conductor. When I twist them all together, I want to make they’re good and connected before capping them with a wire nut. I leave about 1/2 or 5/8 inch and cap that off. When you’re putting the wire nut on, it helps to keep your finger in that corner so that you can get a good twist on the bundle. You’ll know when to stop twisting the wire nut when you can twist the bundle a bit more. Once that’s on, fold it into the box; it may help to manipulate the other wires in the box. We’ll repeat the same thing for these two wires. Some of these workboxes are set up to have dividers installed in them for separate circuits. It’s not always necessary, but it’s a good idea for safety.
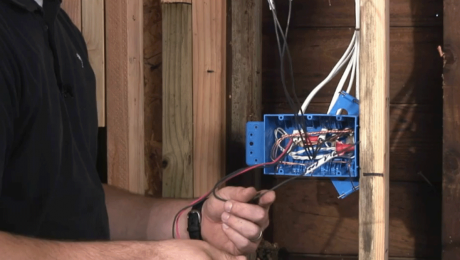
The next part of the setup is the grounds. Since we’ve got three switches and five ground connections, we need to bundle them and then clip off what we won’t use. Grounds don’t have insulation on them, so they’re easier to bend and twist. Get them into the top corner. It may help to wrap them around each other; it helps keep things organized in one spot while you’re getting the rest together. Make sure they’re all good and even. I’ll take my side cutters, get right in the middle, and start twisting them up. Since we need three separate connections to three separate switches, it’s easy enough to just clip off the two that aren’t necessary. To get a good clean line to slide this sleeve on, it sometimes helps to give it a wrap. Now we’ll use a copper crimping sleeve to secure the grounds so that they don’t come apart. Use the flared end over the wire and slide it down. You want to be an inch outside the workbox so that you can get the tool on it while missing the connection inside. That’s not going to come off without cutting it.
To help with crowding and to get everything set up the way we want it, pull all the hot connections back down and layer the grounding up to the top. Once that’s in, we can pull the hots back up. We still have more work to do on these grounds.
Videos in the Series
-
 VIDEO SERIES: How To Install Conduit, Wiring, and Light Switches
 -
 How To Lay Out, Measure, and Cut Electrical Conduit
 -
 How To Connect and Fasten Down Electrical Conduit
 -
 How To Run Wires in Electrical Conduit
 -
 How to Work Efficiently in an Electrical Box, Part 1
 -
 How to Work Efficiently in an Electrical Box, Part 2
 -
 How to Work Efficiently in an Electrical Box, Part 3
 -
 How to Install a Single-Pole Light Switch
 -
 How to Install a 3-Way Light Switch, Part 1
 -
 How to Install a 3-Way Light Switch, Part 2
