
How to Work Efficiently in an Electrical Box, Part 3
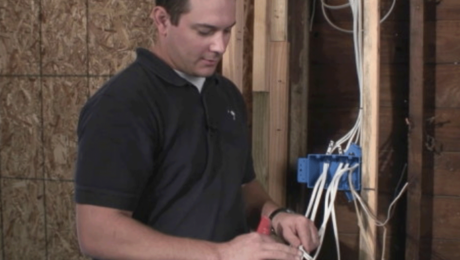
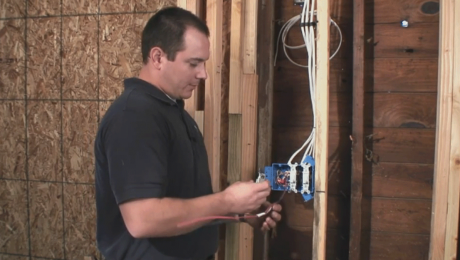
After wires are organized in a switch box, it's time to bundle and label them so you know what's what when you come back to install the switches.
TRANSCRIPT
Now that we’ve got the grounds tucked up into the back, we’re going to set up the switches. We’ll do the three-way last. In the meantime, we’ve got the two travelers and the feed to the light. We’ll keep them together so we know which one’s which. I generally bundle them up and then use another small, unlabeled piece of sheathing to go over the three of them to keep them together. This helps even more during a rough-in that you’re going to come back to later. If there’s one wire that’s got a separate label and two that are bundled with that wire, then you automatically know it’s a three-way, and by process of elimination which terminal on the switch gets which wire.
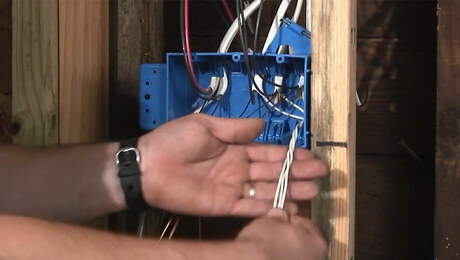
Now that we’ve got the grounds tucked up into the back, we’ll start the process of setting them up to actually make the connections to the switches when they get installed. We’ve got three switches and three connections, so we’ll just take the longest one and fold this over. When we get to where the switch is going to be, we’ll make another little bend in it and fold it down out of the way. We’ll just do the same for the rest so they’re mostly out of the way.
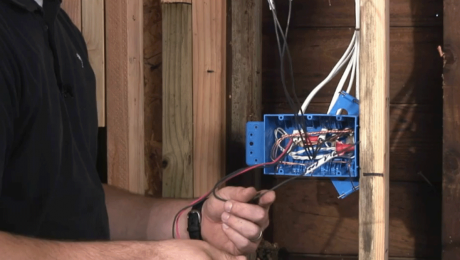
Now we’ll do the same for the switches. Since we only have one power feed and two connections that need power, we’re going to have to make a pigtail for this power to feed both of the switches. In the meantime, we’ll fold the feeds to the lights out of the way and work on the home run. Again, as with everything, try and tuck it into the corner and then just clip it off. Reuse this portion of that wire as a pigtail. Then cut a second one because we need two feeds to go to the two switches. I’ve already stripped one pigtail, and I’ll use it as a gauge to strip the other one. Leave it a little long, by about an inch or so. Make sure the insulation is pretty well even so that you don’t have bare wire sticking out past the wire nut. Twisting the pigtails with a feed in the box can be tricky because they aren’t anchored by anything. You may have to pin them in the box with your finger while you’re putting them together. Give it a couple of twists to make sure it’s a good tight connection. Cap it with a wire nut.
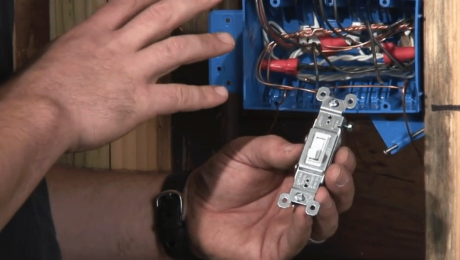
It’s not a bad idea to give it a little tug to make sure you’ve got a good connection. It’s no fun to have to take it back apart. Once that’s done, we’ll lay these pigtails over where they need to be, approximately, to make the connections to the switches. If you can get it to the point where it has some flexibility forward and backward, that’s going to come in handy when you actually install the device. You may have to loop it back around on itself, depending on which side of the device the terminal is on.
Videos in the Series
-
 VIDEO SERIES: How To Install Conduit, Wiring, and Light Switches
 -
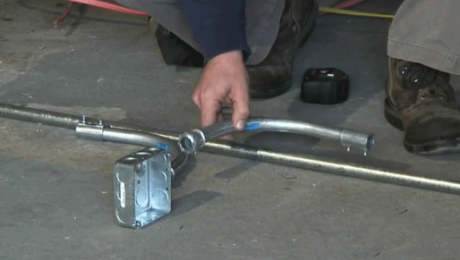 How To Lay Out, Measure, and Cut Electrical Conduit
 -
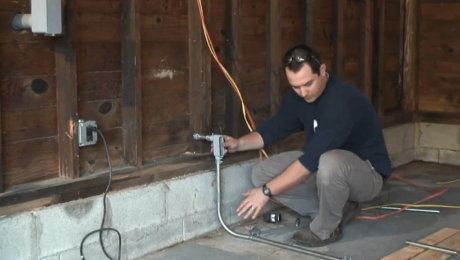 How To Connect and Fasten Down Electrical Conduit
 -
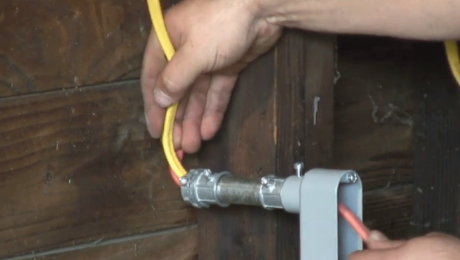 How To Run Wires in Electrical Conduit
 -
 How to Work Efficiently in an Electrical Box, Part 1
 -
 How to Work Efficiently in an Electrical Box, Part 2
 -
 How to Work Efficiently in an Electrical Box, Part 3
 -
 How to Install a Single-Pole Light Switch
 -
 How to Install a 3-Way Light Switch, Part 1
 -
 How to Install a 3-Way Light Switch, Part 2
