Wiring a Master Suite Addition
Adding circuits for a new bedroom and bath offers lessons in rough electrical work and integrating new and old wiring.
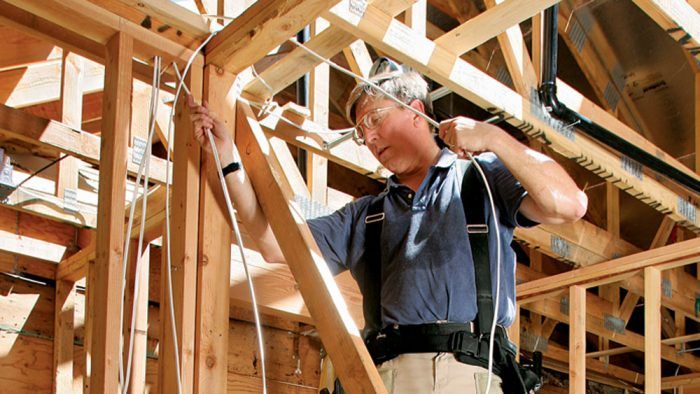
Synopsis: Wiring a master suite addition is a comprehensive electrical project that requires skills and knowledge relevant to new construction and remodeling. Using a small addition as a case study, a licensed electrician talks us through this process, from evaluating the existing electrical system to choosing the most appropriate boxes to pulling cable. In this article you’ll find the National Electrical Code requirements for bedrooms and bathrooms, and you’ll learn to read and edit an electrical plan. You’ll also discover the benefits of using a subpanel to power locations far from the main panel and learn how to integrate the new and old wiring.
It’s amazing how electrical-code requirements have evolved for the wiring in bedrooms and bathrooms, the rooms that make a master suite. These safety requirements are intended to protect against electrical fire in the bedroom when we’re asleep and vulnerable, and against shock and electrocution in the bathroom where electricity and water can be a dangerous combination.
When I started working on this 350-sq.-ft. master-suite addition, I received an electrical plan that met minimum code requirements in most instances and exceeded them in others. After going over the plan and examining the existing electrical system, I explained to the homeowners how I would integrate the new and old wiring, meet all the code requirements, and add a few upgraded features that would improve the comfort and convenience of their new master suite.

Begin by examining the old wiring
With the electrical plan in hand, the first thing I did on this job was to examine the existing wiring to determine two things: its condition and its existing capacity. In any master-suite addition wired to meet National Electrical Code (NEC) requirements, chances are you’ll need to add at least two new circuits. I knew that here, though, I would want to add more.
The main electrical panel was at the far corner of the house, and the existing subpanel was in bad condition. It didn’t have a separate equipment-grounding conductor, which meant that there was no place to hook up the grounding wires from the new branch circuits properly; it also wouldn’t accept the arc-fault circuit interrupter (AFCI) breaker required for bedroom circuits. These issues and the fact that the subpanel was failing, causing the lights to blink, simplified the decision to replace both the subpanel and the feeder cable that supplied power from the main panel.
If you decide to add circuits to an existing panel (main or sub), the first thing you should do is figure out what power is supplied by the panel (what the highest actual loads are) and compare it to the panel’s capacity as marked on the panel label. If the panel is in good condition, has the capacity and the open breaker spaces, and will accept the necessary breakers, you’re all set.
The electrical plan for this job included some features that exceed code minimums, including three-way switched outlets in the bedroom and three-way switches for the ceiling-fan light. It also left out a few requirements, including an outlet and a smoke detector in the hallway immediately outside the bedroom and an exterior light fixture near the east-facing entry door.
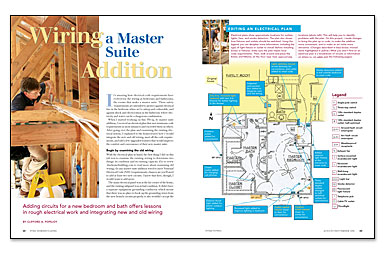
For more photos, drawings, and details, click the View PDF button below.
Fine Homebuilding Recommended Products
Fine Homebuilding receives a commission for items purchased through links on this site, including Amazon Associates and other affiliate advertising programs.
Plate Level

100-ft. Tape Measure

Smart String Line


