Garage Cabinets
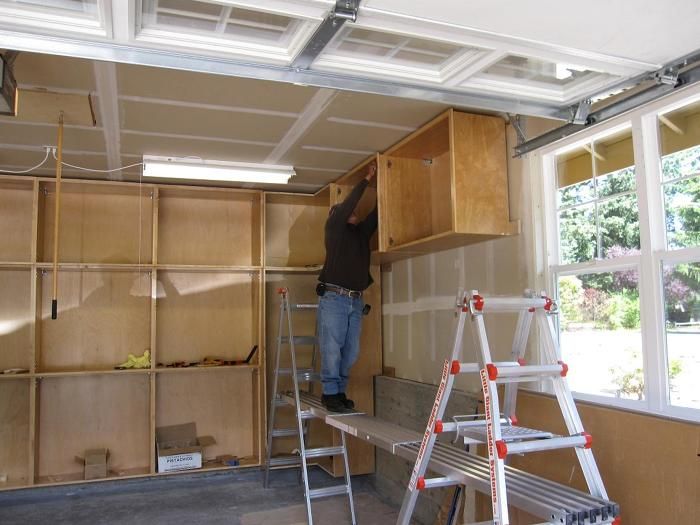
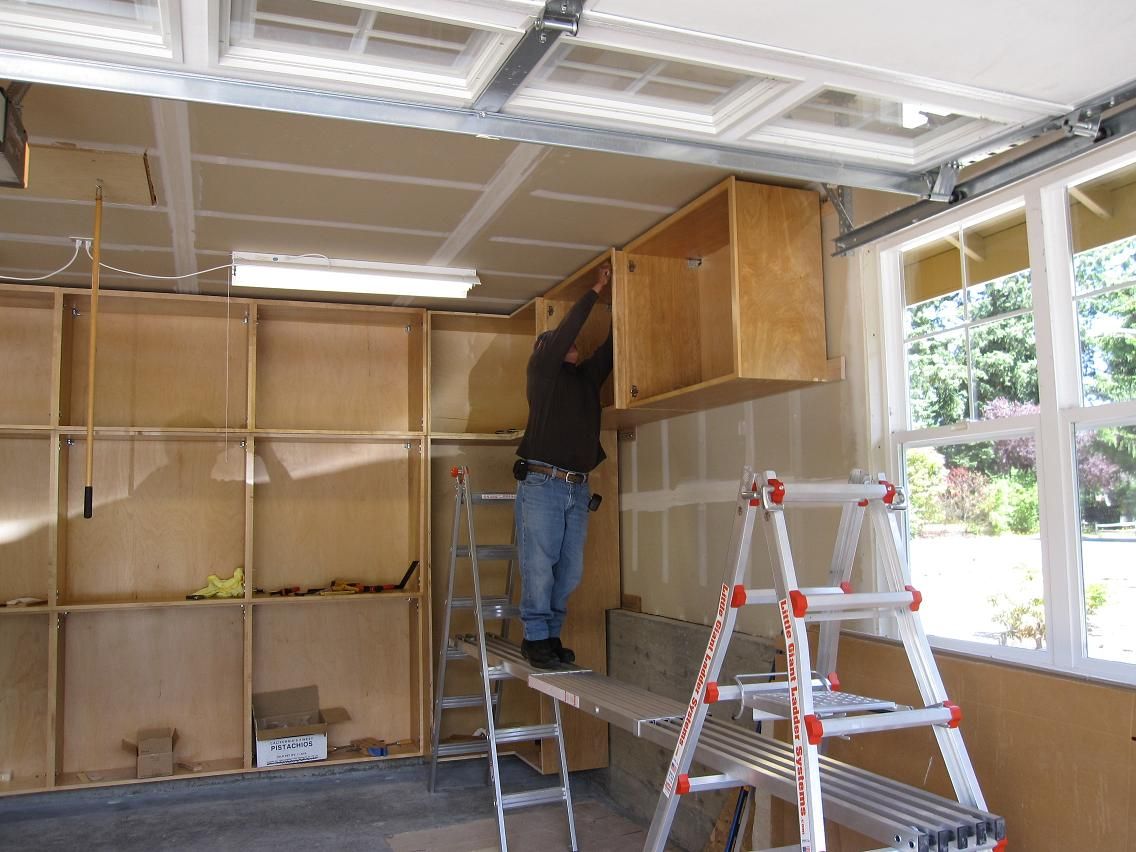
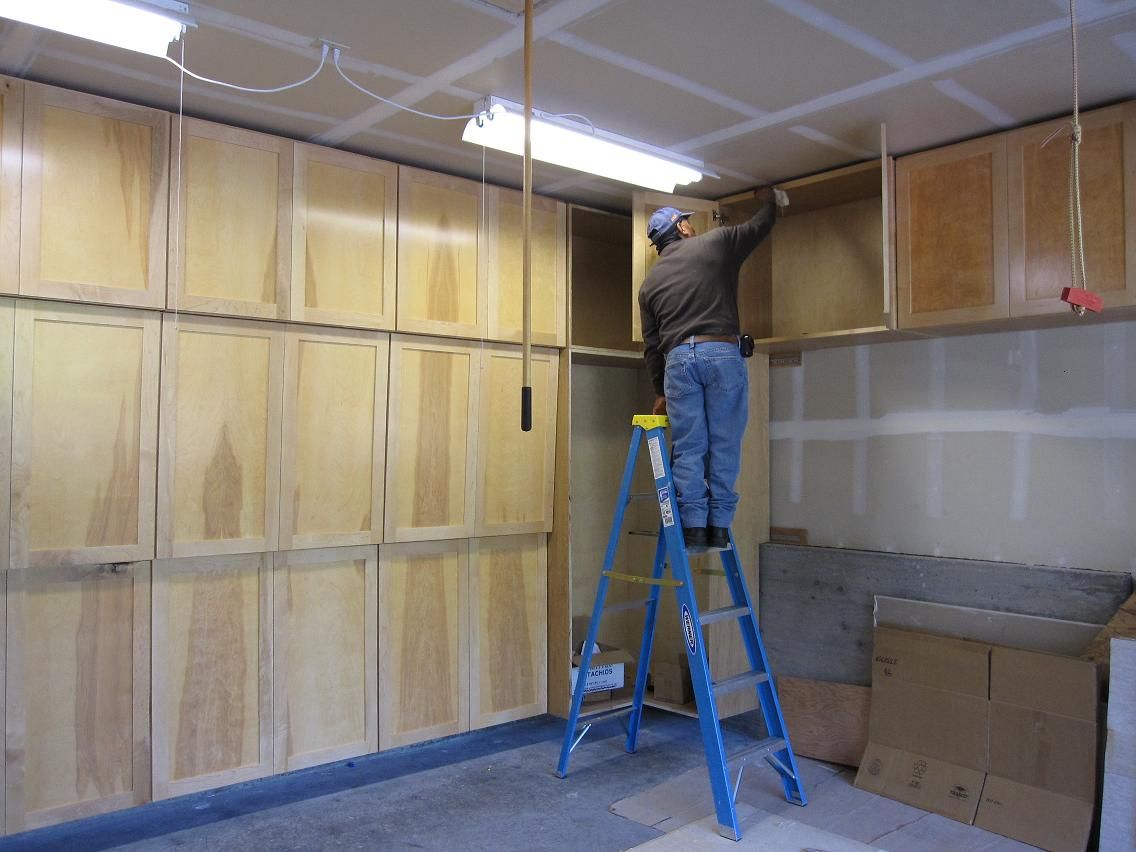
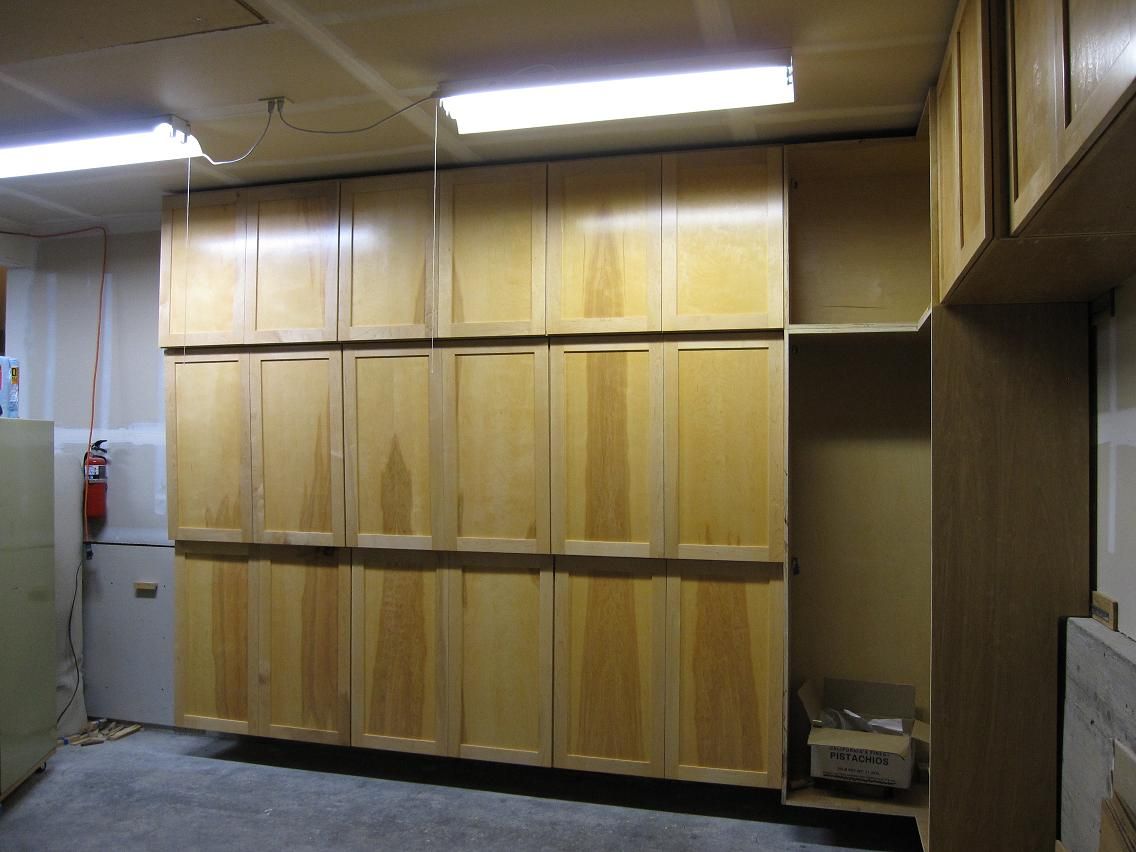
Storage cabinets for my garage. In the bottom row, cabinets are 12″ deep, and 38″ high by 40″ wide. The second row goes from 14″ deep to 16″ at the top. The top row boxes are 18″ deep and 30″ high. The corner L-cabinets are 40″ along the back edges, and the sides are 20″. The right-side upper cabinets step-back 2″ at 18″ and 16″.
All boxes and shelves are 11 ply 3/4″ plywood. Assembled using Kreg pocket screw system and Titebond type II yellow glue. Shelves will have 3/4″ angle iron on rear edge to resist sagging, and hard maple trim on the front edge. Door frames are hard maple; panels are 1/4″veneered plywood; backs are 1/4″ plywood, except the large L-cabinet has 1/2″ baltic birch plywood backs. The finish is General Finishes water-based Enduro Poly, with their toned sander-sealer; sprayed with an AccuSpray HVLP setup.
Now that the boxes are on the wall, I may be able to reach the table saw, again, to finish the doors and shelves, and to make the finish trim to finish the cabinet sides to the walls. Next time, I’ll make the corner first, and hang it, rather than having boxes nested and stacked in my work area while I try to make the last cabinet. Inexperience has its price!
Ben Armington of Gig Harbor, WA designed the boxes and layouts. I milled the 4/4 maple and made all of the cabinet boxes and doors. Compton Lumber in Seattle, WA was my source for the 25 sheets of plywood and a lot of 4/4 hard maple.
I hope no one is upset that I tell who my suppliers are, but they certainly were helpful and patient working with an amateur with a lot of questions.




View Comments
Great looking units - nice work!
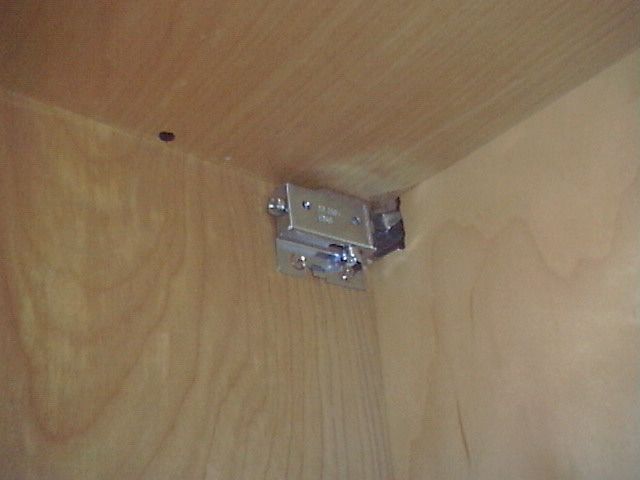
Looks great! I would expect the deeper cabinets at the bottom, but this really looks great. I'd like to see more on the hardware used in this job.
Thanks for the comments. The idea of growing the cabinets outward at the top is to allow more room for the vehicles. Also, it will make ladder-access easier at the top. The difference, in any case, is only 6". URLs for the suspension hardware are
http://petermeier.com/kitchen-cabinet-hardware-products.asp?ProductGroupID=1&ProductCategory1=6&ProductCategory2=44&ProductCategory3=-1&ProductCategory4=-1#2064
I used the Vasa brackets. They adjust about an inch up and down, and in and out. I attached the brackets to the case using 5mm by 13mm screws. Once we had the corner-cabinets square and plumb, we would hang another cabinet on the rail, adjust the brackets, and put a few cabinet screws into the neighbor. Lather, rinse, repeat. I cut openings in the cabinet backs for the hooks to pass through. I didn't notch the back cabinet edges to accomodate the rail, as I planned to use trim on the ends to close the gap to the wall. If I had a plumb, flat, interior wall, I probably would notch the back edges to get the cabinet flush to the wall.
Since these are in the garage, I didn't try to hide the hardware on the inside.
http://petermeier.com/kitchen-cabinet-hardware-products.asp?ProductGroupID=1&ProductCategory1=6&ProductCategory3=&ProductCategory4=&keyword=&ProductID=&ProductCategory2=45
I used the oval-hole steel rail, and 1/4" lag bolts to connect the rail to the wall.
Thanks to this article it gave me the itch to create one for my self .
By the way, anyone had tried creating a tool rack? Can some one share it with us?
Thanks.