Townhome Fireplace, Built-ins, Wainscoting, and Molding – Before and After from an amature
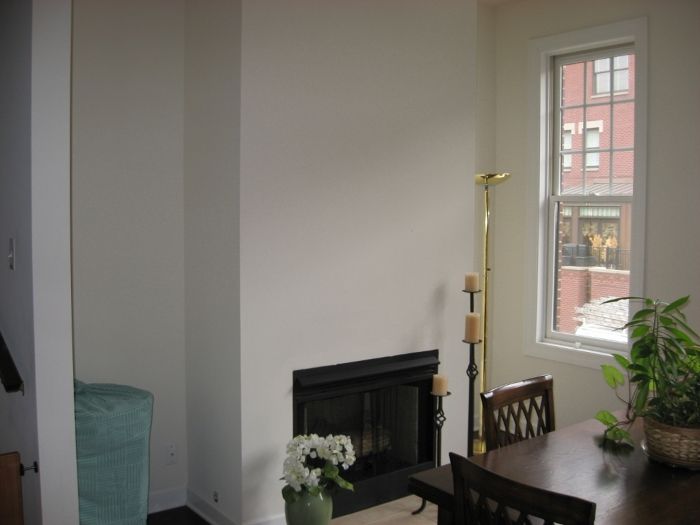
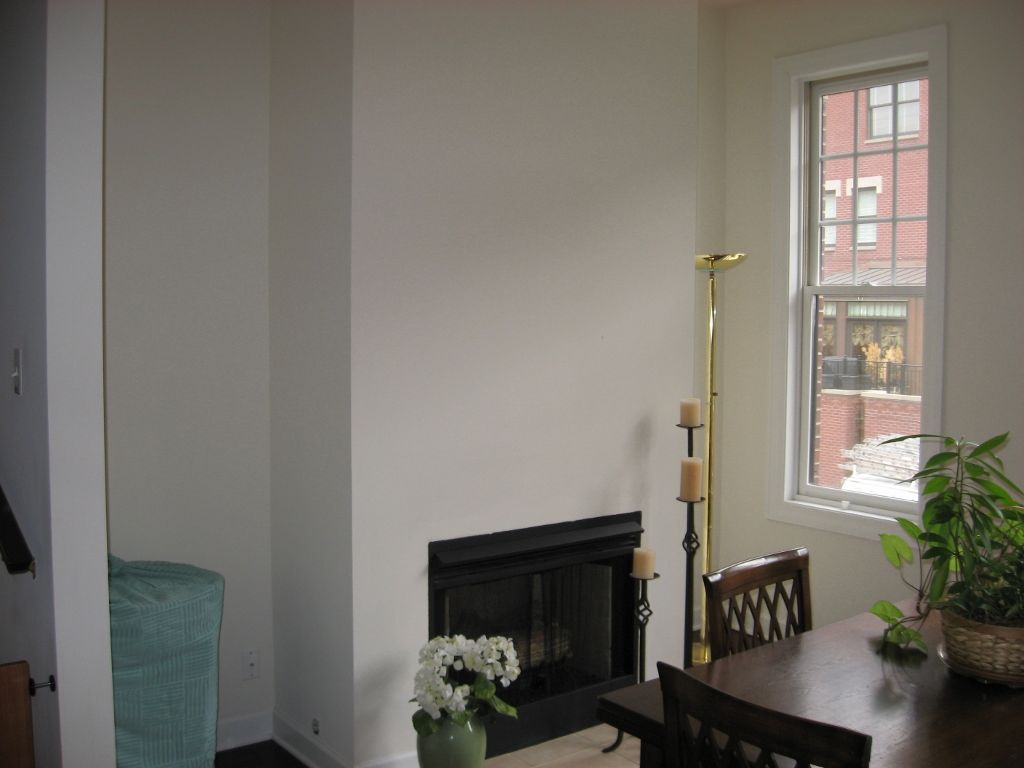
My own home by an amature wood worker. After looking at sky-rocketing cost estimates and generic options offered, I decided to take on the task of creating a quality classical Living, Dining Room, and Kitchen finishes myself. This included a Fire place mantle surround that had an odd size requiring a custom mantle & surround, built-in shelving flanking the fireplace, crown molding, and to really challenge me – let’s try some wainscoting for the first time.
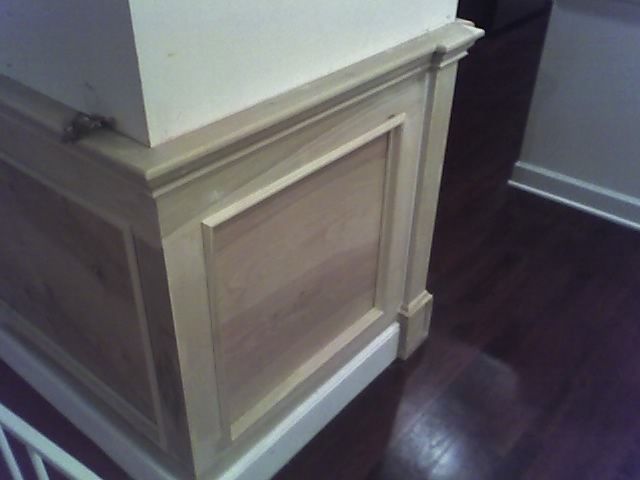
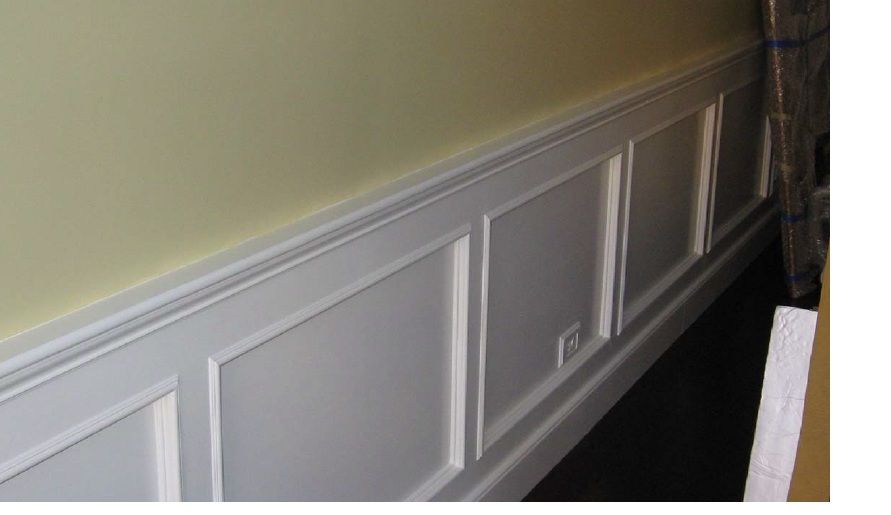
1. Wainscoting – after searching options for custom, prefab, etc. I could not find what I liked until one day I ran across the November 1996 Fine HomeBuilding article “Installing Elegant Wainscot Paneling”. SHIZZAM, a light went on!!! I followed his recommendations to a “T” and WOW!, it looks awesome and is actually not that hard. Everyone that visits thinks it was done by a carpentar. Cost including material and some of the tools I did not have ran about $20-$25 per foot when all was done. Being a perfectionist, the hardest part was finding the overlay moulding I liked; the top chair rail was made to dimension with stock and profiling to my liking with rounding router bit. Jim Chestnut, you rock!
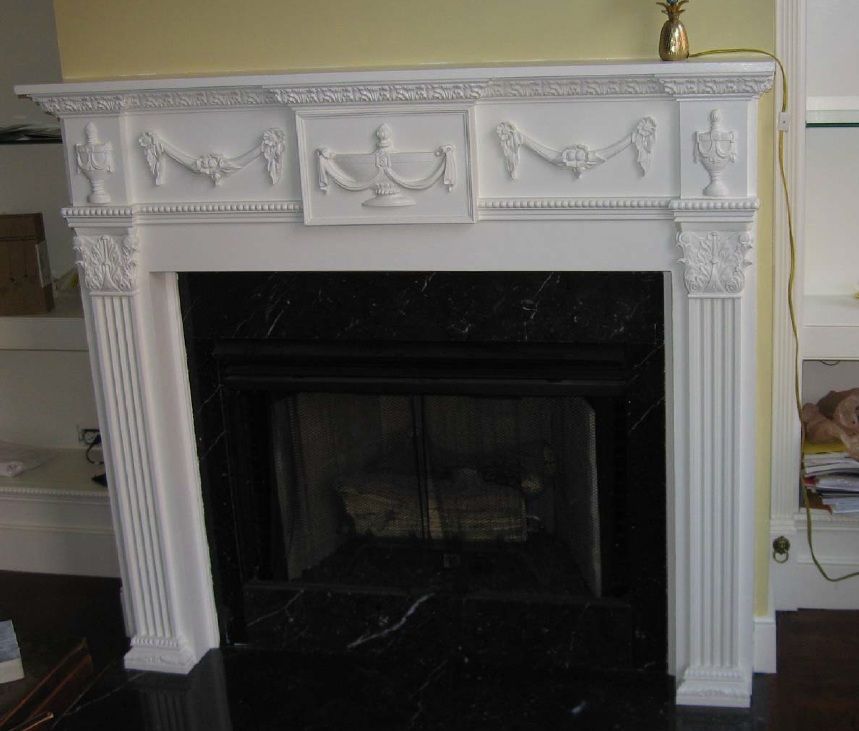
2. Fire Place – I had an odd size smaller fire place wall, so I could not find any stone or wood surround mantel pre-made. So, I worked with the folks over at White River Moldings (www.whiteriver.com) to come-up with details for a built-in-place custom surround. Throw in some marble surround facing and Holy Mantel Batman! It came out great. Costs for the mantle surround marble, S8 popler wood, ornament & molding pieces from White-River, etc. came out to a around $1400.
Tip: Run through the details many times. Enlist the free design services that these vendors offer for free. www.whiteriver.com
3. Crown Molding – Contractor estimates were coming in above $30 per foot installed for cheap / generic molding pieces. Besides being costly, the proposals just looked like standard Home Depot stock, blah!!! So, with tall 11′ ceilings, I decided to splurge on one of White-River Molding’s more expensive $12 to $14 per foot larger paint grade molding with a terriffic egg & dart detail (bought from www.manufacturer.com), I spent about $3,400 to install roughly 250ft of molding in 5 rooms and an entry hallway.
As this was 6″ – 7″ molding, the key task that took the longest was creating the molding support and nailing block system…wanting this to be quality, I created a hidden nailing block the full run of the molding. It did not cost me anything for the moulding nailing system as I was able to use scrap plywood from my wainscoting project to build the molding nailing & support system.
Tip: Don’t skimp on the nailing block system, but don’t make tolerences too close to the molding so you have room to adjust the moulding when installing if needed.
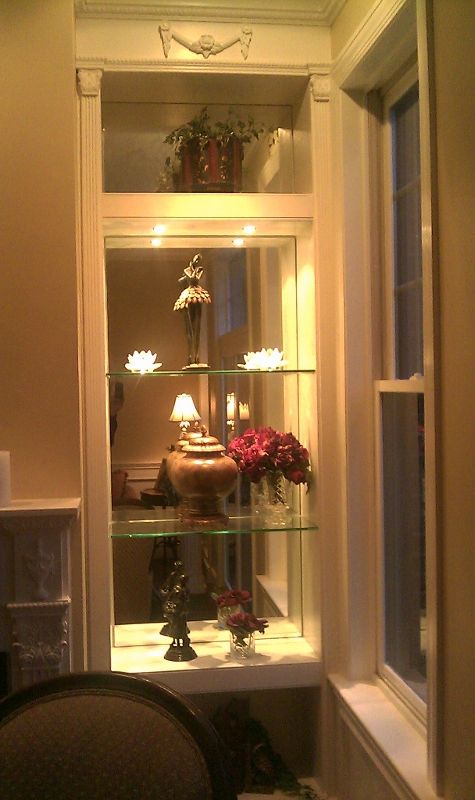
4. Built-ins Shelving surrounding the fireplace – I created beautiful surround shelves flanking the fireplace, with glass shelving and mirrored backs, and hidden lighting for about $1300. (Popler Wood, frame lumber, mirror backing, glass shelving, low voltage lighting, and ornamental wood detail)
Normally, the professionals would build the main box off-site and bring it in, but because I had some settled structure and drywall that was not straight, I decided to measure and build-in-place a floating system. what the Heck, my labor was cheap 🙂
I finished it off with glass shelves and a mirrored back to make it look professional, and custom high end. Within the shelving frame design, I ran conduit so I install low voltage lighting, with a hidden static sensor switch to turn on the lighting with the touch of a finger.
Key Tip – take your time to get the upfront design and details you want front before you start. You will be thankful you did. Go with quality lighting detail, it is worth it. If including low voltage lighting, make sure you mount the transformer within the shelf where if can be acessed if needed. I created a removable hidden panel to access.
Also, for better looking built-ins, run the shelving up to the top of the ceiling, and create an eve that better integrates the shelf in with the rest of the room and ceiling moulding. In my opinion, seeing these tall ceilings with squat looking shelving that stops 3/4 up does not look built in.









View Comments
Nice job with all your home improvement projects Ayersman. What a difference between the before and after. I sent an email to Jim Chestnut with a link to your post to let him know that you found his article helpful. I'm sure he'll be happy to know that.