BLONDE, SWEAT AND TEARS
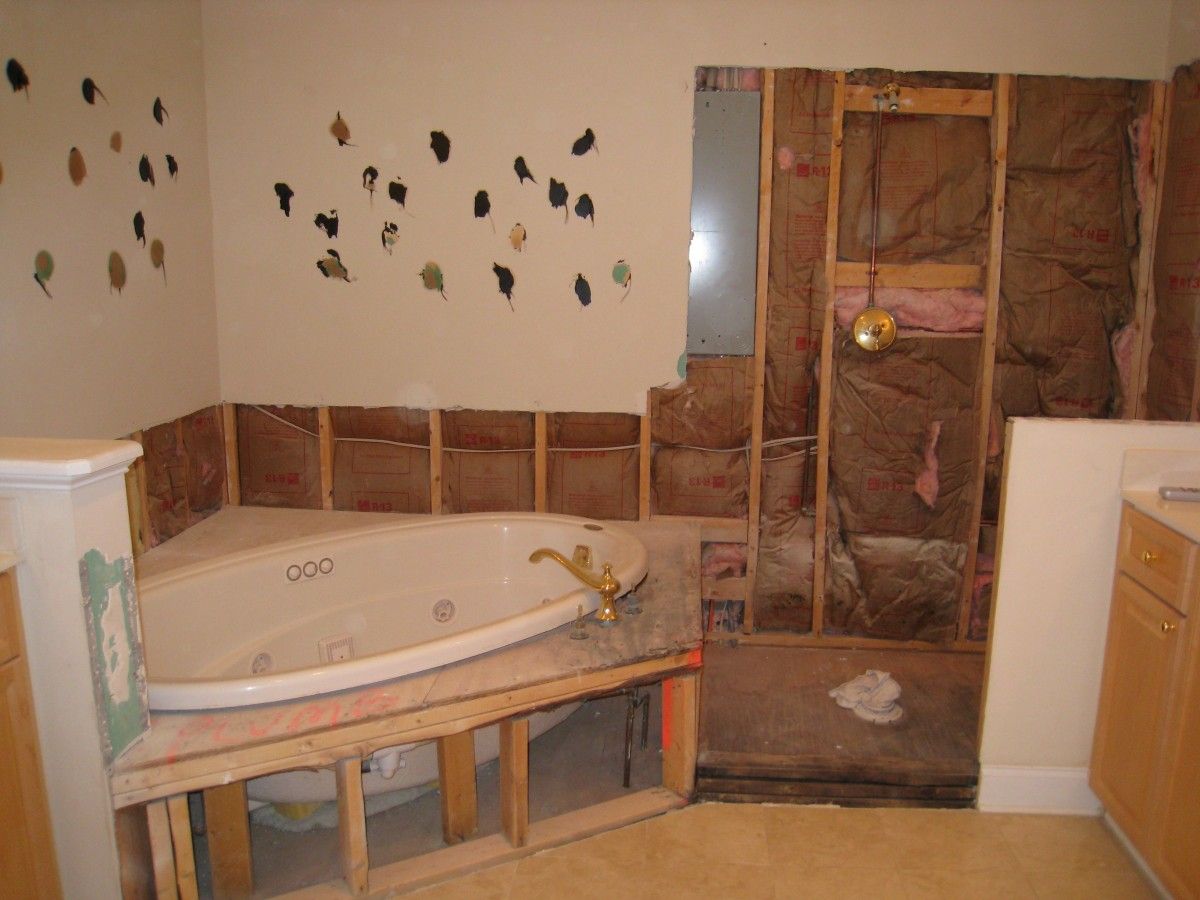
What I first thought the leaking shower needed was some caulking over a few days….my first mistake. As the tiles started falling off, I realized much more work was needed, demo ensued. Two months later the demo was all but done, research and planning took over.
Did I want to hire someone? How much did I want to spend? What did I really want? Maybe now is a good time to mention, I’ve never tiled before, used a wet saw, a nail gun, a hole saw, a grinder, worked with concrete board, or sheetrock. I decided now was as good a time as any to learn! First decision made.
If I was going to build a new shower, why not make it a steam shower…and while I’m at it, I might as well have two showerheads….ok, don’t stop there….hide the shampoo/soap…yes, a nice wall recess….open up the floor space, install a floating bench. Oh my, the ideas were flowing!
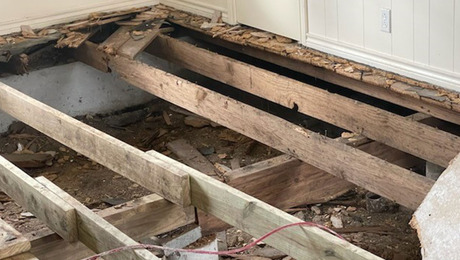
Construction begins. Before working on the shower enclosure, I addressed the tub surround. Access to this area would be easier prior to constructing the shower walls. The decking around the Jacuzzi wasn’t level and needed more support as well. I replaced a section damaged by water. Ok, that wasn’t too bad. Now to install Durock cement board…how was I going to do that without taking the tub out? It was a puzzle to me, literally. I made a paper template and used it to cut the pieces of cement board into puzzle pieces. Each piece inserted establishing a tight fit.
I found and ordered from Home Depot the same Kohler shower valve and trim as my existing one, which eliminated having to purchase two new valves and trim. With the plumbing moved with the use of PEX as seen in the June/July 2006 issue of Fine Homebuilding, I am on to framing the shower. Here the October/November 2003 issue of Fine Homebuilding came in handy. No one told me that the existing walls wouldn’t be plumb. Hey, a professional built those walls. If I can build two new adjoining walls and make them plumb, why didn’t the original builders do that? While framing I took into consideration the future elements of the shower, lighting, bench and support, niche, valves and steam shower components to insure the framing was placed properly for these items. In addition to the walls, I lowered the shower ceiling to form a smaller enclosure for the steam shower. The sub-floor and curb had so much water damage that I replaced them also.
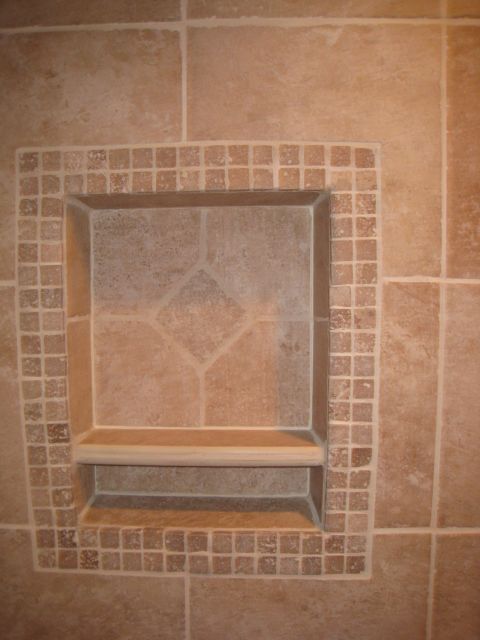
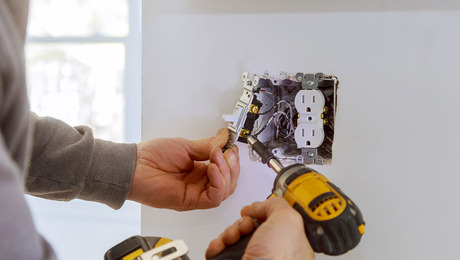
The June/July 2008 Fine Homebuilding issue gave me direction on installing a shower niche. I found the prefab niche through Braxton –Bragg to create a storage area, the Recess-It with floating shelf and an adjustable floating bench with corbel support for seating. Ok, shoulder has almost recovered from using the nail gun during framing. The lowered ceiling and shower are fully framed. Utilized an outlet and piggybacked to get power for an overhead light in the shower.
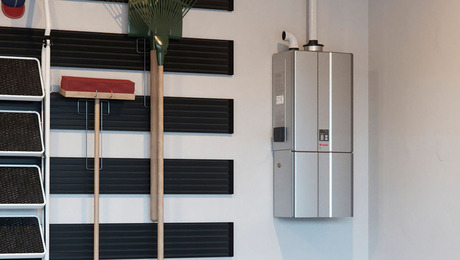
The SteamSaunaBath website had great information to help me select a steam shower system. I learned that my decision needed to consider whether any outside walls were involved, the type of tile/stone to be used, and the size of the shower itself. I selected the Amerec Freedom Series. I was fortunate to already have a full house water purification system, but opted to purchase the automatic drain system to further reduce maintenance of the steam generator. The equipment room in my house is located directly below the master bath. I was able to install the generator directly under the shower floor. This made connections from the generator to the heat sensor and controls short runs.
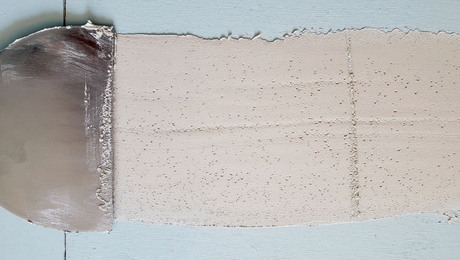
Time to tackle some sheetrock. Hanging wasn’t too difficult. The tape and mudding process wasn’t bad either…wait, let me clarify, the first application wasn’t bad….the sanding after each application was another thing. Trying to keep the dust somewhat controlled, I had sealed the windowless room’s vents. This is where a lot of sweat occurred and hence I was covered with sheetrock dusk. I looked like a ghost after sanding every application. The flashlight technique helped me create a smooth drywall application. I was able to repair the existing sheetrock where the huge mirrors had been, which saved me money and a little time.
I cut and installed the Durock cement board in the shower. The Recess-It edge protruded and I had to use a grinder to thin out the cement board to make the edges flush. I used the mesh tape and mudded all seams of the cement board.
While selecting tile/stone, I came across a kit for the shower floor called Quick-Pitch. From the drain, the “arms” (with extensions available) reach the perimeter of your project. With the Quick-Pitch in place I filled the area with the dry pack, compressing and leveling with a board. To test the pitch I used a golf ball from the outer edges of the shower to confirm I had created the correct pitch. I smiled as the golf ball rolled to the drain each time!
Not wanting to worry about my shower leaking again, I installed Schluter-Kerdi to waterproof the area. I discovered this product in several ads in fine homebuilding. This was when tears appeared. I feared I was in over my head. I was having difficulty installing the Kerdi on the ceiling. My thanks go out to the John Bridge website whose tiling blog provided support and guidance and I was able to face the ceiling again and completed the Kerdi.
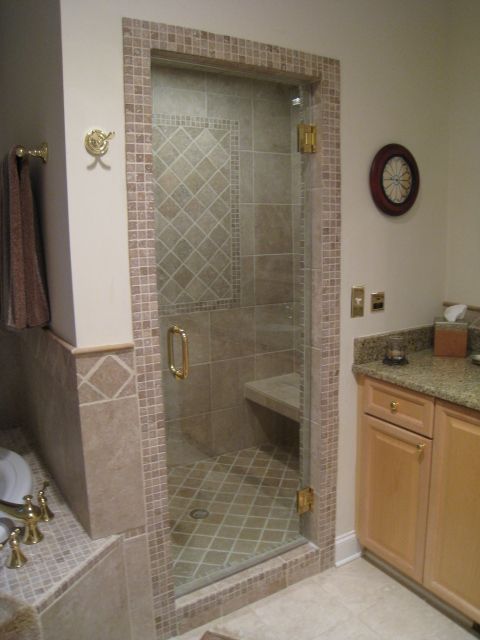
Ok, now the real fun begins, tiling! I had purchased Tauton’s For Pros By Pros Tiling-Planning, Layout & Installation from Fine Homebuilding, another invaluable resource. I selected four inch stone tiles for the ceiling and floor, picture frame, and trim on tub surround. The four inch tiles would make working on both the ceiling and floor easier, less weight when installing on the ceiling and more flexibility working on the sloping floor. Twelve inch tiles were used on the shower walls, eighteen inch tiles on tub area walls, and one inch stone tiles for trim detail and the tub surround. After laying the floor, I protected it and proceeded with the ceiling. Once these were complete I installed the bench and support, both of which were filled with dry pack mud. The wall tiles were next. After establishing that first perfectly level first row, things progressed. I had previously laid out the picture frame tiles on the floor complete with spacers and computed my measurements for placement. When I reached the picture frame area to prevent slippage of tiles, I paced myself with the installation. It was fun to see the picture frame take shape. The different size tile combinations created an interesting and attractive presentation. . Using lumber (2×4 or 2×6) to add support during set-up, helped create those nice straight and even edges around the doorway and tub edge. By the time I finished tiling, I felt pretty comfortable with the wet saw. I’m also extremely glad I purchased one which allowed me to work at my own pace and not feel rushed. Grouting went smoothly. I sealed the grout and stone which has made maintenance of the shower minimal.
This project gave me a great sense of accomplishment. I realized I had done a good job, when my neighbor brought his bathroom tile contractor over to see what I had done. I appreciate my fiancé’s patience and support. I know I asked many questions, but I also learned a lot from him. He contributed the majority of the plumbing aspect of the project.
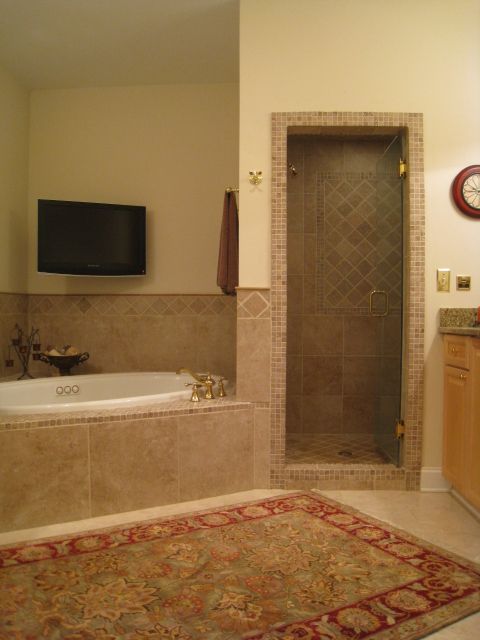
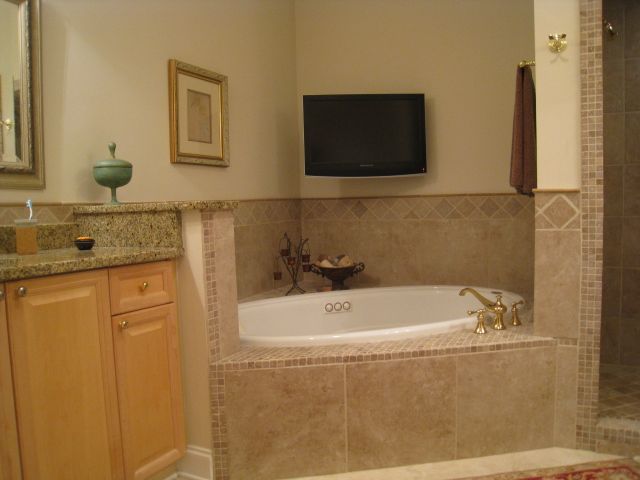
Finishing touches of primer, paint, new vanity lighting, can lighting enhancements, the TV with GFCI (tilt/swing mounting bracket), framed vanity mirrors…..aaahh, yes it’s over and time for a blonde with a glass of wine in a bubble bath!
The final cost came in at under $8,500.00. The initial bid from an outside contractor came in at $20,000 and did not include an enclosed steam shower. The footprint of the room did not change.
By profession, I am an accountant who takes being anal to a higher level. As a do-it-yourselfer, I am a beginner that took her time to accomplish what I never dreamed I could do.
Items done by outside vendors included: removal of 5 huge wall mirrors by Belmont Glass & Mirror, installation of granite vanities by Intown Design, and frameless shower door by Parker and Son (who commented on such a precise square opening). I did pay to have Euroshield on the glass shower door to ease cleaning maintenance. I have simply squeegeed the door and it has retained its original good looks. Note to others, the occasional use of a dampened dryer sheet reinvigorates the water repellency of the glass and removes any soap film buildup.
-
-
Steam Shower, picture frame, floating bench
-
Steam Shower Recessed Shelf
-
Master Bath, Steam Shower, right vanity
-
Master Bath, tub, left vanity