Tiny kitchen with a tiny budget.
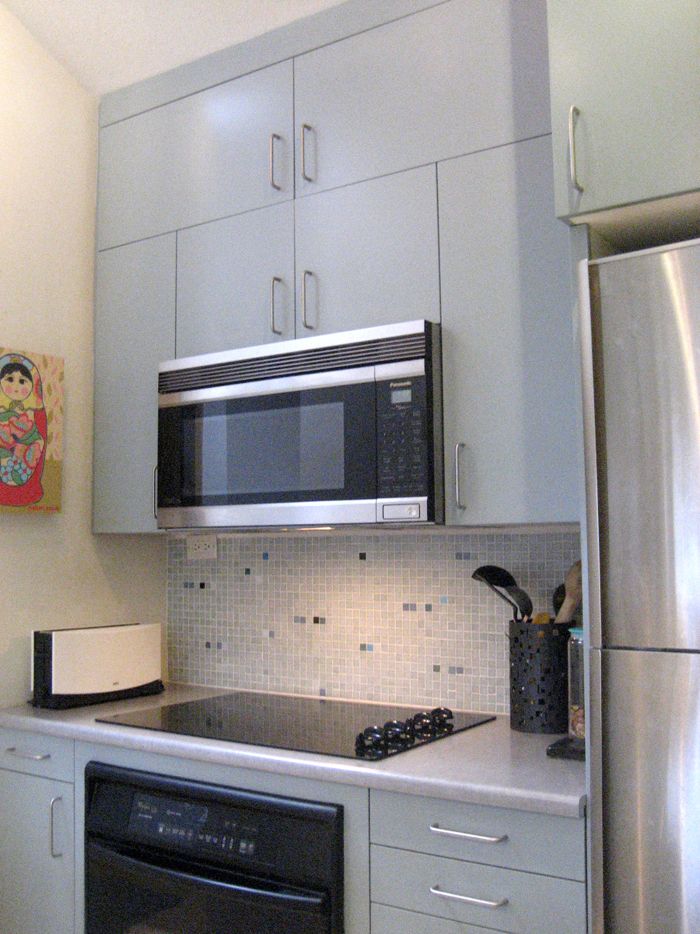
60 square feet. The size of our galley kitchen in the small condo we purchased was a challenge made more difficult with the lack of funds. The usual reasons for renovating were already in play: outdated appliances, little storage capacity (with hardly any in the complex) and every room needing work because the space was never renovated.
At 660 Square feet, in its existing state the condominium was adequate for one person but not for a couple of people with lots of stuff.
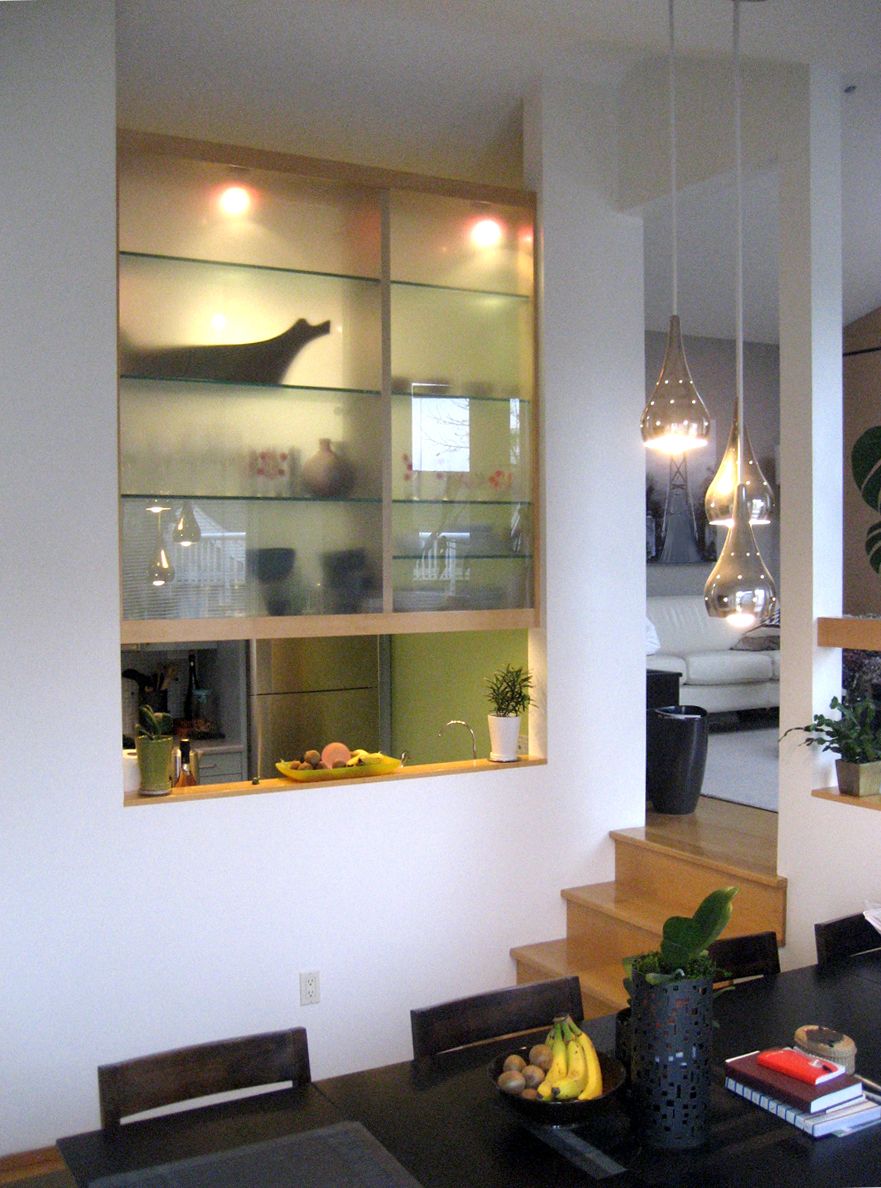
We were stuck with the same footprint because the kitchen was efficiently positioned. Any ‘bump out’ along the pass-through area separating it from the dining area would interfere with the passage of the stairs to the living room and the entry way to the dining table. The removal of the corner of the kitchen would also take away from the existing small volume of shelving.
Our solution was to built up and down, literally.
Years ago while in Japan, I remembered being astonished at the storage efficiency of homes with the smallest square footage. A number of common themes were evident: use every amount of available space, scale the furniture, minimize visual clutter by blending within the expanse of walls , reduce the variety of paint colour in the overall condo palette and hide the storage.
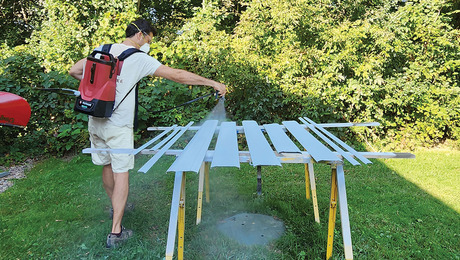
As many people do, we did the work ourselves because we didn’t have much money left after we bought the place. I also didn’t have anything more than portable power tools. Forget about using a drill press or table saw. Any serious cutting of material would have to be done with my circular saw jig on a fold up table and slow-w-l-l-y. Our reality is we live on the 4th floor of a 4 story complex so tromping up the elevator several times everyday was not reasonable. It made more sense to move my worldly collection of tools into the dining room and haul them out outside onto the deck.
5 years later, we had replaced everything from the cabinets to appliances to the wiring.
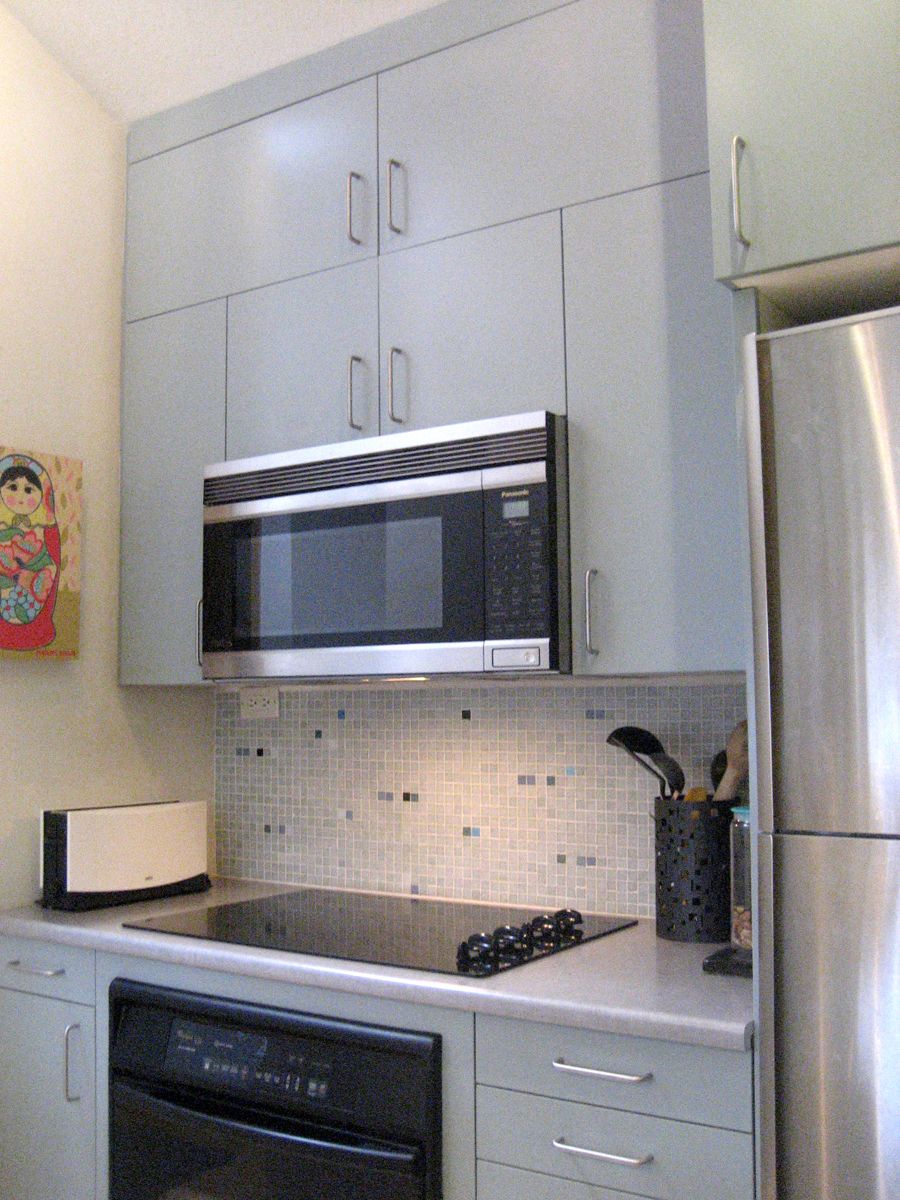
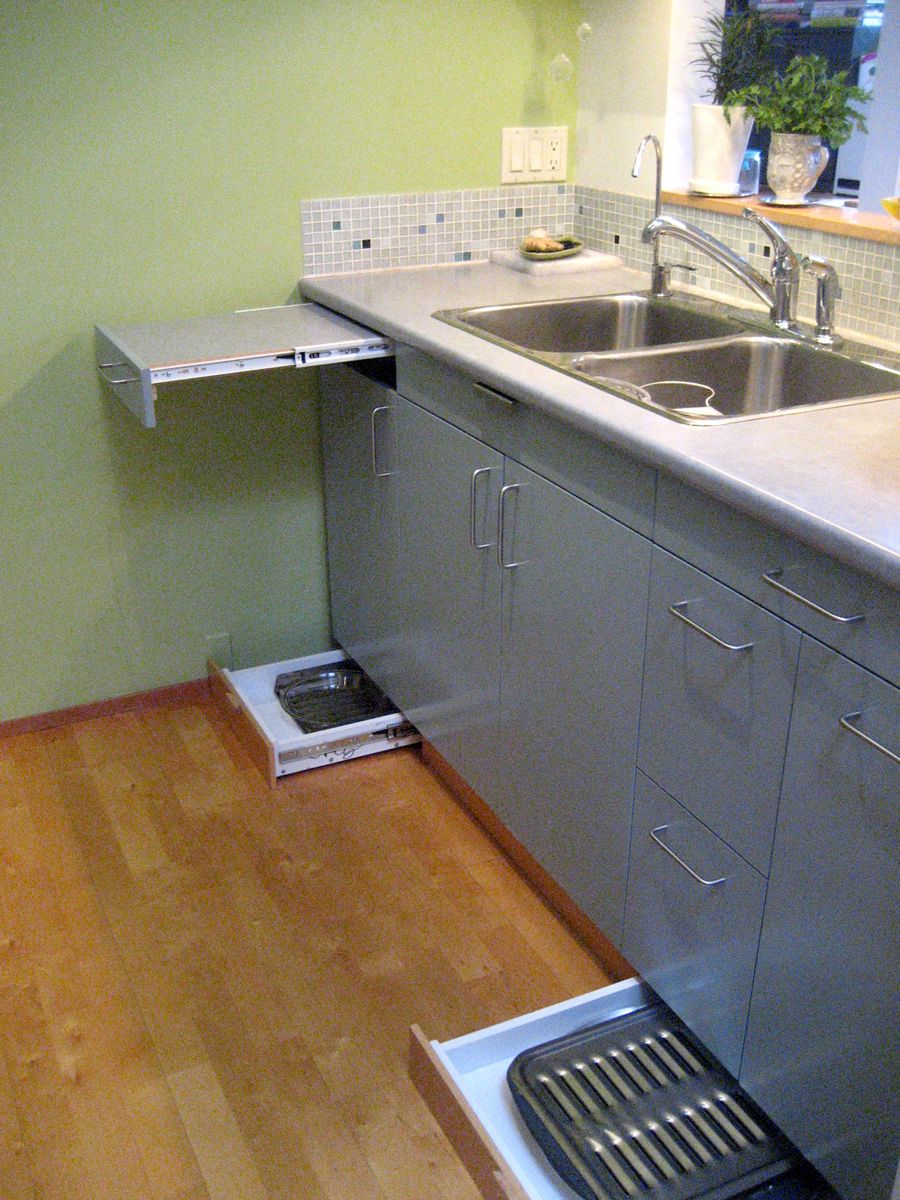
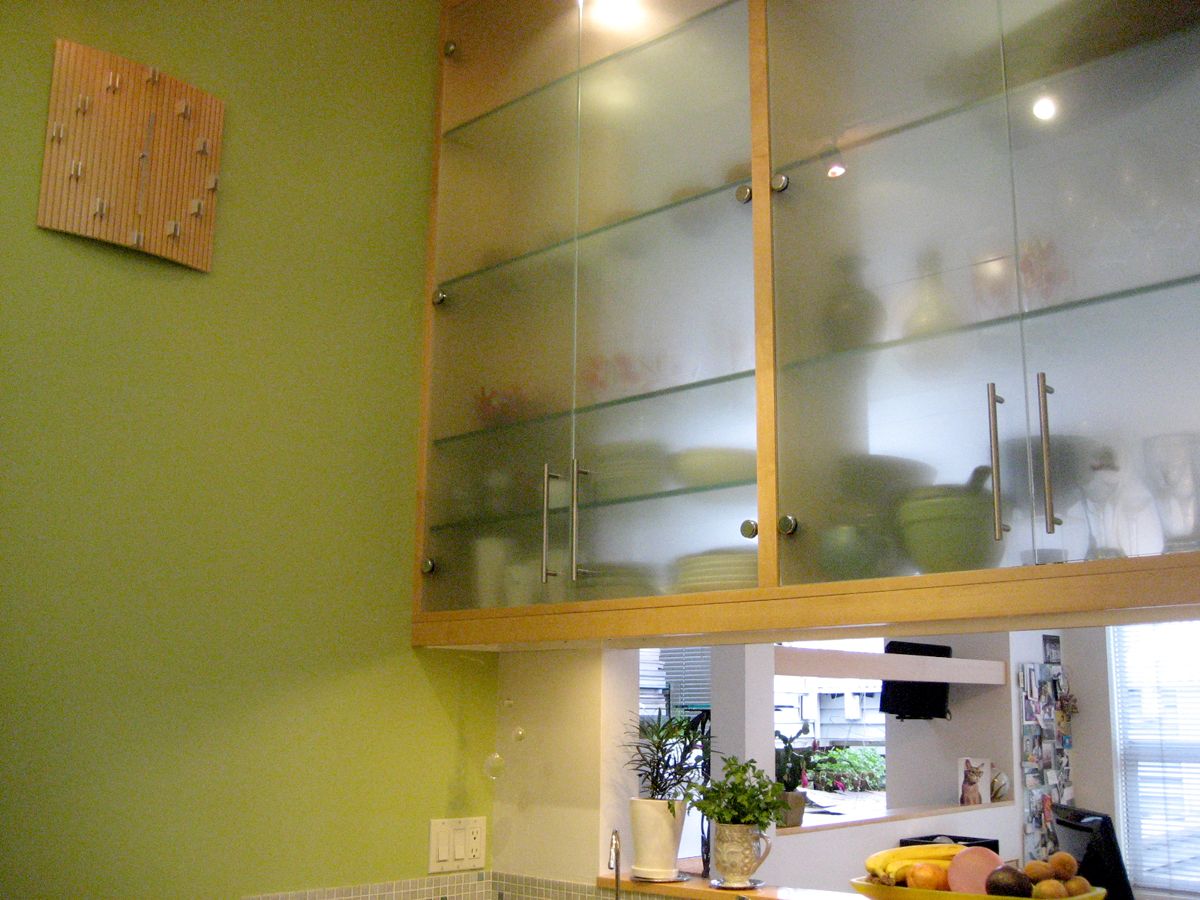
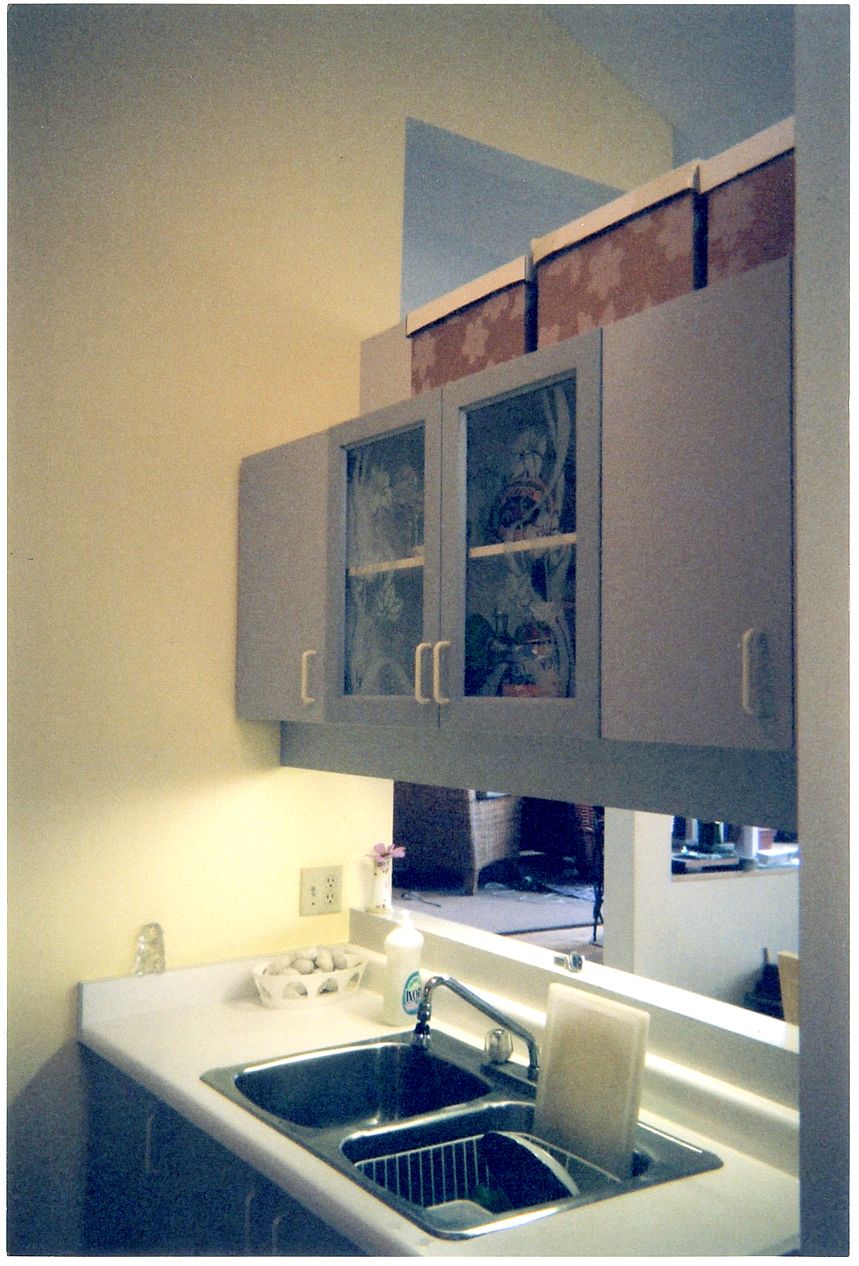
I cut the mdf cabinets, raised them to the ceiling and squeezed a skinny pull-out between the fridge and wall for baking pans and big plate storage. I made drawers in the plinth area of the cabinets. I converted waste pieces of the countertop when cutting out for the sink and cooktop into countertop extensions with drawer slides. Finally, I tore out the pass-through wall and replaced it with a maple and glass cabinet.
×
Get home building tips, offers, and expert advice in your inbox


View Comments
Thanks for your valuable effort
Very handsome kitchen.