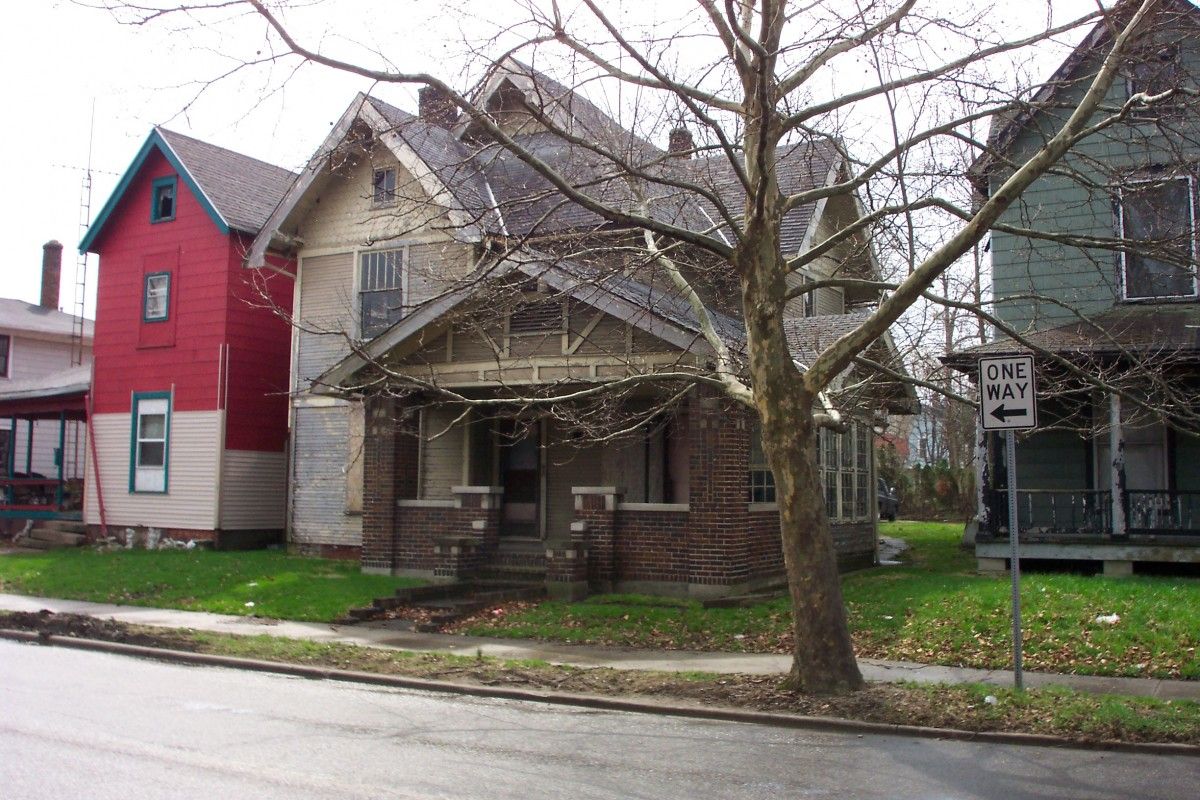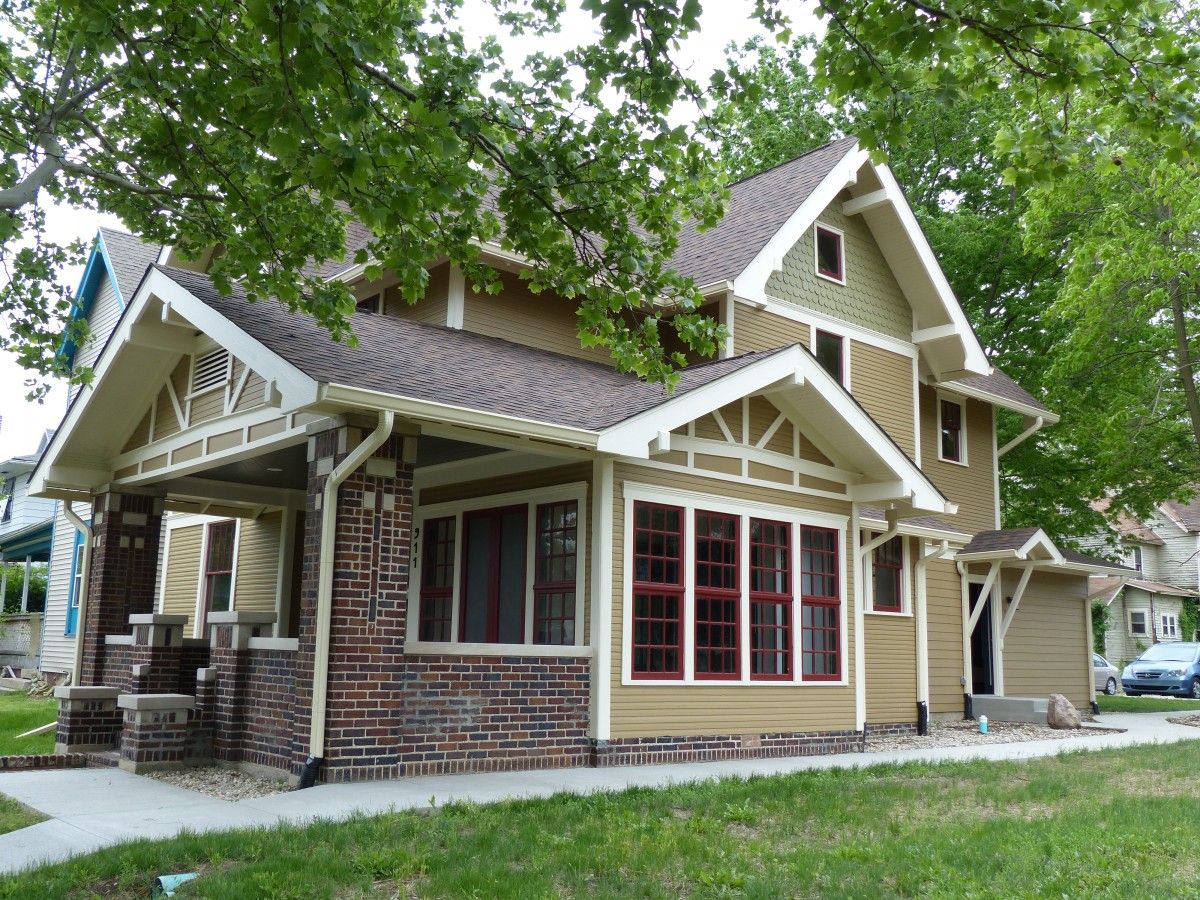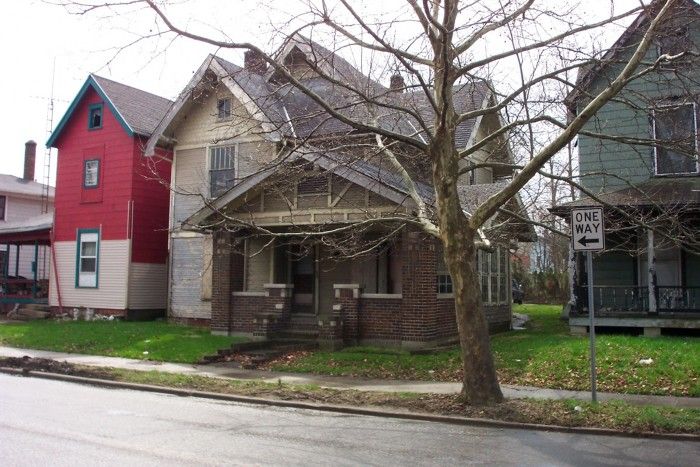
When my wife and I purchased this house in 2007, everyone thought we were absolutely nuts!! And we were. It had been vacant and abandoned for 25-plus years prior to our acquisition. The house is 122 years old, built circa 1890 during the gas boom in Muncie, Indiana. It was listed in 1989 as a contributing structure in the National Register. The house is a Victorian-era vernacular design, which received a slightly later Arts and Crafts–style porch and sunroom.
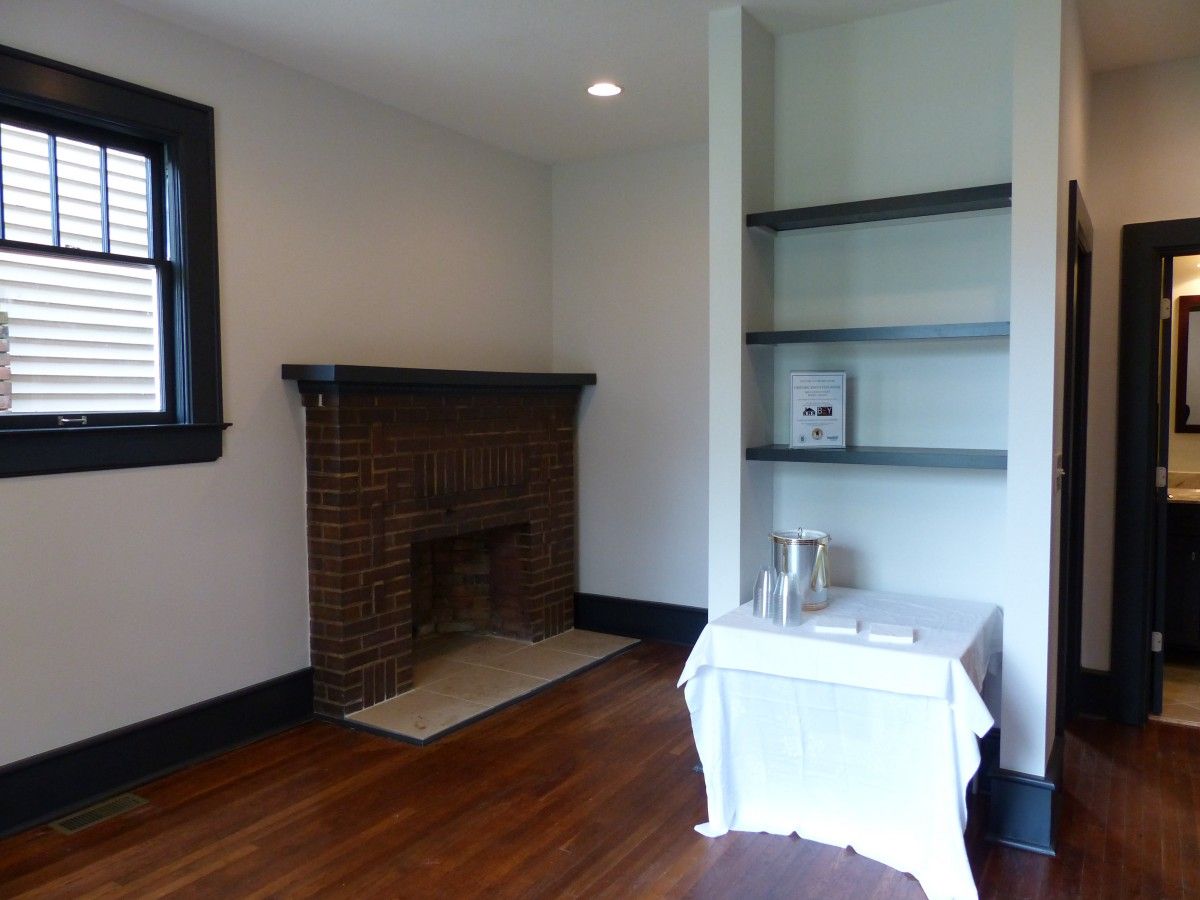
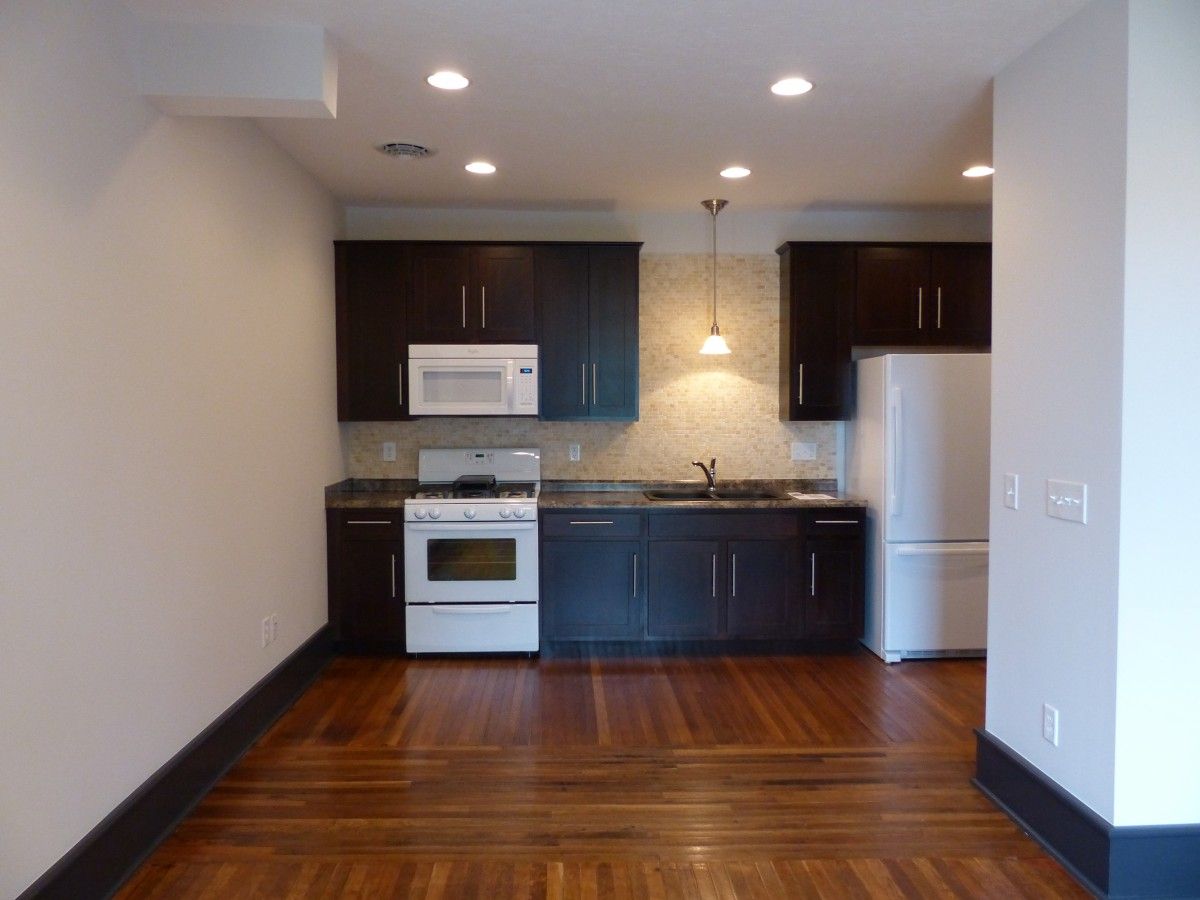
This house was a total gut-rehab historic preservation project. The entire house was gutted to the bare studs and original exterior poplar tongue-and-groove siding. The 1890s floor plan was converted into three affordable housing units with all new mechanicals, electrical, plumbing, and drywall. A badly rotting two-story addition on the south elevation was removed and replaced with a more appropriate single-story addition. The design team followed LEED for Homes and Energy Star strategies for energy efficiency.
SEER 16 heat pumps with electric backup and air conditioning were installed for each unit. The metal ductwork was sealed with mastic and insulated and insulated flex-duct runs were limited to 10 ft. or less. Whisper-quiet bath fans with motion and humidity activation were installed for ventilation. Energy Star 40-gal. power-vented water heaters with hot water recirculation pumps for instant hot water were installed for each unit to limit water usage. The plumbing system was designed and installed as a compact system to minimize plumbing runs and materials.
The biggest challenge was finding funding for a vacant house abandoned in a neighborhood that had a lot of vacant and foreclosed housing. In 2009, we received a demolition order from the city. We hadn’t started to make any improvements to the property when the entire housing market went to … well, you know. We found ourselves in a real sticky situation, having spent over $12,000 to demolish the house and now in possession of an empty lot worth maybe $4,000. So we started working with the city’s unsafe building authority, developed a rehab strategy and budget, and got to work. Then a grant RFP became available, for which I applied. The house was designed as an energy-efficient, three-unit affordable housing project and was one of the winning proposals. Almost all of the project was funded with the HOME partnership grant.
The next biggest challenge was making the foundation repairs. Portions of the original foundation wall in the cellar were removed for heat ducts and the middle of the house had dropped 4 in. to 6 in., creating a bowl shape. In addition, major water damage to the southwest corner of the foundation caused this portion of the house to sink about 12 in. We had a hand full of contractors provide estimates and all of them either walked away or submitted an outrageously expensive bid. I had no choice but to perform a lot of the work myself.
I started by removing about a foot or so of dirt, which was wet clay, in 5-gal. buckets, traveling up a rickety set of cellar stairs. After removing enough dirt to fill a dump truck, I reached the original cellar slab. Finding the slab was a welcome surprise, which made removing the dirt a bit easier and saved money. I had just received the spring issue of Fine Homebuilding, and low and behold it contained an article about foundation repair that was similar to what I was about to do. I found that article to be very helpful and informative about the process and cost breakdown. Once the cellar was prepped and ready for the cribbing to be set up, we had to get a 25½-ft. steel beam laid up in the crawlspace in order to set it into place once the new foundation walls, retaining walls, and piers were built. We commenced building the cribbing and pushing up the house with 20-ton jacks. Prior to this, the entire house was gutted of all plaster and lath, plumbing fixtures and piping, electrical, mechanicals, and gas lines to remove all the weight in the house. The house still had gas piping in the ceilings for lighting (yes, gaslights! An open flame on the ceiling that never burnt down—explain that to a code official). The foundation repair was very complex and had many steps including building a retaining wall to separate the new basement from the crawlspace, with integral piers to support the beam, which in turn supports the center of the house. It also included building a load-bearing stud wall to support the back of the main house, installing another steel beam to carry the back of the house, and building a foundation wall to replace the damaged wall and support the new addition. The next priority was bringing the house to level. Coordinating and sequencing all the elements of this foundation repair was critical for everything to come together.
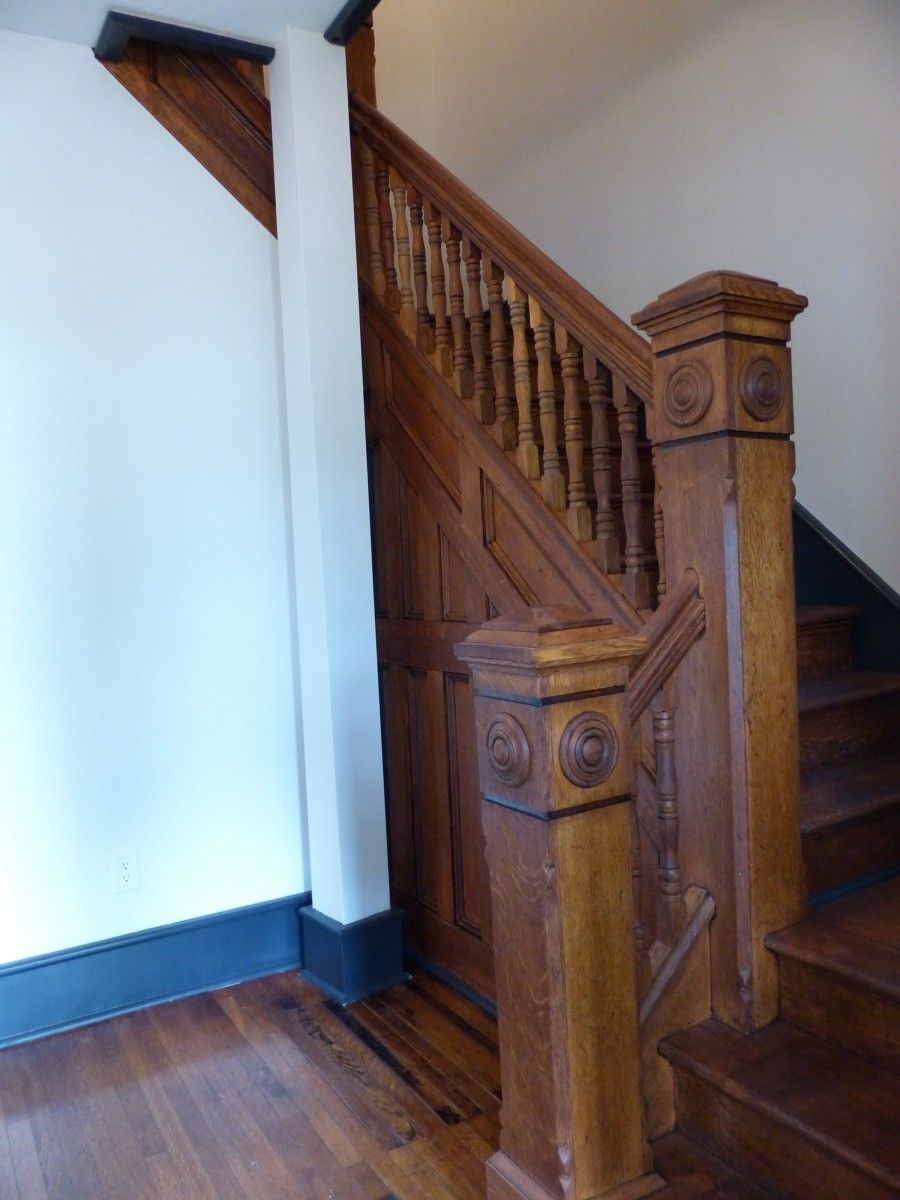
The top priorities were to preserve as much of the original house as financially feasible while making it as energy efficient as possible. We were able to achieve this by performing portions of the work ourselves and overseeing the project for quality control. This house was very close to needing new everything, but as you can see from the final outcome, it was well worth saving.
