Wood Floor Art: Firewood
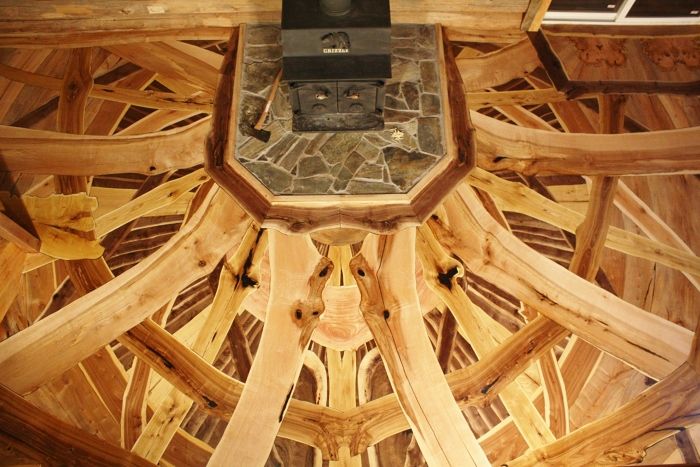
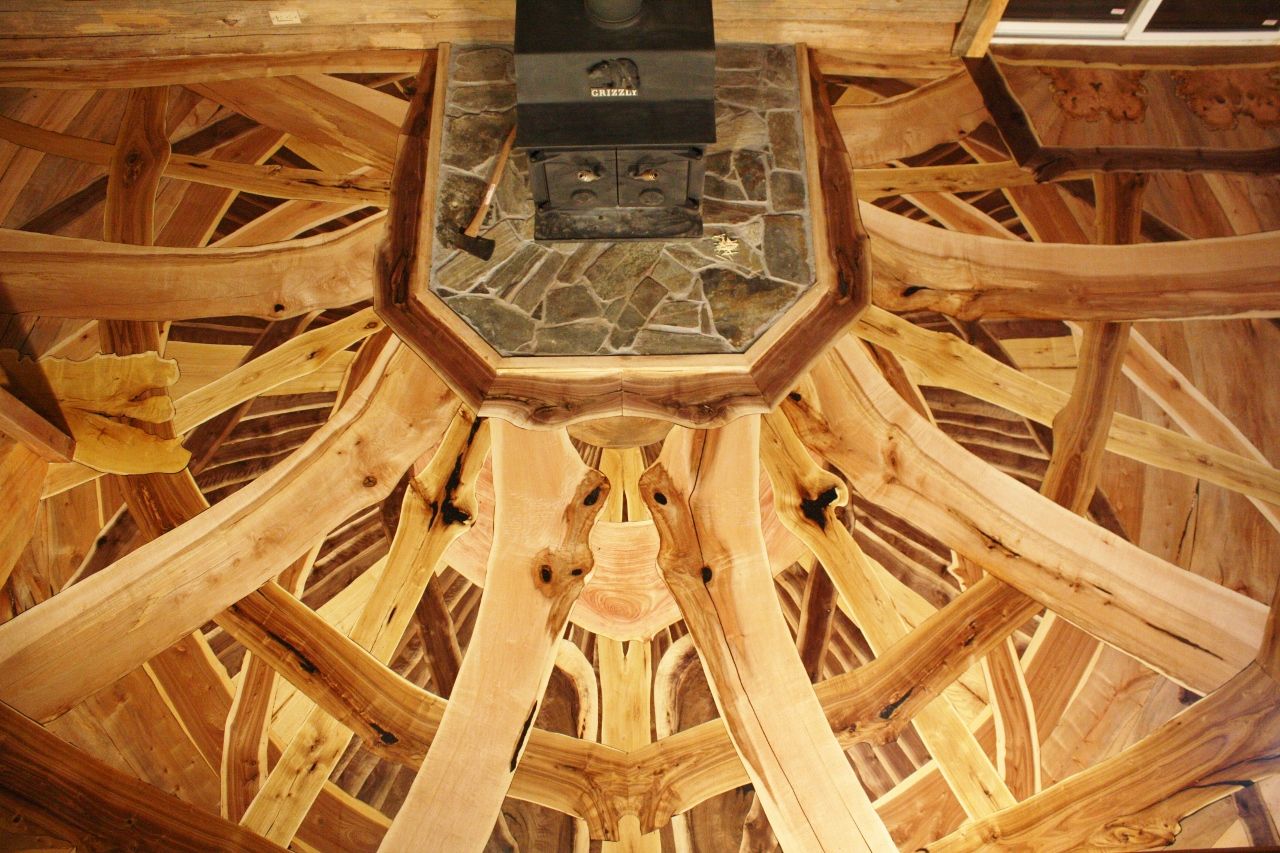
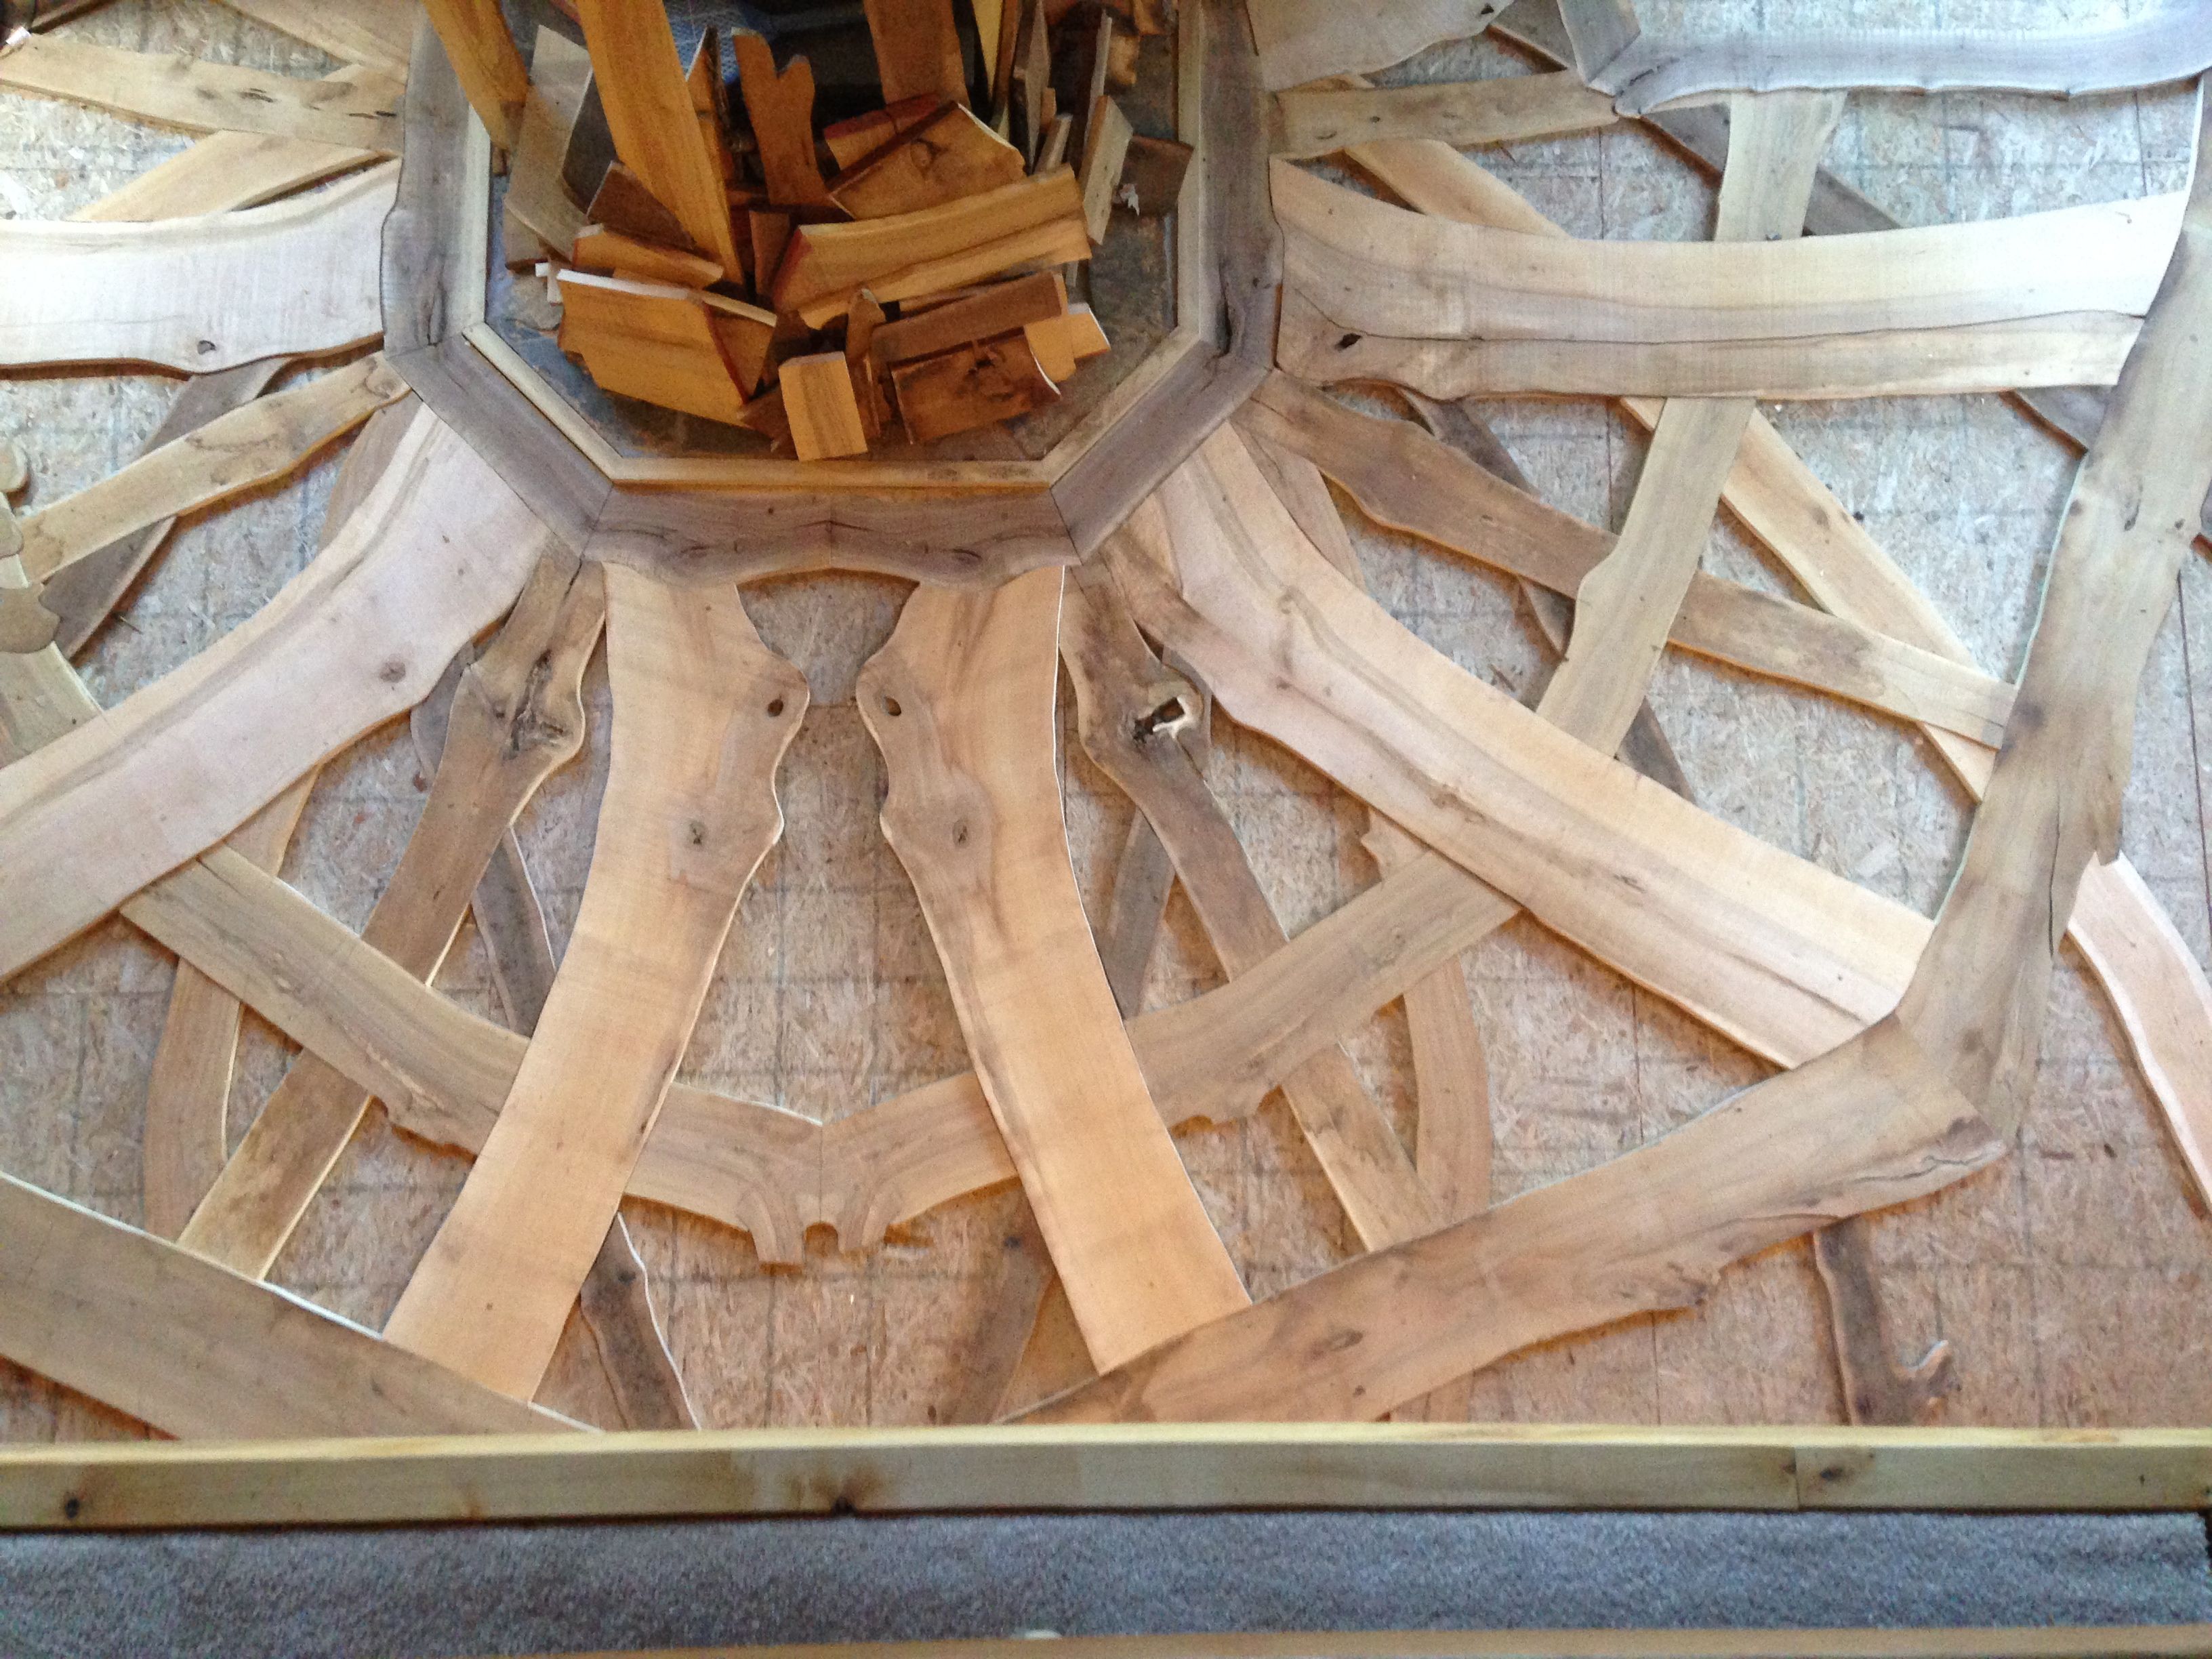
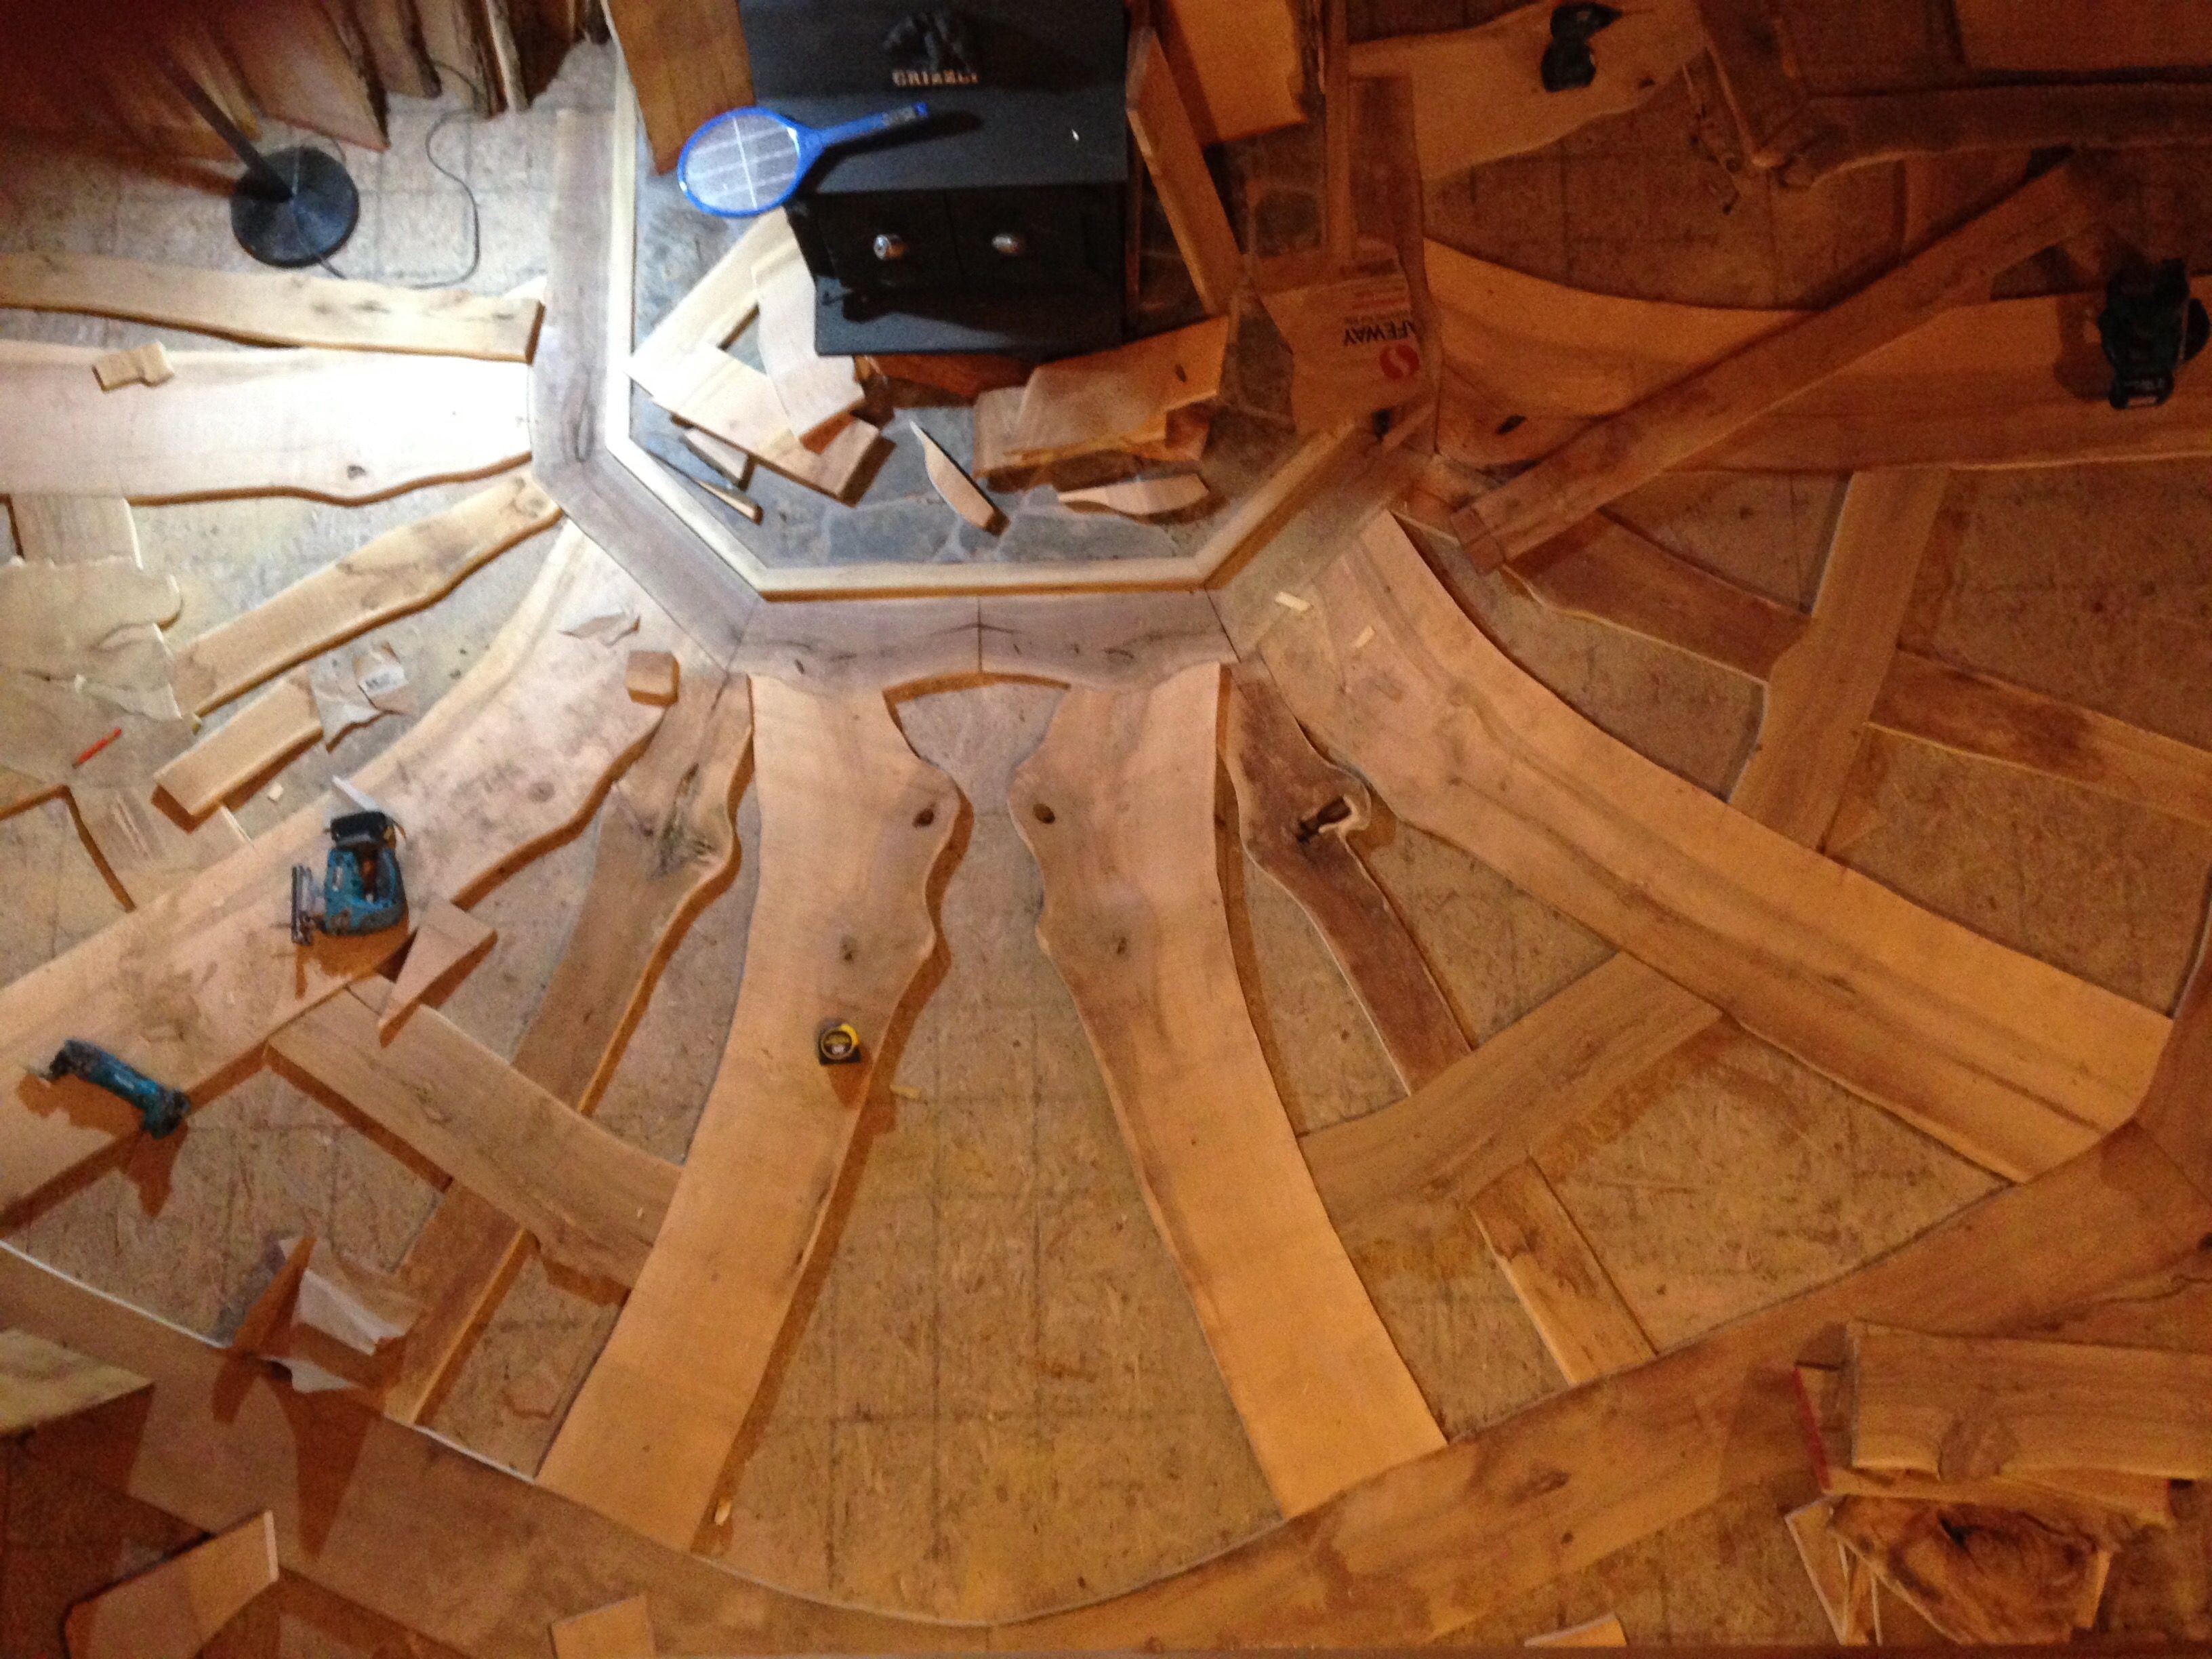
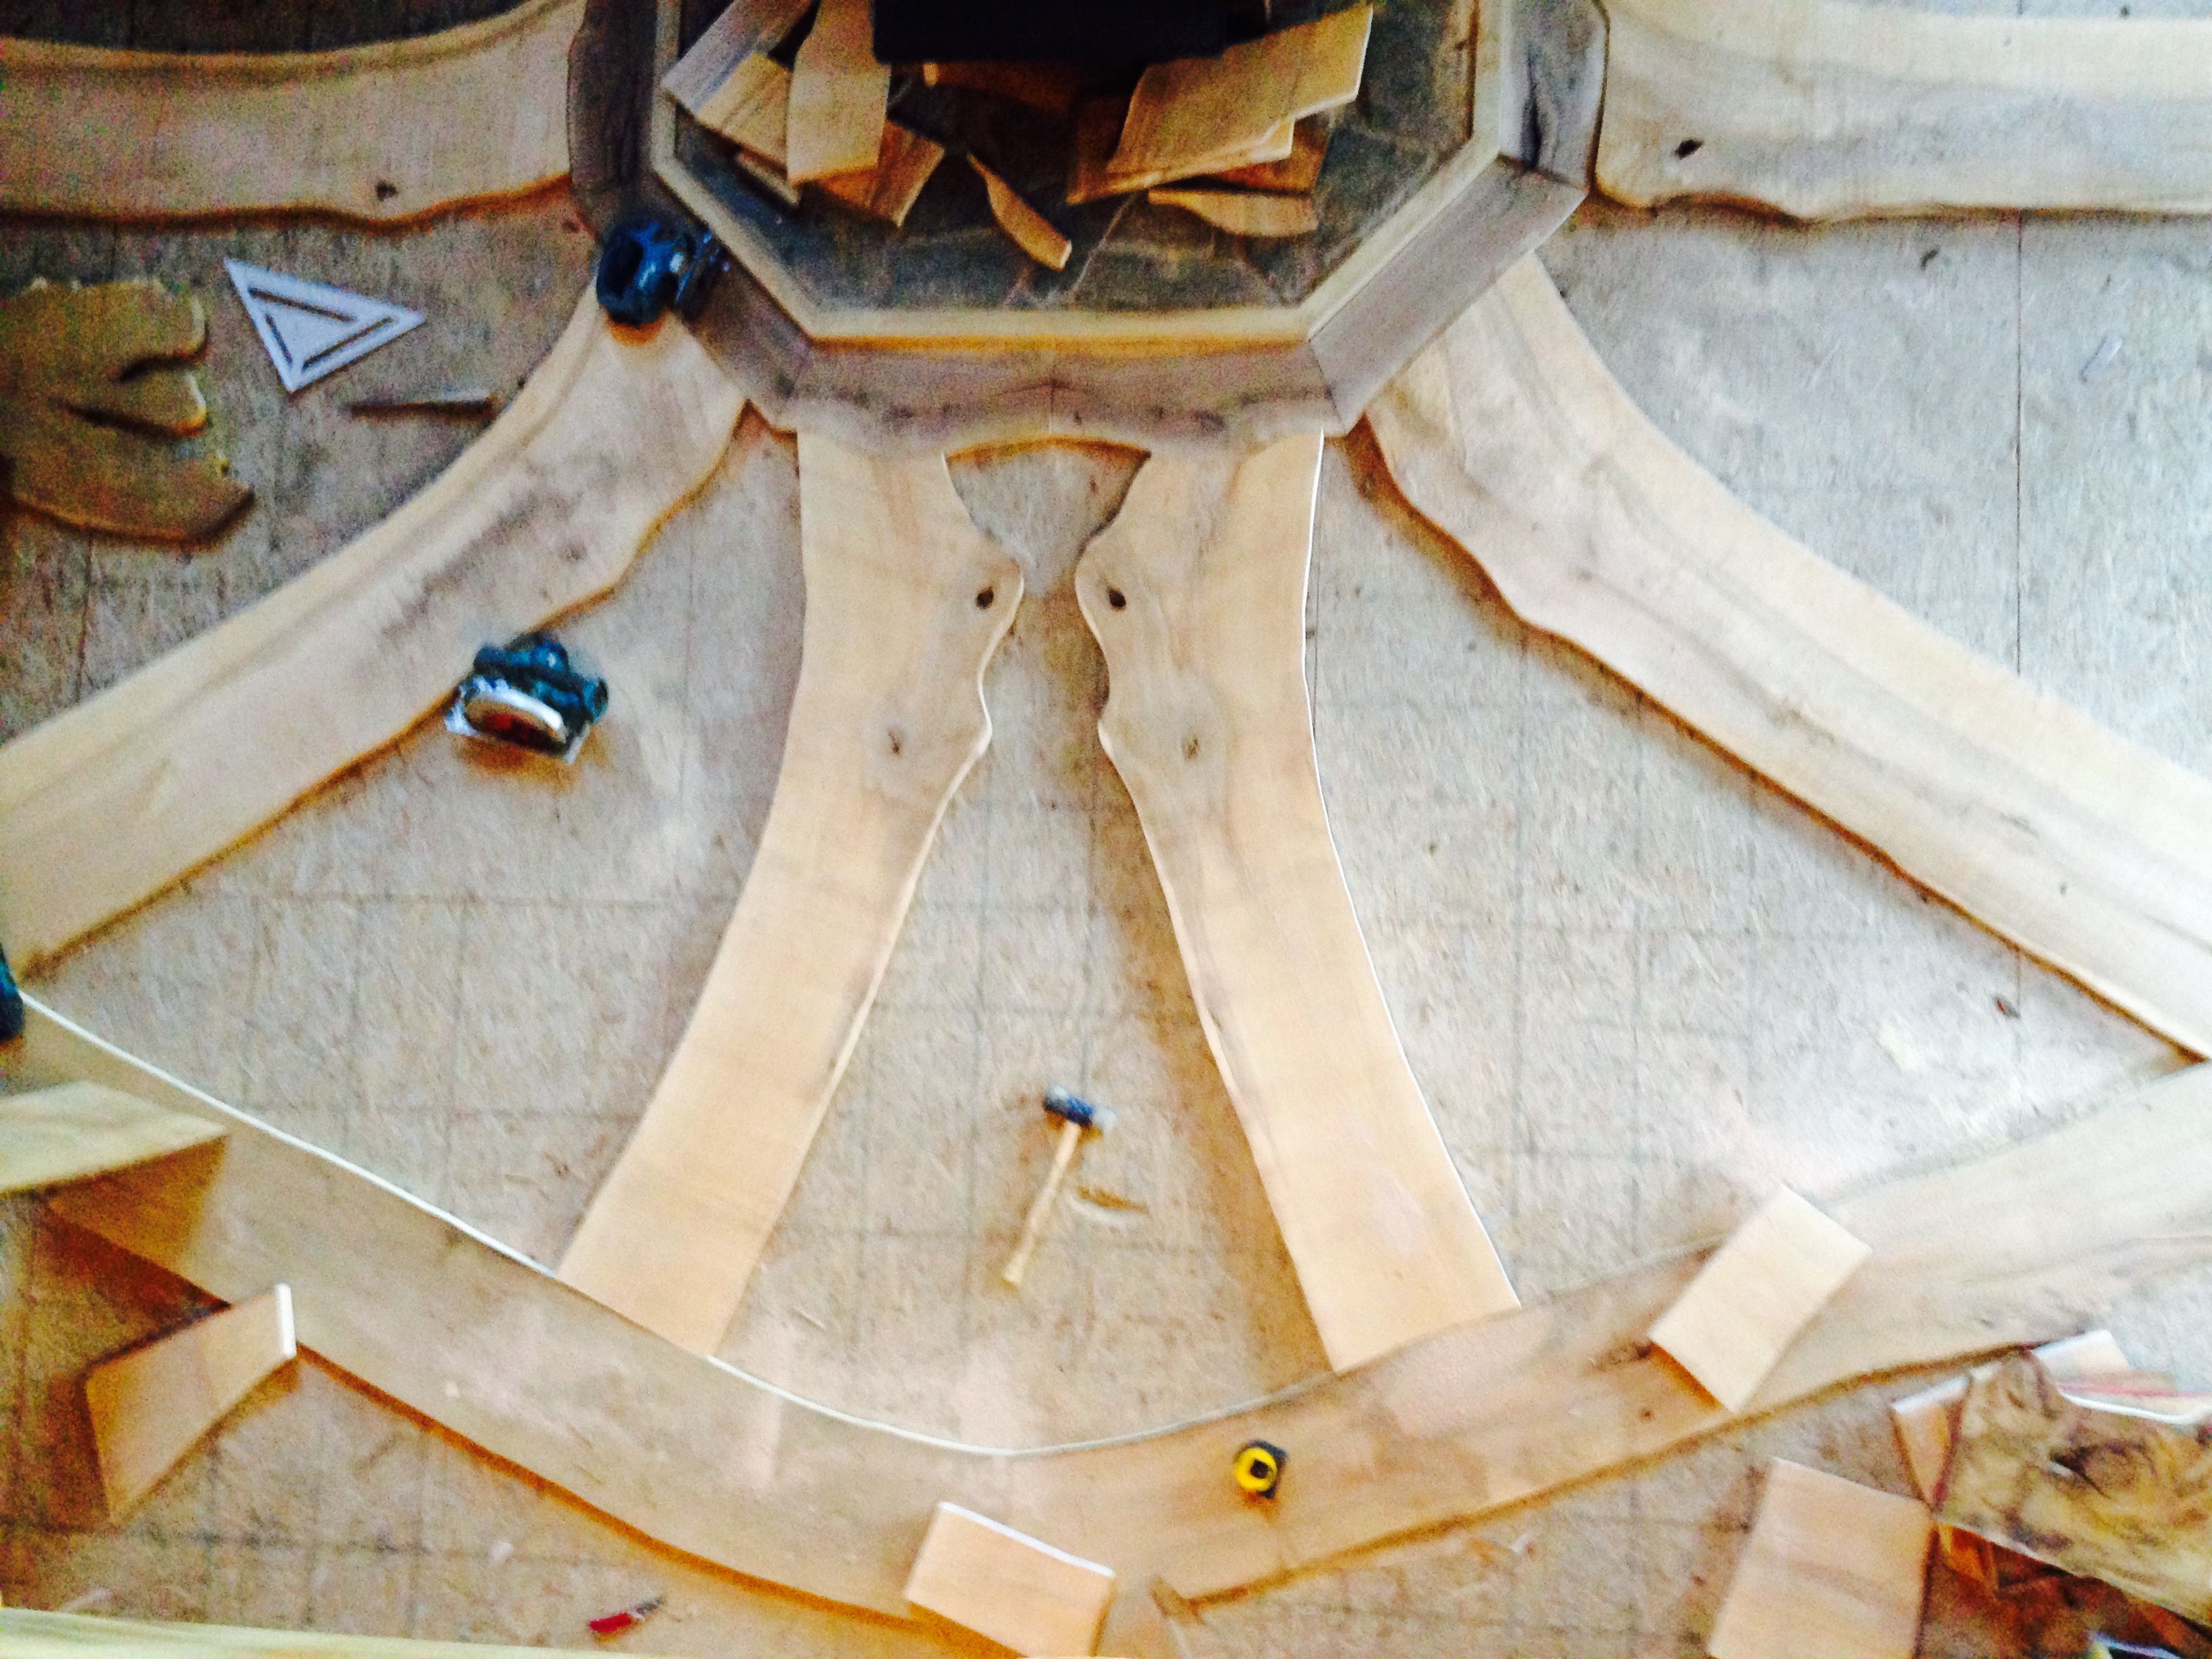
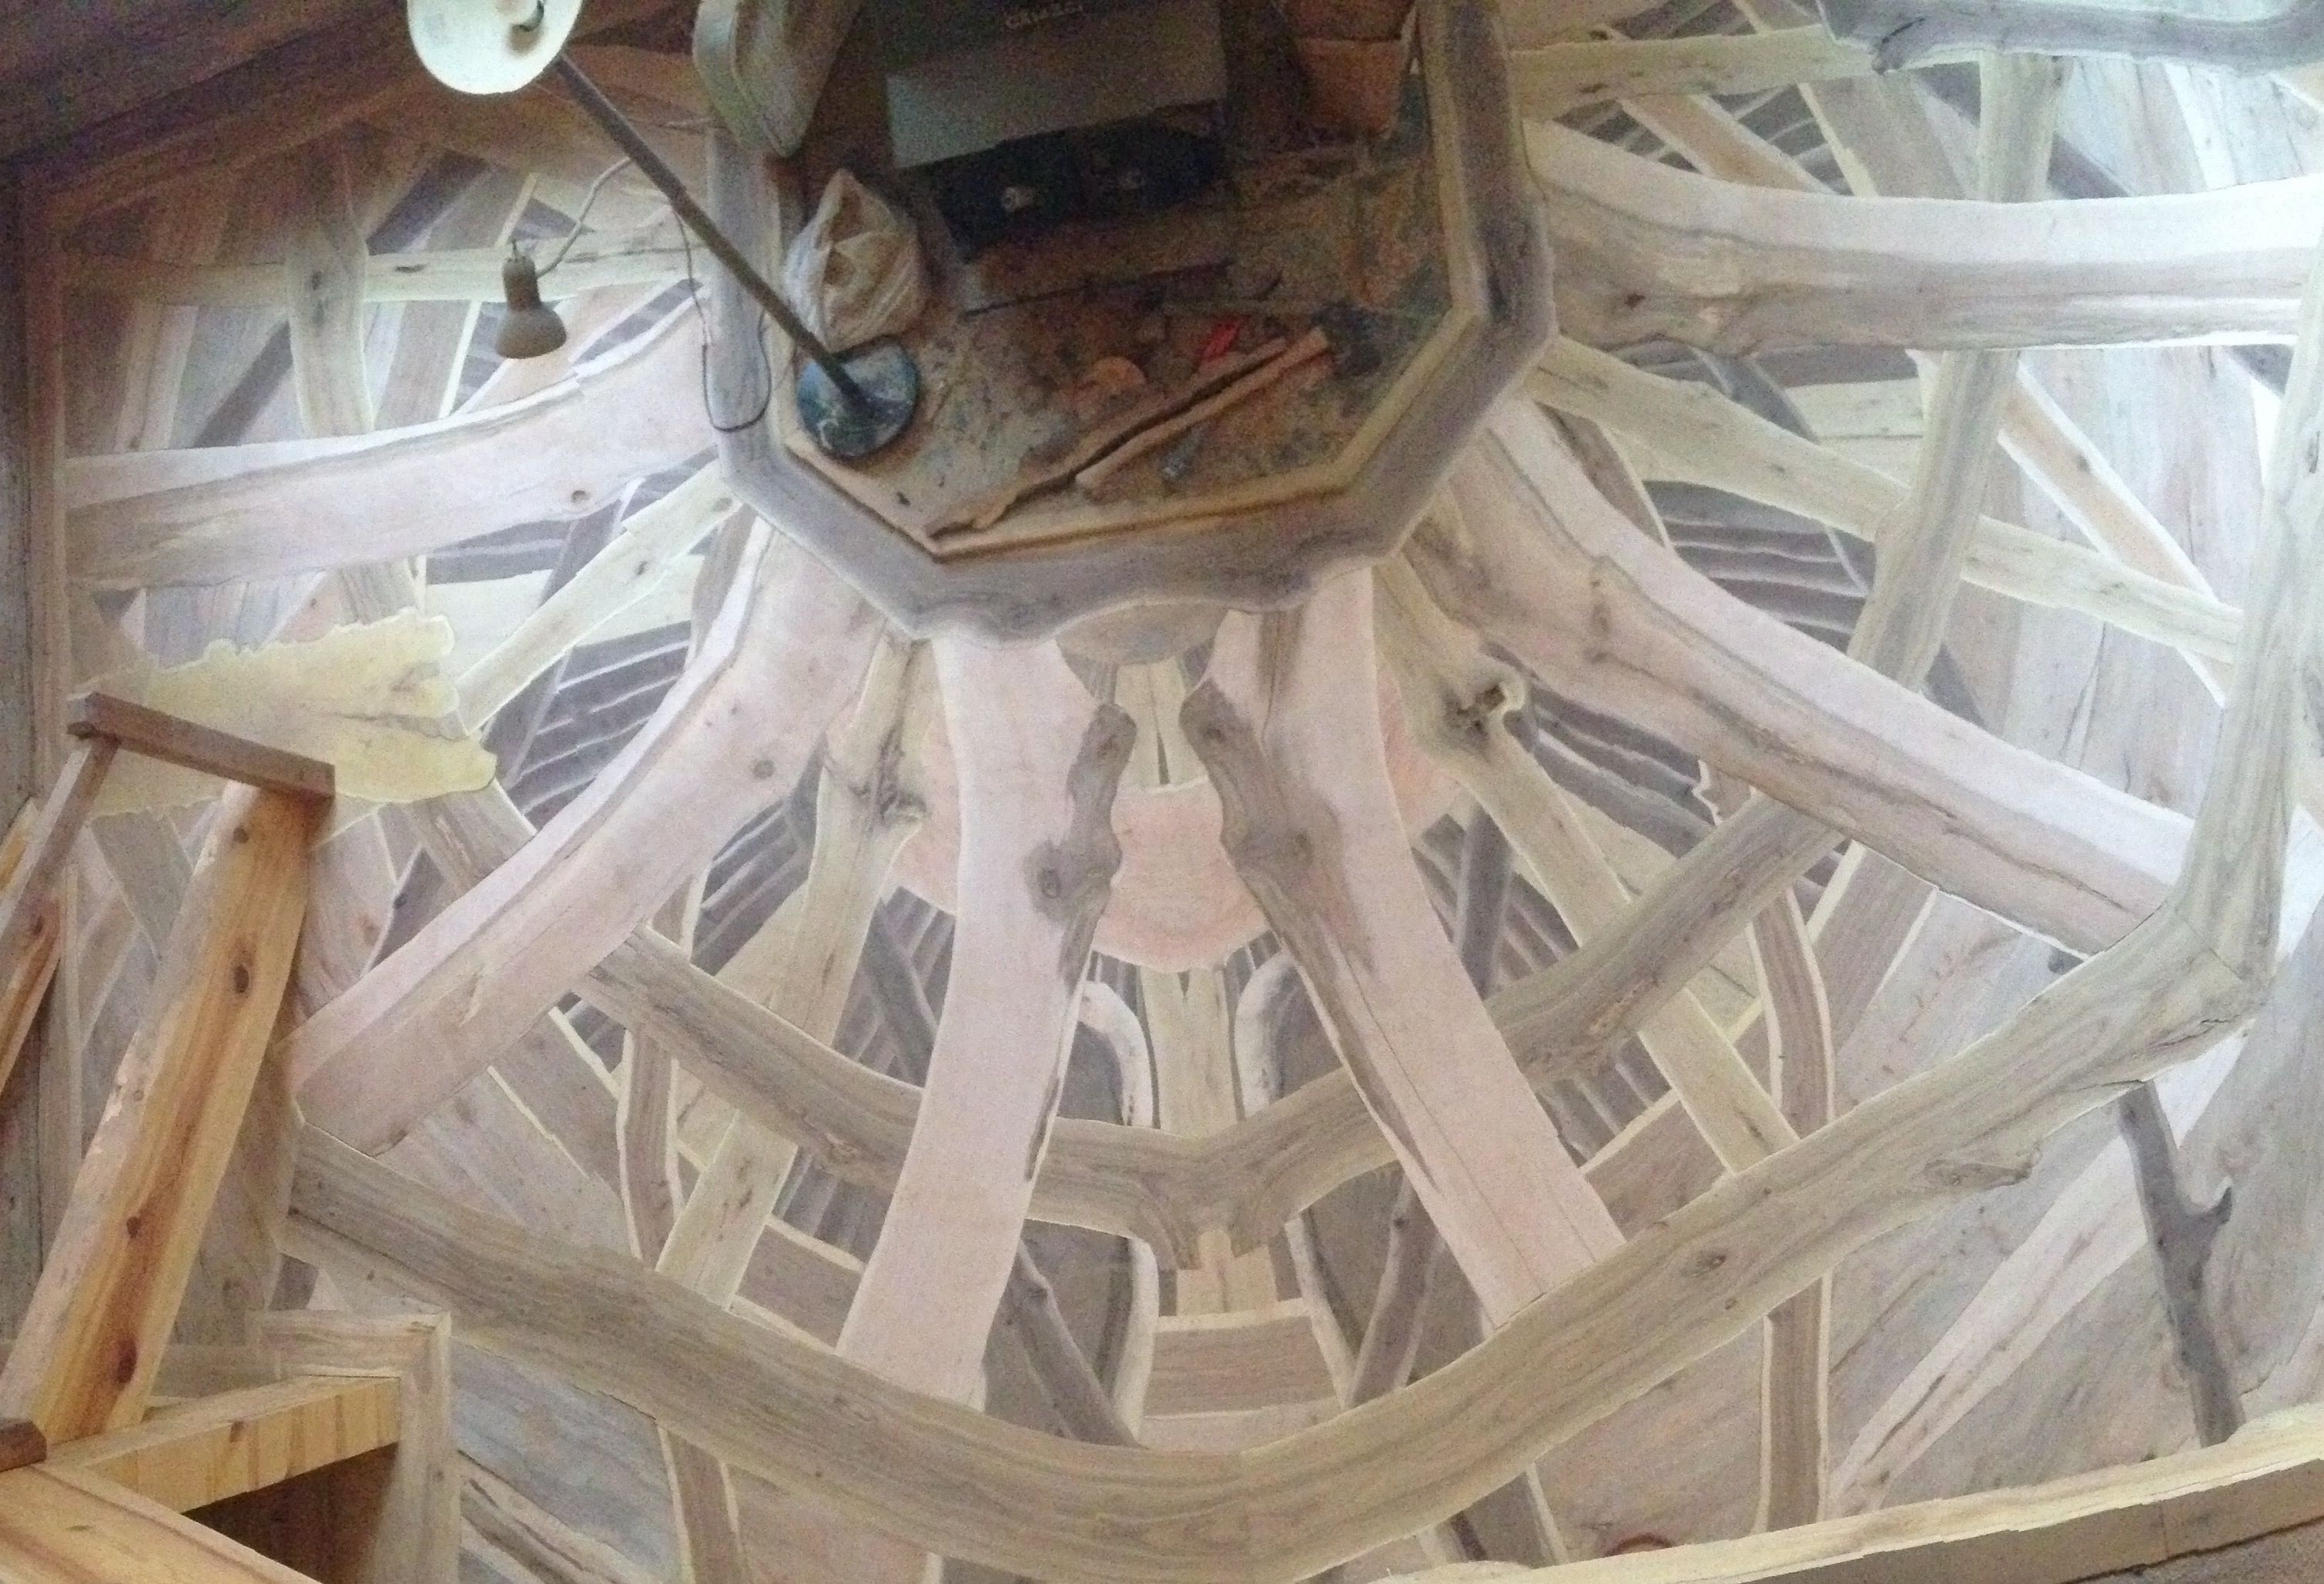
The “Firewood” floor was designed around a fireplace focus point. The wood was cut, milled and dried from single trees of multiple species. The problem was to create something within the constraints of the limited material. There was only so much of each species, so there was no going to the store to get more. Starting with the largest pieces, the main idea was laid out in a verity of ways to determine the best design. Next, the smaller sets of species were added. Again the boards are arranged in multiple configurations to establish the depth and flow of the floor. As each species is confirmed in its best placement, it was cut to fit and then screwed down. After hours of jig sawing, designing, and screwing down, with only a few “nope that’s not gonna work” situations, the last of the pieces were placed. The floor was then pulled up in sections and glued down. Since the home milled lumber was not milled as flooring, the material thickness ranged from 1/2″ to 1 3/8″. Some of the thickness issues got dealt with before the glue down and the rest after the glue down. I use a Makita 5 3/4″ hand power planner to bring the floor surface height to a consistent level. I then use an edger in the field and the edges before bringing in the big sander. I ran through the grits from 40 up to 100 and then used the buffer with a hard plate to bring the surface to the finishing stage. I used multiple coats of a satin water base finish and putting finish on this floor was like no other. As I’m sure some you can attest, many species of wood orange out after they have been sitting for a while. So you really can’t tell the true color of until it is sanded and then it changes still when the finish is applied. In this case, I was pretty impressed after the buffing started, but was stunned once I put the finish on. The purple of the Black Walnut and the yellows of the Mulberry, Sycamore and Black Locust came together spectacularly. Other species that were used are Birch, Norway Maple, Burl Maple, Maple and Siberian Elm. As with most labor intensive projects, I am happy to see this one come to an end and I am ready to see what I can do with my kiln full of 24″ and smaller slabs of black walnut.


View Comments
Thank you. With the rash of cheap attempts at free ads, your floor photo's and story were refreshing!
It's a shame I can't open the other pictures. (iPad with Safari). If you can contact FHB or edit yourself to make them work, it would be great.
Correction
No doubt changes in the moon phase has now allowed the other pictures to load trouble free.
Thanks Calvin, it's much appreciated! I'm glad the moon came into position.
Very cool. How do you keep those wide planks from cupping as the humidity in the house fluctuates? Do you have any "how to" videos or books? Fine Homebuilding needs to feature you in their magazine
Miko,
I would recommend with any wide plank flooring that the home have a humidy control system. Maintaining a fairly consistent humity level minimizes the moisture movement in and out of the wood and, as it sounds like you realize, reduces the affects moisture can have on a floor: cupping, gapping, crushed wood fibers. Most of the moisture issues can't be resolved without resanding and finishing. $$$ Spending 1 or 2k on a humidity control system is reasonable insurance for maintaining the beauty of a wood floor that could of cost 10s of thousands.
As for the videos or books, nothing as of yet. I do have some progressive shots of the Sun Dog floor on my website OuradaDesigns.com
And please feel free to contact Brian Lance at Fine Homebuilding Magazine and let him know that you and me both feel I should be featured in their magazine. That would be pretty spectacular!!
Thanks Miko for you questions and support.