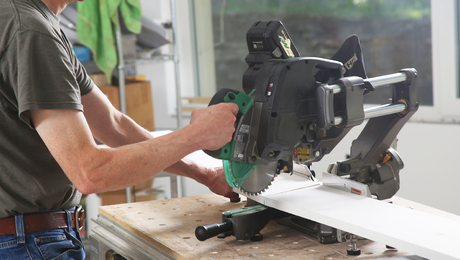
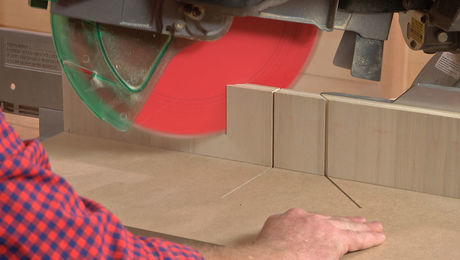
I just read Justin Fink’s article on return miters, and I thought I would suggest a different method of doing miters and returns for small stock. I just finished trimming out a small house with shoe molding and used a little jig I created for all the miters (including the returns). I formerly had used a chop saw for doing returns on small stock, but this is much faster and I don’t have to go looking for the little returns as they blew off the saw.
The jig is a base of 3/4 plywood and the back is 6/4 oak. I use this jig with a small pull saw that has a spine. The oak fence on the jig was cut on my table saw, and I assembled the oak fence to the plywood using the saw’s pull saw kerf as the spacing between each piece.
When doing shoe or quarter round base moldings I typically spend most of the time on the floor and this little jig allows me to work the room without getting up and down to a saw station. When I cut an inside corner from a new stick of molding I use that opportunity to create a return miter which I put into the corresponding little holder on each side of the jig (one for left returns and one for right). This way I have a number of little returns already cut and ready to go when I get to the end of the run or in the hallways with lots of return miters. Another added benefit of this method is that the saw’s precision and stiffness has the ability to trim very thin slices of molding allowing for tight tolerances in the moldings. I have also found that I have much less waste using this method.
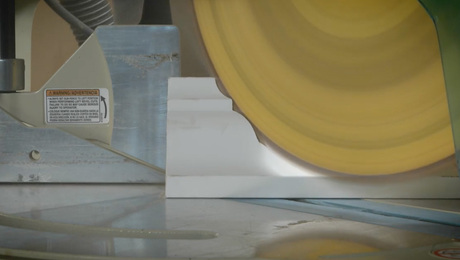
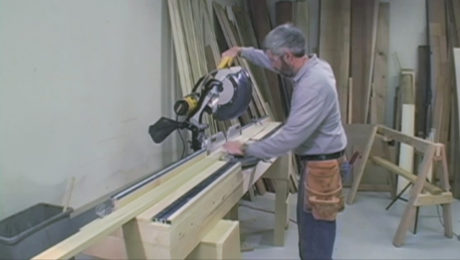
For return miters on larger stock (IE 3.5″ Base molding). I use my chop saw with a zero clearance fence. The larger molding returns seem to stay put on the saw.
Keep up the good work!
Michael Wangler
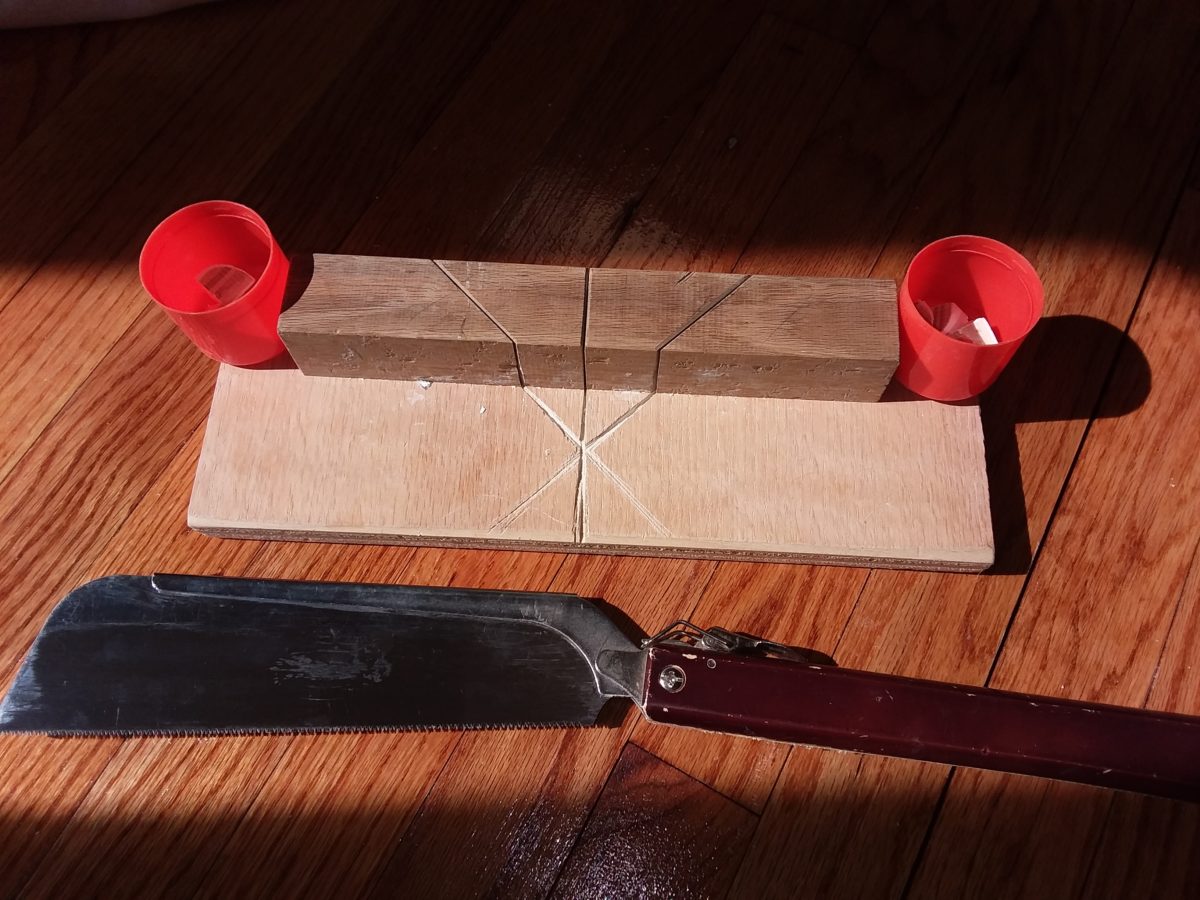
Small molding miter 'station'

