This all started with a request to help a client whose grandchild squished their fingers in a sliding door jamb. This particular home has pocket doors that weigh around 260 pounds and almost 9′ tall. The track is a Haffele 120 track and the doors move very smoothly and if not careful, can move quite quickly as well. Our job was to find a soft-close mechanism similar to what is used in the Blum drawers that some kitchens have. We knew that there wasn’t any way to simply retro-fit something to slide inside the existing track and we knew a simple bumper would not work on a bathroom that needed to lock for privacy. That meant that we would have to remove the track. When we do pocket doors, we build a 3/4″ plywood box to create the pocket. The studs are typically LSL studs as well. Needless to say, this is a very high-end home. All these factors make the access through the adjacent wall more difficult and costly. In this situation, simple plaster patching would not fly so we would have had to re-plaster the entire wall that enclosed this door.
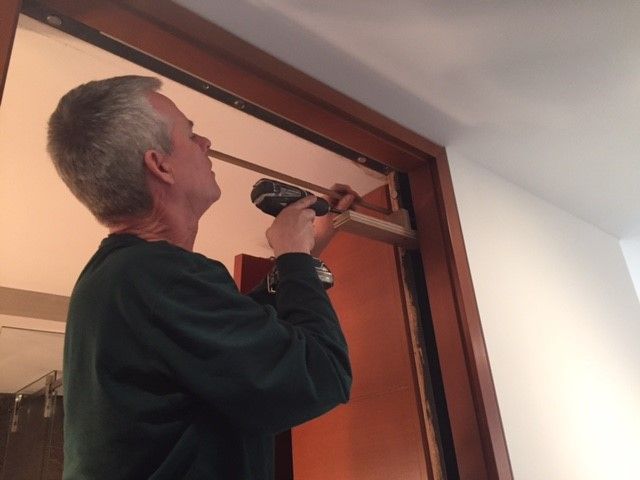
This is where I started thinking about the logistics of getting this out without touching anything. Most people have used a right-angle drill or a right-angle drill attachment.
There was no way a right-angle drill would fit into this opening. The trouble with a right-angle drill attachment is that it can be difficult when needing to really drive something far away since there is the need to stop the torque from twisting the head.
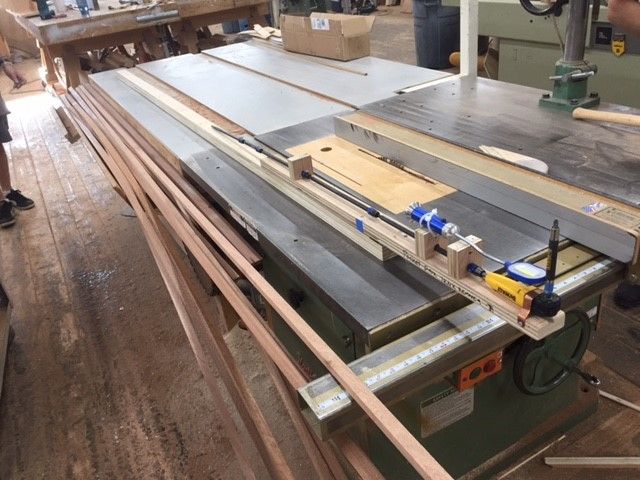
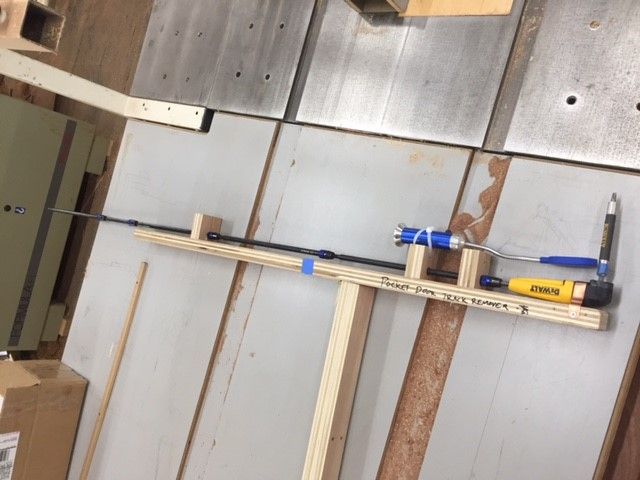
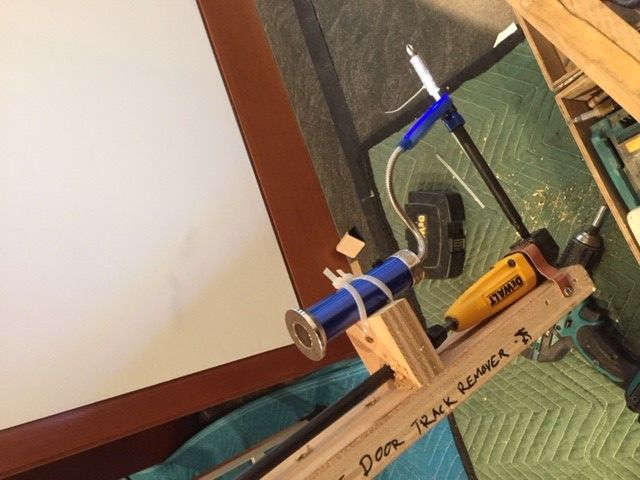
I took a quick trip to my local hardware store and grabbed some 12″ and 6″ extensions and a right-angle head. I hit the plumbing supply area and grabbed some pipe clamps and headed back to our shop. I knew that I would need to be able to reach 36″ back into the pocket so I cut the plate long enough to have the right-angle attachment sit at one end and three 12″ extensions on the other. I used 1″ plywood for the plate and the same stock for the perpendicular retaining blocks. At the end with the right-angle attachment I used the plumbing clamps, now bent tightly, around the right-angle attachment. Now the head wouldn’t need to be held while trying to remove the screws deep in the pocket. I then added the leg to the set up. I placed it about half the way to the head so one end of the plate could be used for leverage while removing the screws.
For the finishing touches, we added a battery powered flexible head LED light to see what we were doing. The tool was a huge success.
We ended up trying three different soft-close mechanisms and were finally satisfied with the last one! So, in the end, we had a lot of practice with this tool and it saved tons of time and mess!
