Sisters, cables, and turnbuckles = solar for a ballon framed 1920’s house

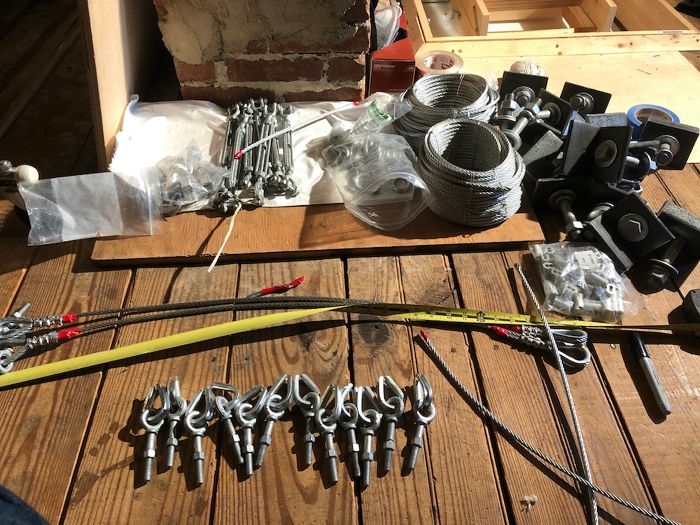
Dear all – we’ve just completed the install of a ~5.6 kW solar system on our 1920’s balloon framed house. The roof rafters were sistered with LVLs to support the 16 panels. We used a cable and turnbuckle system to create the missing rafter ties (the ridge board and the attic joists run parallel…) and were able to hide the cables in between the floorboards to maintain an open attic floor. Here are the photos with a few easter eggs we found tucked away under the floorboards:
https://www.icloud.com/sharedalbum/#B0y5ZhN2vC1eFI
The existing rafters are #2 DF, 2x6x16’ – 16” oc they had replaced old-growth of the ~ same size at 20” oc about 10 years ago (roof shingles are still in great shape). The sisters are 1 3/4” x 7 1/2” nominal LVL microlam attached with 10d every foot (we used 3 1/2” flatlock deck screws) and Simpson hangers (pictured) every other existing rafter. The LVLs sit on the top plate. We could have used Select aka #1 DF but couldn’t find any close by at a reasonable price. We worked with the solar installer to ensure that the racking system’s anchor points could be aligned to attach to the sisters. To fine-tune this on the day of install we helped the crew by drilling 1/8” holes right next to the LVLs from the attic up through the roof shingles. We inserted sticks for the installers to measure the placement of the anchors against so they could hit the LVL square on. Highly recommend having an engineer work on the load calcs even if they’re not stamping the plan. To ensure this was done right we had a 3rd party provide the calcs and drawings for the solar installer to include in their permit. It all took longer but we know we have a solid roof now.
If more details, plans, and suppliers would be useful I’ll post those too – Stay Safe – Jim.


