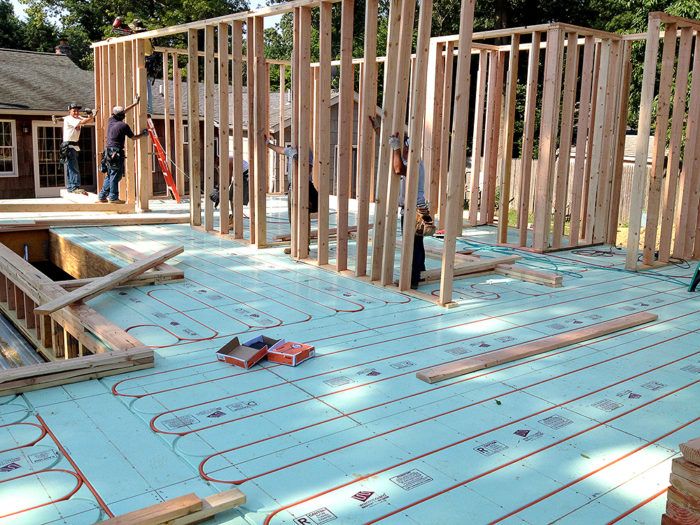
Though an in-floor heating system does add some extra work to a construction or remodeling project, any skilled and conscientious contractor should be able to handle the necessary details. And the fact that a modular system like the aluminum-clad Warmboard-S doubles as a structural subfloor means that there’s often not as much additional cost as you might think.
Sizing Your System
Once you’ve decided that this type of heat is right for you, there are a few routes you can take to design an in-floor hydronic heating system: hire an engineer; work with an experienced HVAC contractor; or consult with the manufacturer of the radiant heating components. One reason to go directly to the source is that companies like Warmboard have the tools to take your construction documents, along with insulation, air-sealing, and glazing specifications, and produce detailed radiant panel layouts and accurate heat-load calculations perfectly matched to your home.
Getting the Sequencing Right
Many of the installation steps are the same and happen in the same sequence as they would for other types of heating systems. For example, you would still rough in thermostat wires after framing, and install the boiler after drywall (and before flooring) — but there are a few essential steps that need to happen at the right times to ensure that everything goes smoothly.
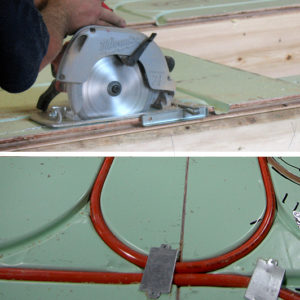
With plans in hand, start by installing the Warmboard-S subfloor panels directly over your new floor framing according to the specified layout. Warmboard sends you a custom set of panels based on the floor plans you sent them during the design phase. Once all of the panels are fastened down, you will need to route custom grooves in some of them to complete the tubing loops as indicated in the manufacturer’s layout drawings.
Depending on your floor plan and zone layout, you might be able to wait until interior framing is done before you install tubing and manifolds, but it’s not unusual to install loops ahead of time in places where wall plates would get in the way. Once tubing is pressed into the Warmboard panels, you should protect the tube from damage by covering the subfloor with sheets of Masonite or plywood the same way you would protect a finished floor during construction.
From here on out, except for a little extra care during flooring installation, your construction project should move forward without any concerns about the radiant system until it comes time to connect your loops to a boiler and fire the system up.
Installation Details
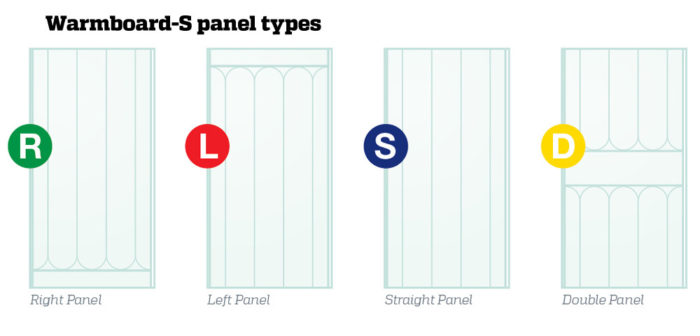
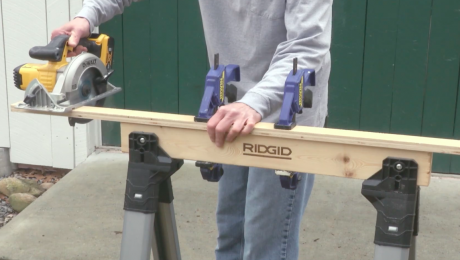
The fact that you need a layout diagram to install a Warmboard-S subfloor makes it sound like a complicated process, but the panels are all based on a simple 12-inch tubing layout, and there are only four different types of panels — left, right, straight, or double — so it’s more like building with Legos than tackling a jigsaw puzzle. A standard circular saw with a carbide blade cuts through the panels with ease.
Whether installing over joists or a concrete slab, Warmboard-S works similar to a conventional subfloor; deck screws or ring-shank nails along with subfloor adhesive are fine for fastening to wood, and concrete screws or split anchors both work for masonry connections. Just be sure to refer to the installation guide for recommendations for fastener layouts and moisture-barrier requirements for your situation.
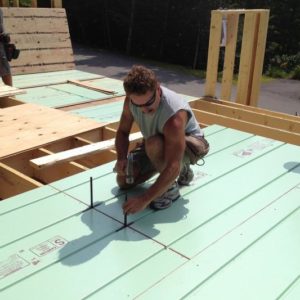
For every job, Warmboard sends an installation kit with several essential tools. There are two alignment pins, which are essential for lining up the channels so that the tubing can pass smoothly from panel to panel. A router bit, router templates, and a special guide (which only fits certain models of Porter Cable routers) work together to cut new tubing grooves for the occasional jog a in tubing loop.
Tubing installation is often left to the HVAC contractor, but the Warmboard-S installation guide includes all of the necessary info to tackle the job yourself. the guide specifies types of acceptable tubing (you really need to pick one from the approved list), tips for getting it to easily press into the grooves (temperature can be a key factor), and methods for holding tubing in place until you install finish flooring (would you believe that electrical nail plates are the preferred temporary hold down?). There are even instructions for fixing tubing punctures caused by errant nails — which, with all of your careful planning, you of course won’t have any of.
