Pre-Insulation Foam Air-Sealing Strategies
Builder Nick Schiffer walks through air-sealing critical areas in a high-end home with Loctite TITE FOAM products before insulation is installed.
Sponsored by Loctite
We are west of Boston at our New England Tudor build, and today we’re going to talk about some of the critical air-sealing details that NS Builders pays attention to before we insulate this house.
Choosing a product
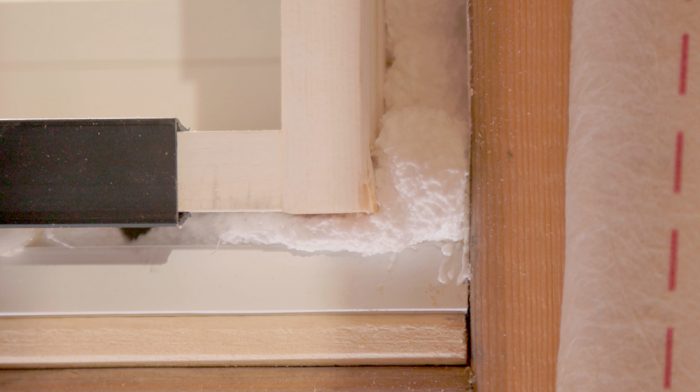
One of the areas that we want to focus on is air-sealing around windows, so we’ll be using Loctite TITE FOAM Window & Door. We like to use TITE FOAM because it’s low expansion and won’t bow the frame as we’re filling that cavity. It’s also flexible, so with seasonal movement it will move with the building rather than crack.
Applying the foam
When applying, we make sure to get in and fill the entire cavity. It may take a few passes, and the foam might expand out into the interior space. In those cases, we let the foam dry, typically just overnight, and come back the next day and cut off the excess.
Next, we move to the basement. While most of this home sits directly on top of the foundation, the front has joists that overhang the foundation. So on this project, we have floor joists that pass the blocking and create gaps.
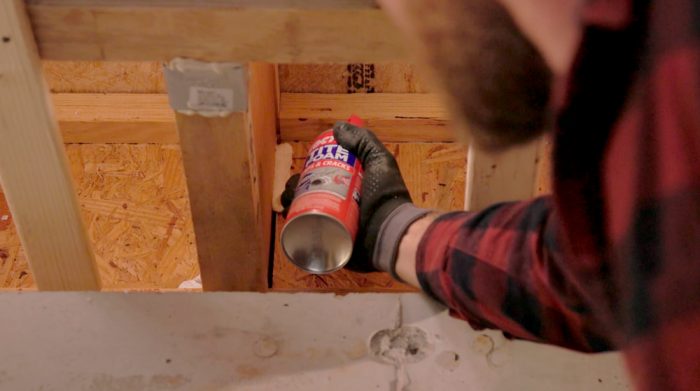
For this application, we’re going to be using the Loctite TITE FOAM Gaps & Cracks for its flexibility as well as its adhesion. We want to make sure that we’re considering the building’s movement as well as the dissimilar materials. In terms of adhesion, the nice part about this foam is that it’s designed to work for multiple materials. And that’s important here in the basement when you’re bridging from foundation to mudsill,or even around floor framing and wall framing and sheathing products.
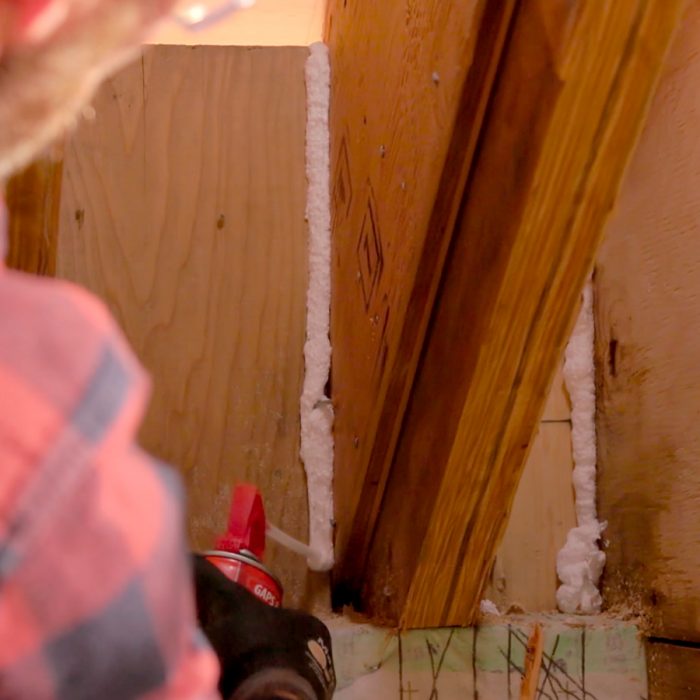
When applying the foam, we use a nice, even pressure on the trigger. Make sure that you’re filling the gap completely while also being mindful that the product does expand. We go over it with one pass and make sure that we are filling the gap, and then take a step back and allow that foam to expand.
RELATED STORIES







View Comments
It is pretty sad when you have to watch an ad before a sponsored video.