Flashing Windows in an Above-Grade ICF Wall
In this video, Aron Jones learns how to install and flash a window in an above-grade Nudura® ICF wall using the Prebuck™ engineered framing system and compatible Tremco™ sealants and flashings.
Sponsored by Nudura
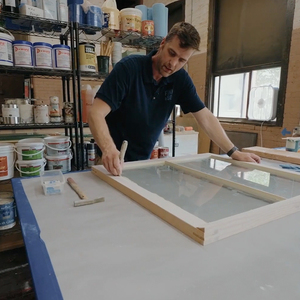
In this Tremco Building Science Lab tour, Aron Jones of Big Dog Construction gets a first-hand look at the testing facility where the Prebuck window bucking material is water-tested in an above-grade Nudura ICF wall assembly. He also receives hands-on training and is coached on a complete window installation using Prebuck and a complete line of compatible Tremco sealants and flashings to achieve a weathertight, durable, and long-lasting window installation.
Here’s the transcript:
Aron Jones: So I’m here today in Cleveland, Ohio, visiting from Grand Manan Island, New Brunswick, Canada. Tremco has invited me out to see their Building Science Laboratory where they test a lot of Nudura products. Specifically, I’m here to look at above-grade ICF installations using their Prebuck with their integrated flashing and sealant system.
When I first arrived at the Building Science Laboratory, Marcy and Randy greeted me and gave me a brief tour around. There’s a lot of really great technical aspects they have going on here.
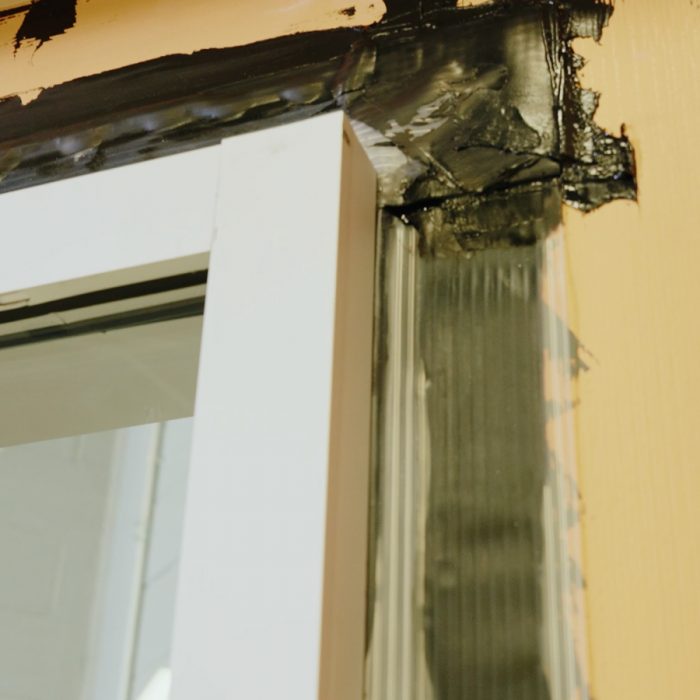
The first thing I saw was a test assembly from an aluminum curtain wall. There were some pretty impressive details in there, including Proglaze ETA. It’s a translucent gasket that you’re able to put sealant behind. Because this is translucent, you can just quickly visually inspect. You know that everything is 100% sealed.
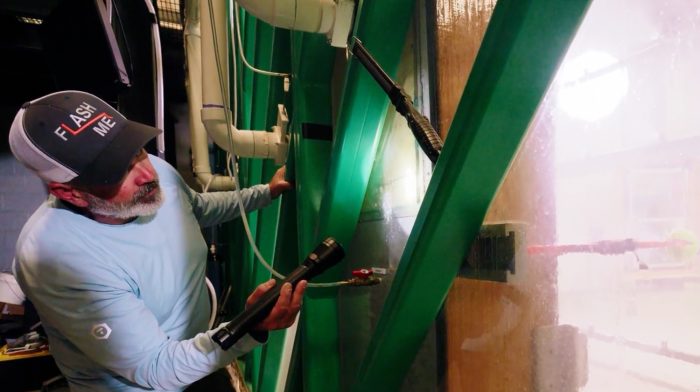
After that, I saw the spray rack. We saw a Prebuck that was already assembled in a wall system and they were able to test that in the spray rack for not only water but air infiltration as well. So what pressure are you testing this at?
Marcy Tyler: So what we’re doing right now is 6.24 psf. That’s our standard where we go as baseline. So 6.24 psf for two hours. Now, our equipment will tell us if there’s an air leak, but what’s ironic is the water penetration test doesn’t care if you have an air leak. It just wants you to visually see water on the backside. So we know if we’re having air leak, there’s got to be water somewhere within that system.
Aron Jones: Absolutely. If you’re leaking air, chances are you’re getting water.
Marcy Tyler: Exactly.
Aron Jones: The only thing cooler than that was pushing the button to start at a whole rack up. After the spray rack, we moved onto a mock-up of the flangeless Prebuck.
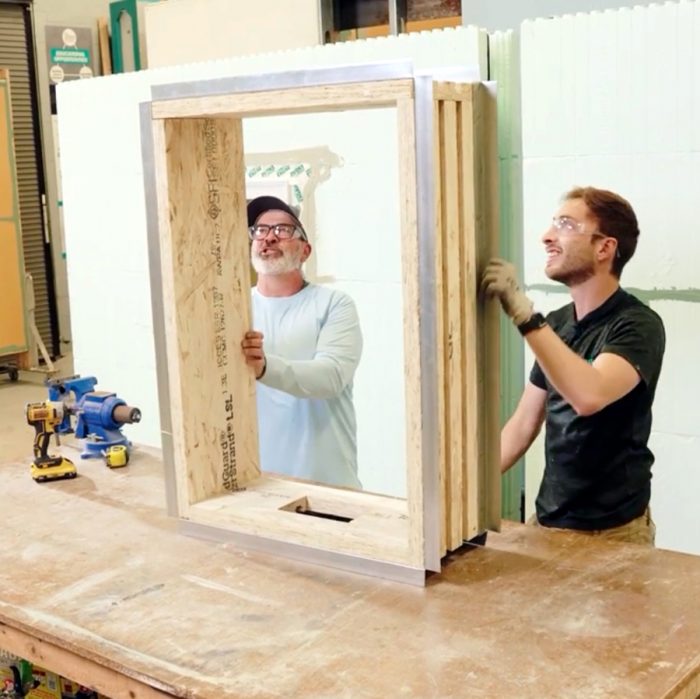
Randy White: So this is our Prebuck bucking material that we use for door and windows or any punched opening that you would have. Typically, maybe you’re doing that with a piece of treated or another type of foam buck in your particular area. And you notice what we did on this.
As far as a detail, we seal the edges of this in between the buck and the foam prior to concrete placement. So we want to make sure that we get all that sealed up. Prevents that concrete from getting on the outside. It locks this in place—just gives you a little more security when you’re placing concrete.
Aron Jones: After the Prebuck without the flange, we moved on to a flanged Prebuck, and this is where Marcy and Randy walked me through Nudura’s version of their integrated flashing system. Big thing you want to look for immediately is, are there any holes that you want to fill with low-expansion spray foam?
Randy White: We need to make sure that the surface is clean and free of any UV degradation or any type of debris on the outside. But what we like to do is use a rasp. We found in all of our testing that using a rasp gives us a little more uniform surface.
Aron Jones: We went through the steps of Dymonic 100—where to put it, what it was used for, making sure that water doesn’t infiltrate into the concrete.
Marcy Tyler: So we’re going to look around, see if there’s any place we might want to add a little sealant. And then the other part I like to do it is in this seam here, just in this inside corner, because this is the area when we’re using the peel and stick where we might have some issues.
Aron Jones: Then we moved on to the ExoAir flashing and how to properly install and detail a window.
Marcy Tyler: We went ahead and measured it ahead of time. This has the peel and stick on two sides. We chose butyl because it’s just more versatile in terms of performance. So we chose it for the weather, for the exposure, flexibility, the way it really bonds with a lot of different materials.
Aron Jones: So the tape is now installed. The next thing we’re going to want to do is use Dymonic 100 to make a smear seal around all of our tape.
Marcy Tyler: OK, so now we’ve got our peel and stick installed, our sealant detail. We’ve got our window buck and our wall assembly air and watertight, and it’s ready for your window install.
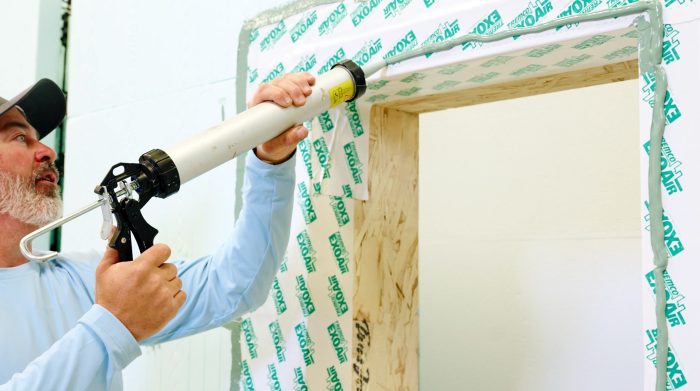
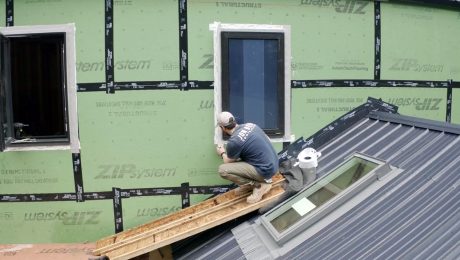
Aron Jones: Where this is a mock-up, we didn’t bother with shims, we didn’t bother with leveling the window. But before we placed the window in, I did my typical inverted U. So we used Dymonic 100, nice quarter-inch bead, up the side, over the top, and back down. Then we proceeded, grabbed the window, installed it. In this case we screwed it. The purpose of this is in an above-grade ICF situation, not only using the Prebuck but using the Prebuck in conjunction with the sealants and the flashing tapes; we are making an air and watertight flashing system. It just basically ensures that this window is going to be air and watertight for the foreseeable future.
So using Nudura above grade, it’s a great product, it’s airtight, it’s strong, it reduces the amount of concrete you need, it provides sound attenuation and just overall thermal performance. And the Prebuck is a great way to speed up any installation, whether it’s doors, windows, or any penetration to the system. So a couple things I really like: The Prebuck is a very simple system, and it’s premade. They’re all from the same system. I don’t have to check for compatibility. It’s integrated. That saves me time. I don’t have to spend time in the evenings in my off-time, researching. It’s done for me.
RELATED STORIES
