Air-Sealing a Bathroom Remodel
Learn how remodeler Brendan O'Sullivan uses Loctite products to prevent air leaks and fire spread in a bathroom.
Sponsored by Loctite
Seasoned remodeler Brendan O’Sullivan trusts Loctite foam products for efficient air-sealing. In this video, he describes how to use Loctite TITE FOAM Window & Door for sealing around a new bathroom window, Loctite Fire Block Foam to address fire risks in floor or ceiling penetrations, and TITE FOAM Gaps & Cracks for air-sealing exterior wall stud bays.
Here’s the transcript:
Hey, welcome to the job site. Today we’re on a remodel outside of Philadelphia to give this home a second chance. We’ll be in the bathroom today using Loctite foam products to seal up any gaps and cracks while we have the space open.
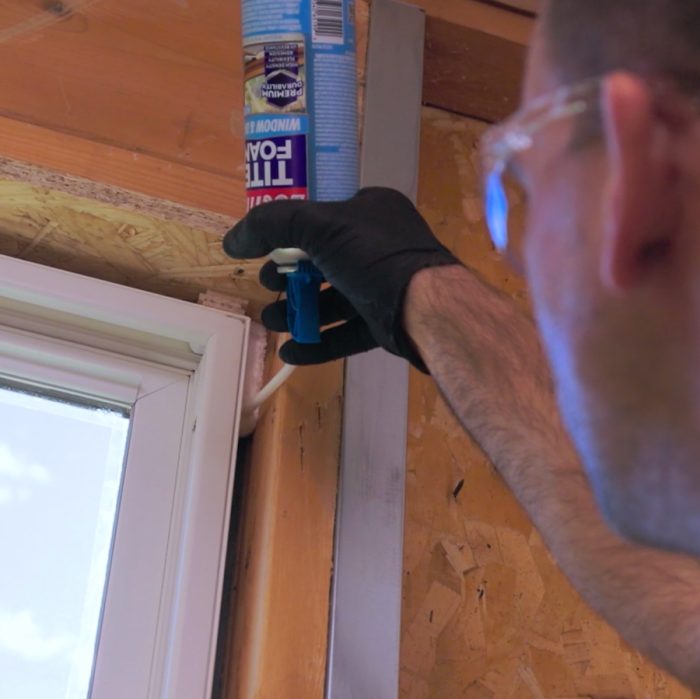 We’re in the bathroom and behind me we have a new replacement window that was part of the renovation project. As you can see, we have to air-seal around the perimeter of this window, and we’re going to do that by using Loctite TITE FOAM Window & Door. The goal here is to air-seal between the window frame and the wood stud. That way it ensures there are no air leaks around the perimeter of the window.
When air-sealing around a window, it’s important to use window and door foam because it’s low-expanding and won’t bow the window frames. As you can see, there’s a little bit of squeeze-out. That’s not a problem at all. Once it’s cured, you can easily cut it back with a knife.
Now that we’ve finished up air-sealing our window, we need to move on to sealing any penetrations in the floor or ceiling plates, and that includes wire and pipe penetrations. These holes require a special type of fireblock foam, and that’s because they communicate with the floor and ceiling cavity. If there’s ever a fire, air leakage could create a flue effect and pull that fire through those holes. So we seal them up using Loctite Fire Block Foam. One nice thing about the Fire Block Foam is that it’s a different color and easily identifiable by building inspectors. In some of the hard-to-reach places you have to be a little bit creative and bend the straw to get around some of these tighter spots.
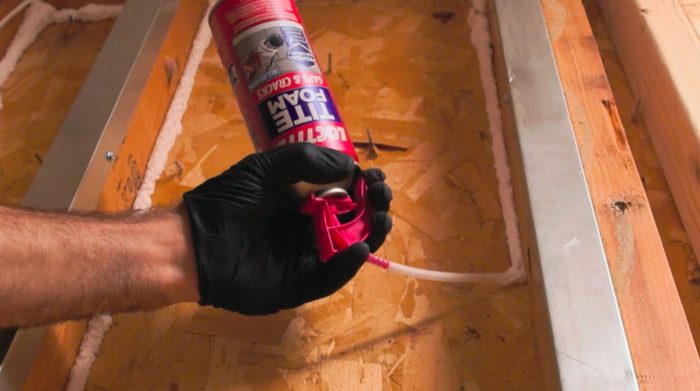
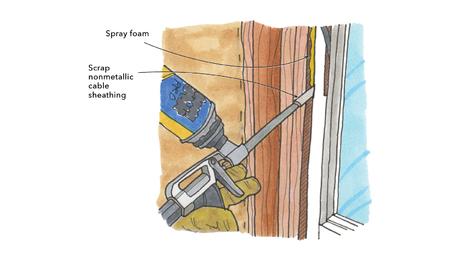
In this final application we’re air-sealing the stud bays on this exterior wall. Because this remodel didn’t include any exterior cladding work, we’re able to air-seal from the inside using Loctite Tite Foam Gaps & Cracks. We’re going to go along the perimeter of the bay between the sheathing and the studs on the side, top, and bottom to prevent any air from coming in from the outside between the sheathing and the studs. This way I can insulate, close everything up, and get the best possible performance.
As a remodeler giving homes a second chance, I always keep Loctite foam products on hand. Just like you saw today, I use them on every job.
RELATED STORIES











View Comments
Great idea to incorporate this to prevent any unwanted air infiltrating your bathroom! kitchenrenovationswinnipeg.com