Build Beautiful Outdoor Spaces with a Strong Adhesive
Transform decks, porches, entryways, and more with custom features assembled using a weatherproof adhesive.
Sponsored by Loctite®
Sean Collinsgru of Premier Outdoor Living joins Tyler Grace at the Loctite® 2nd Chance House, where they’re adding final touches to the exterior of the home using Loctite PL Premium MAX®. Collinsgru starts by adding risers to the decking and stair stringers installed by the Habitat crew, then finishes the entryway with a raised garden bed.
Here’s the Transcript:
We are nearing the finish line on the Loctite 2nd Chance House, and to dial in the exterior, we’re bringing in outdoor specialist Sean Collinsgru. He’s here to complete the stairs and build a masonry landscape feature using Loctite PL Premium MAX®.
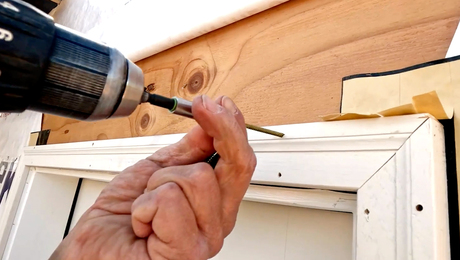
When I arrived, Habitat had already installed the decking and the stair stringers, so the first thing I did was measure all of our risers and rip these down to size. I apply a heavy bead of Loctite PL Premium MAX® to the face of our stair stringer. Install the riser, double check, make sure our overhangs are consistent, and then follow up with an exterior finish nail just to hold it until that adhesive cures.
For the treads here, we use the same 5/4 x 6 that we have on our decking, adding 1 in. to each end for a little bit of an overhang. Then we cut a 1/2-in. hole into our Loctite PL Premium MAX® and apply a nice wide bead on the tops of each stringer.
My goal here is that the adhesive will join the materials but also help prevent water intrusion and rot where the screw penetrates the stringer. PL Premium MAX® is Loctite’s strongest, most durable adhesive, so these exterior stairs are the perfect application for this product because it’s going to experience a lot of wear and tear from the homeowners and the elements.
Building a Raised Garden Bed
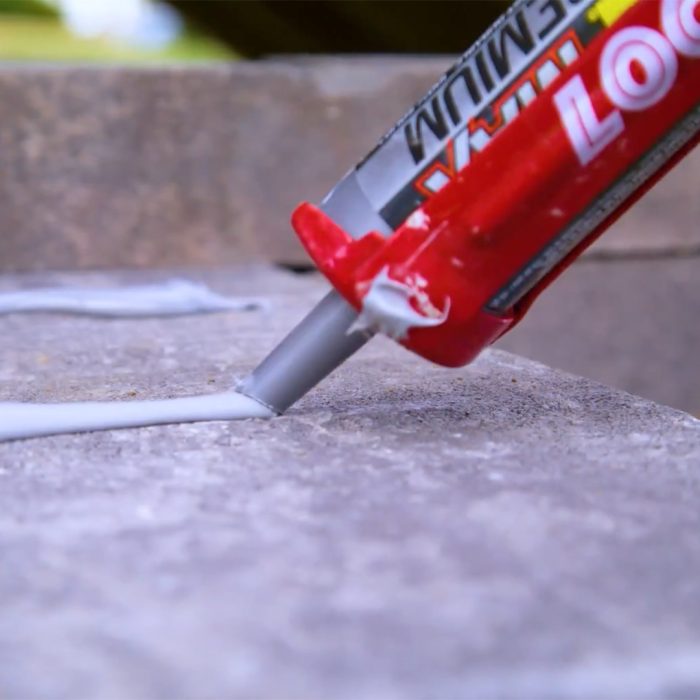
For my final application, I used the adhesive to build this raised garden block feature. I started by digging down a few inches and added gravel to tamp the substrate level. Then I installed the starter row on the front three sides. Along the back I avoided some existing concrete using gravel to bridge the obstacle.
Then I broke out the adhesive to join the bridging row along the back. For this application, I cut the tip to get a large robust bead between blocks. I apply heavy beads about 4-in. apart and use the weight of each block to set itself into the adhesive. Then I move on to my next row and more adhesive.
Loctite’s PL Premium MAX® is fast and convenient to apply, and it bonds permanently to masonry, which is vital to outdoor applications like this.
RELATED STORIES